Recreation
1939 Phillies Road Jersey
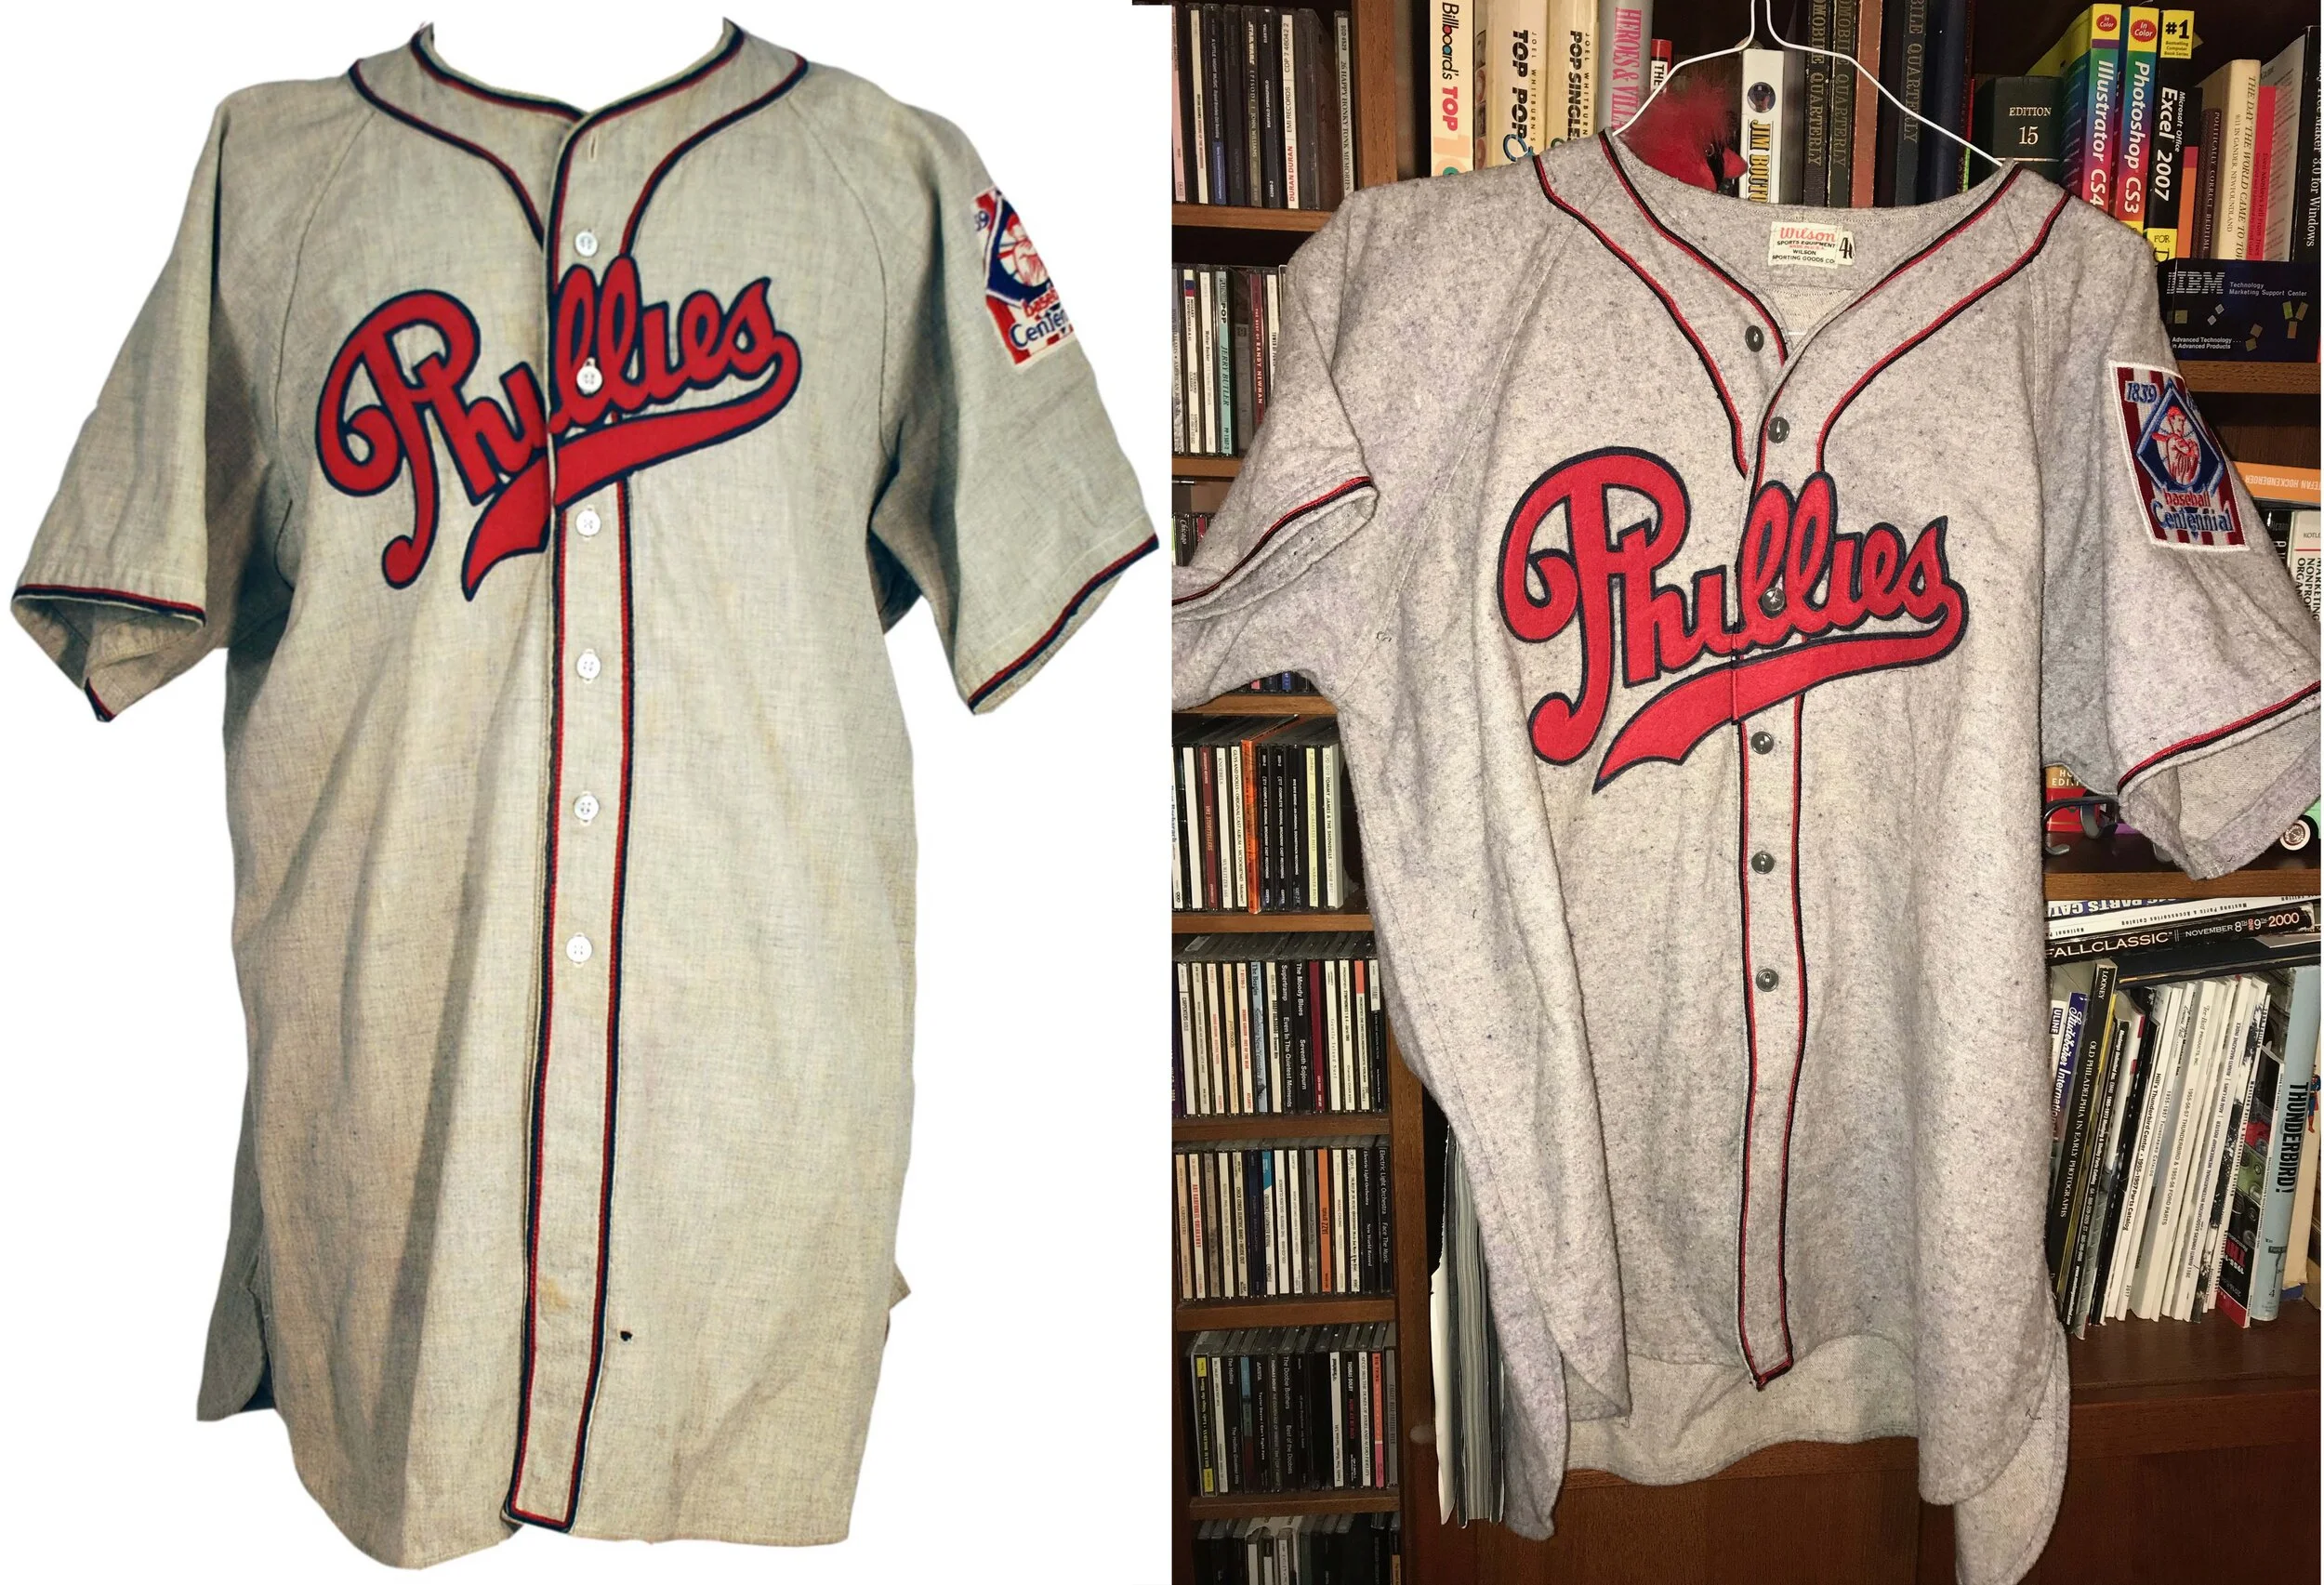
Left: An original, unrestored 1939 Phillies jersey. Right: our finished recreation.
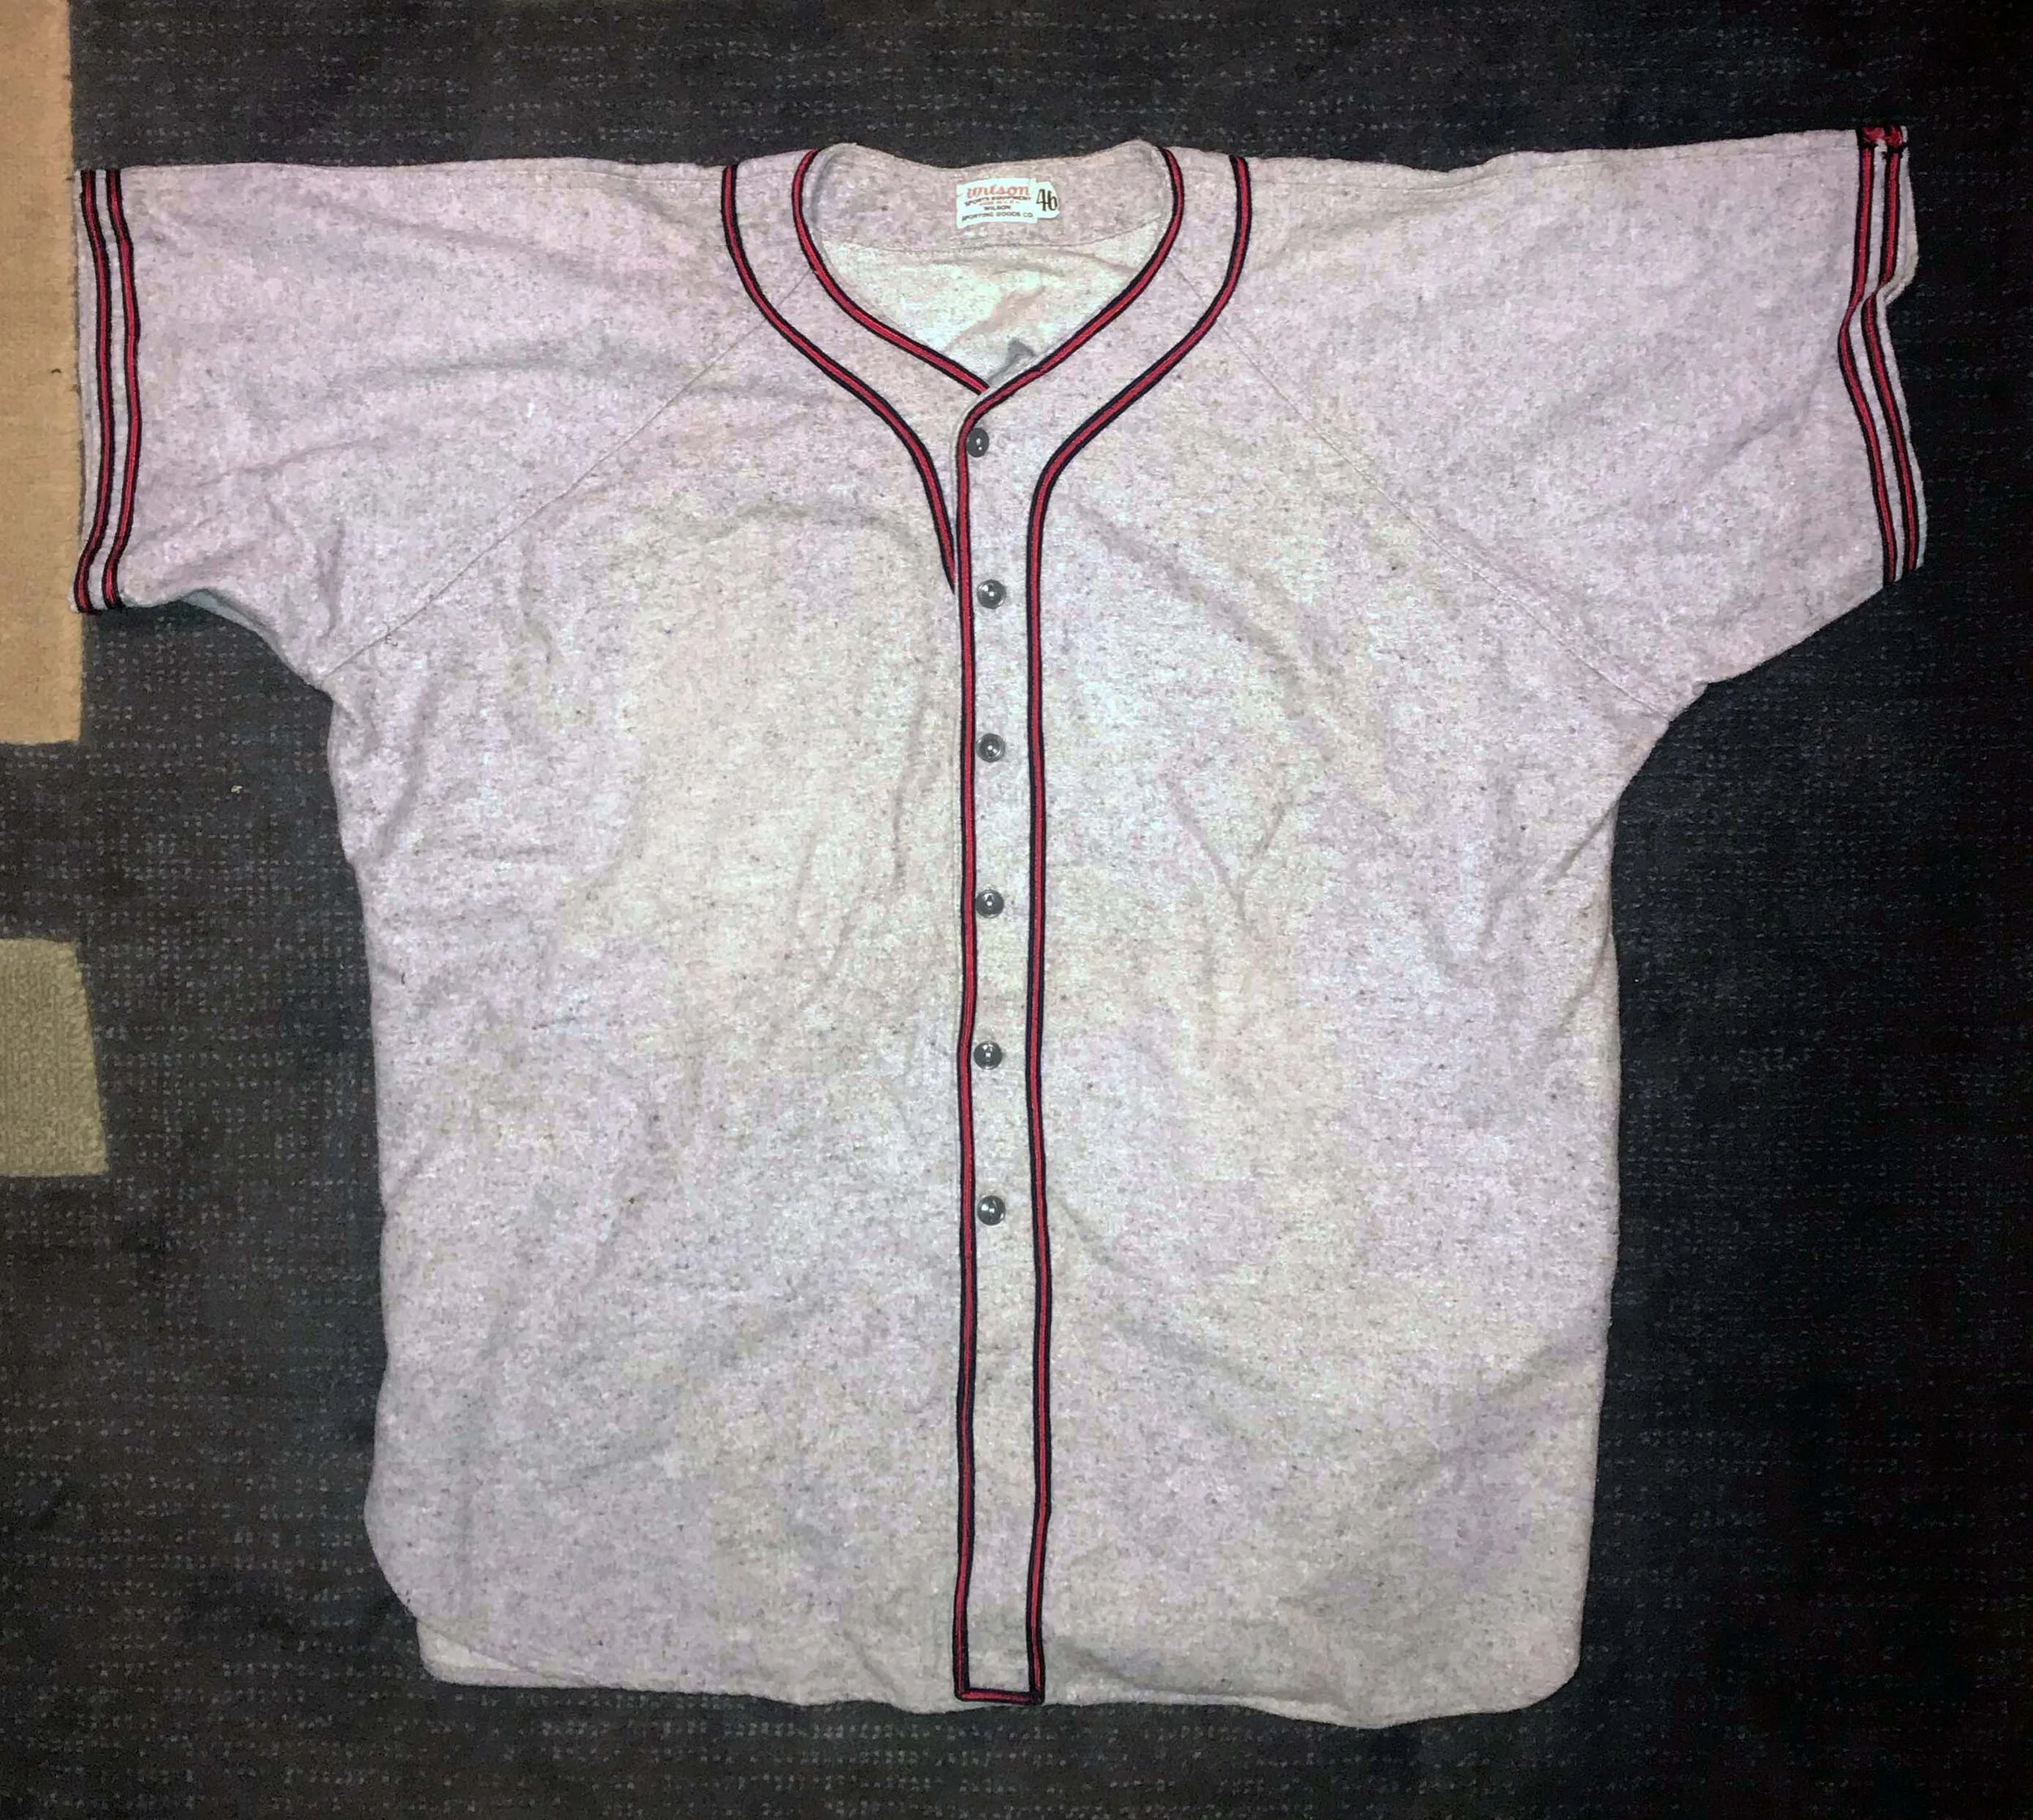
This Wilson heavyweight flannel, purchased on Ebay, has been properly stored since it was made (I am guessing early 1940s). Notice that the ribbon trim -- while the correct colors -- has three color bands (it should have two) and the sleeves has two trim stripes (instead of one.) To begin, all the trim must be carefully removed.
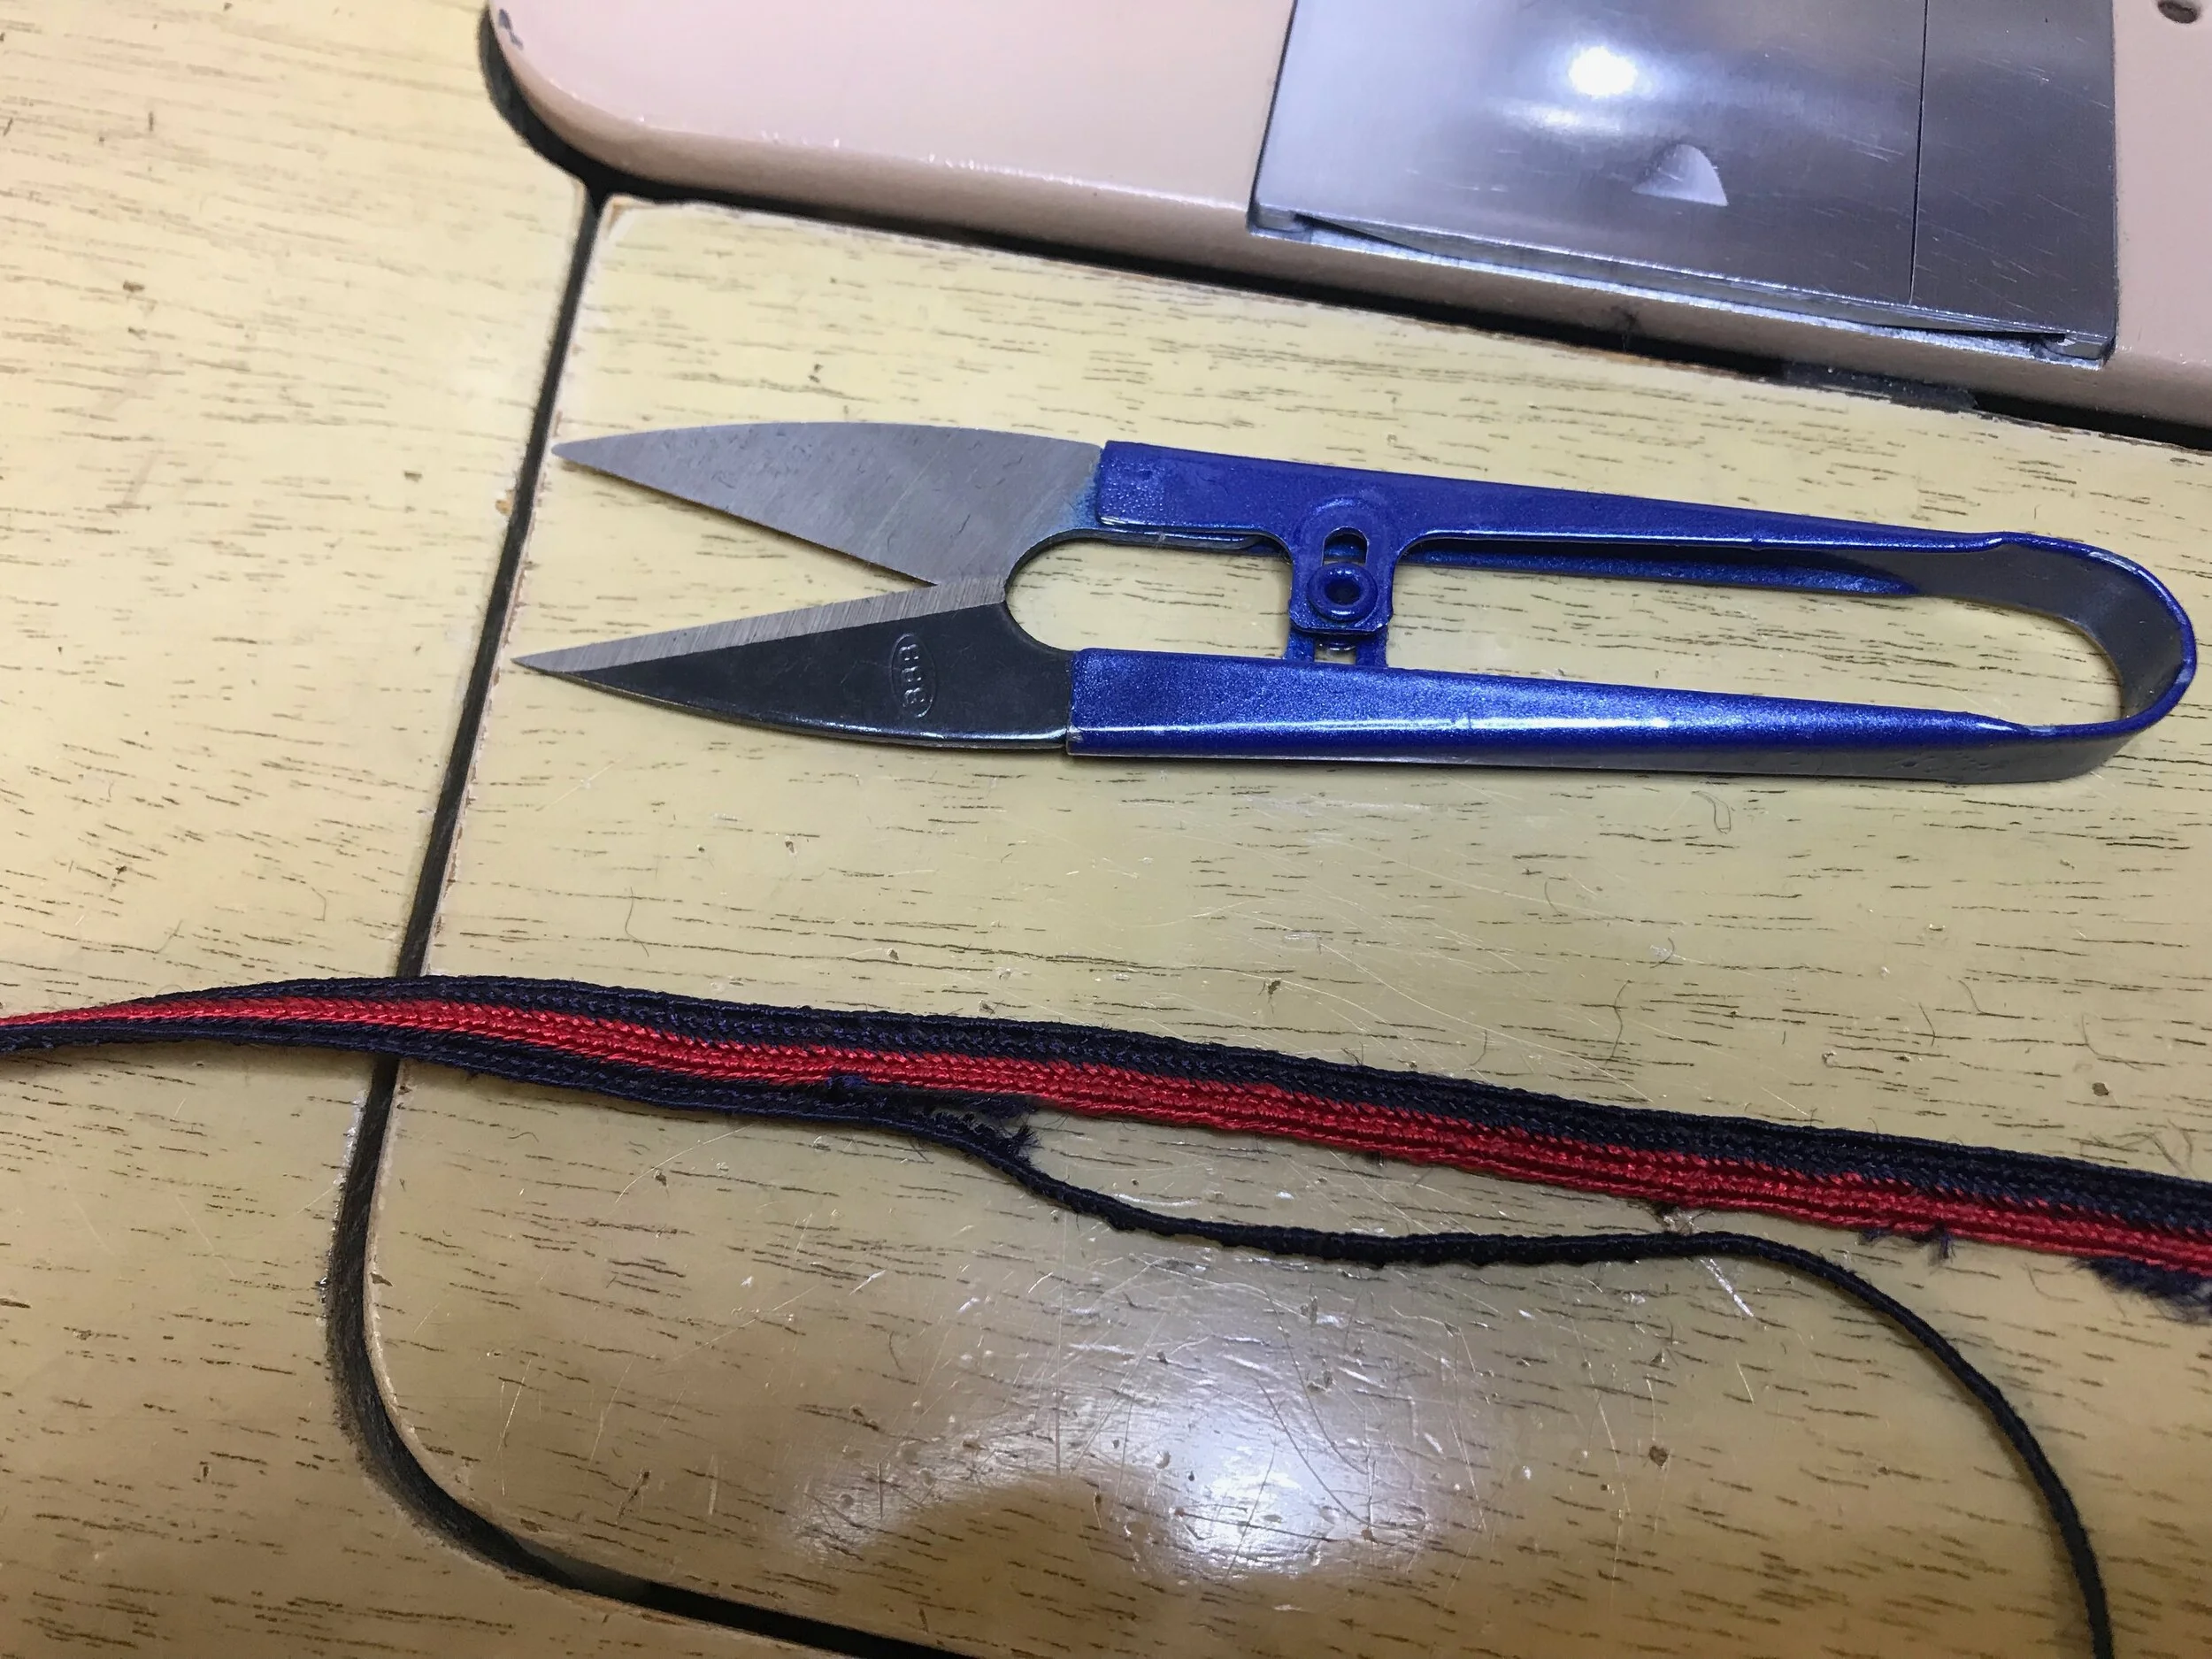
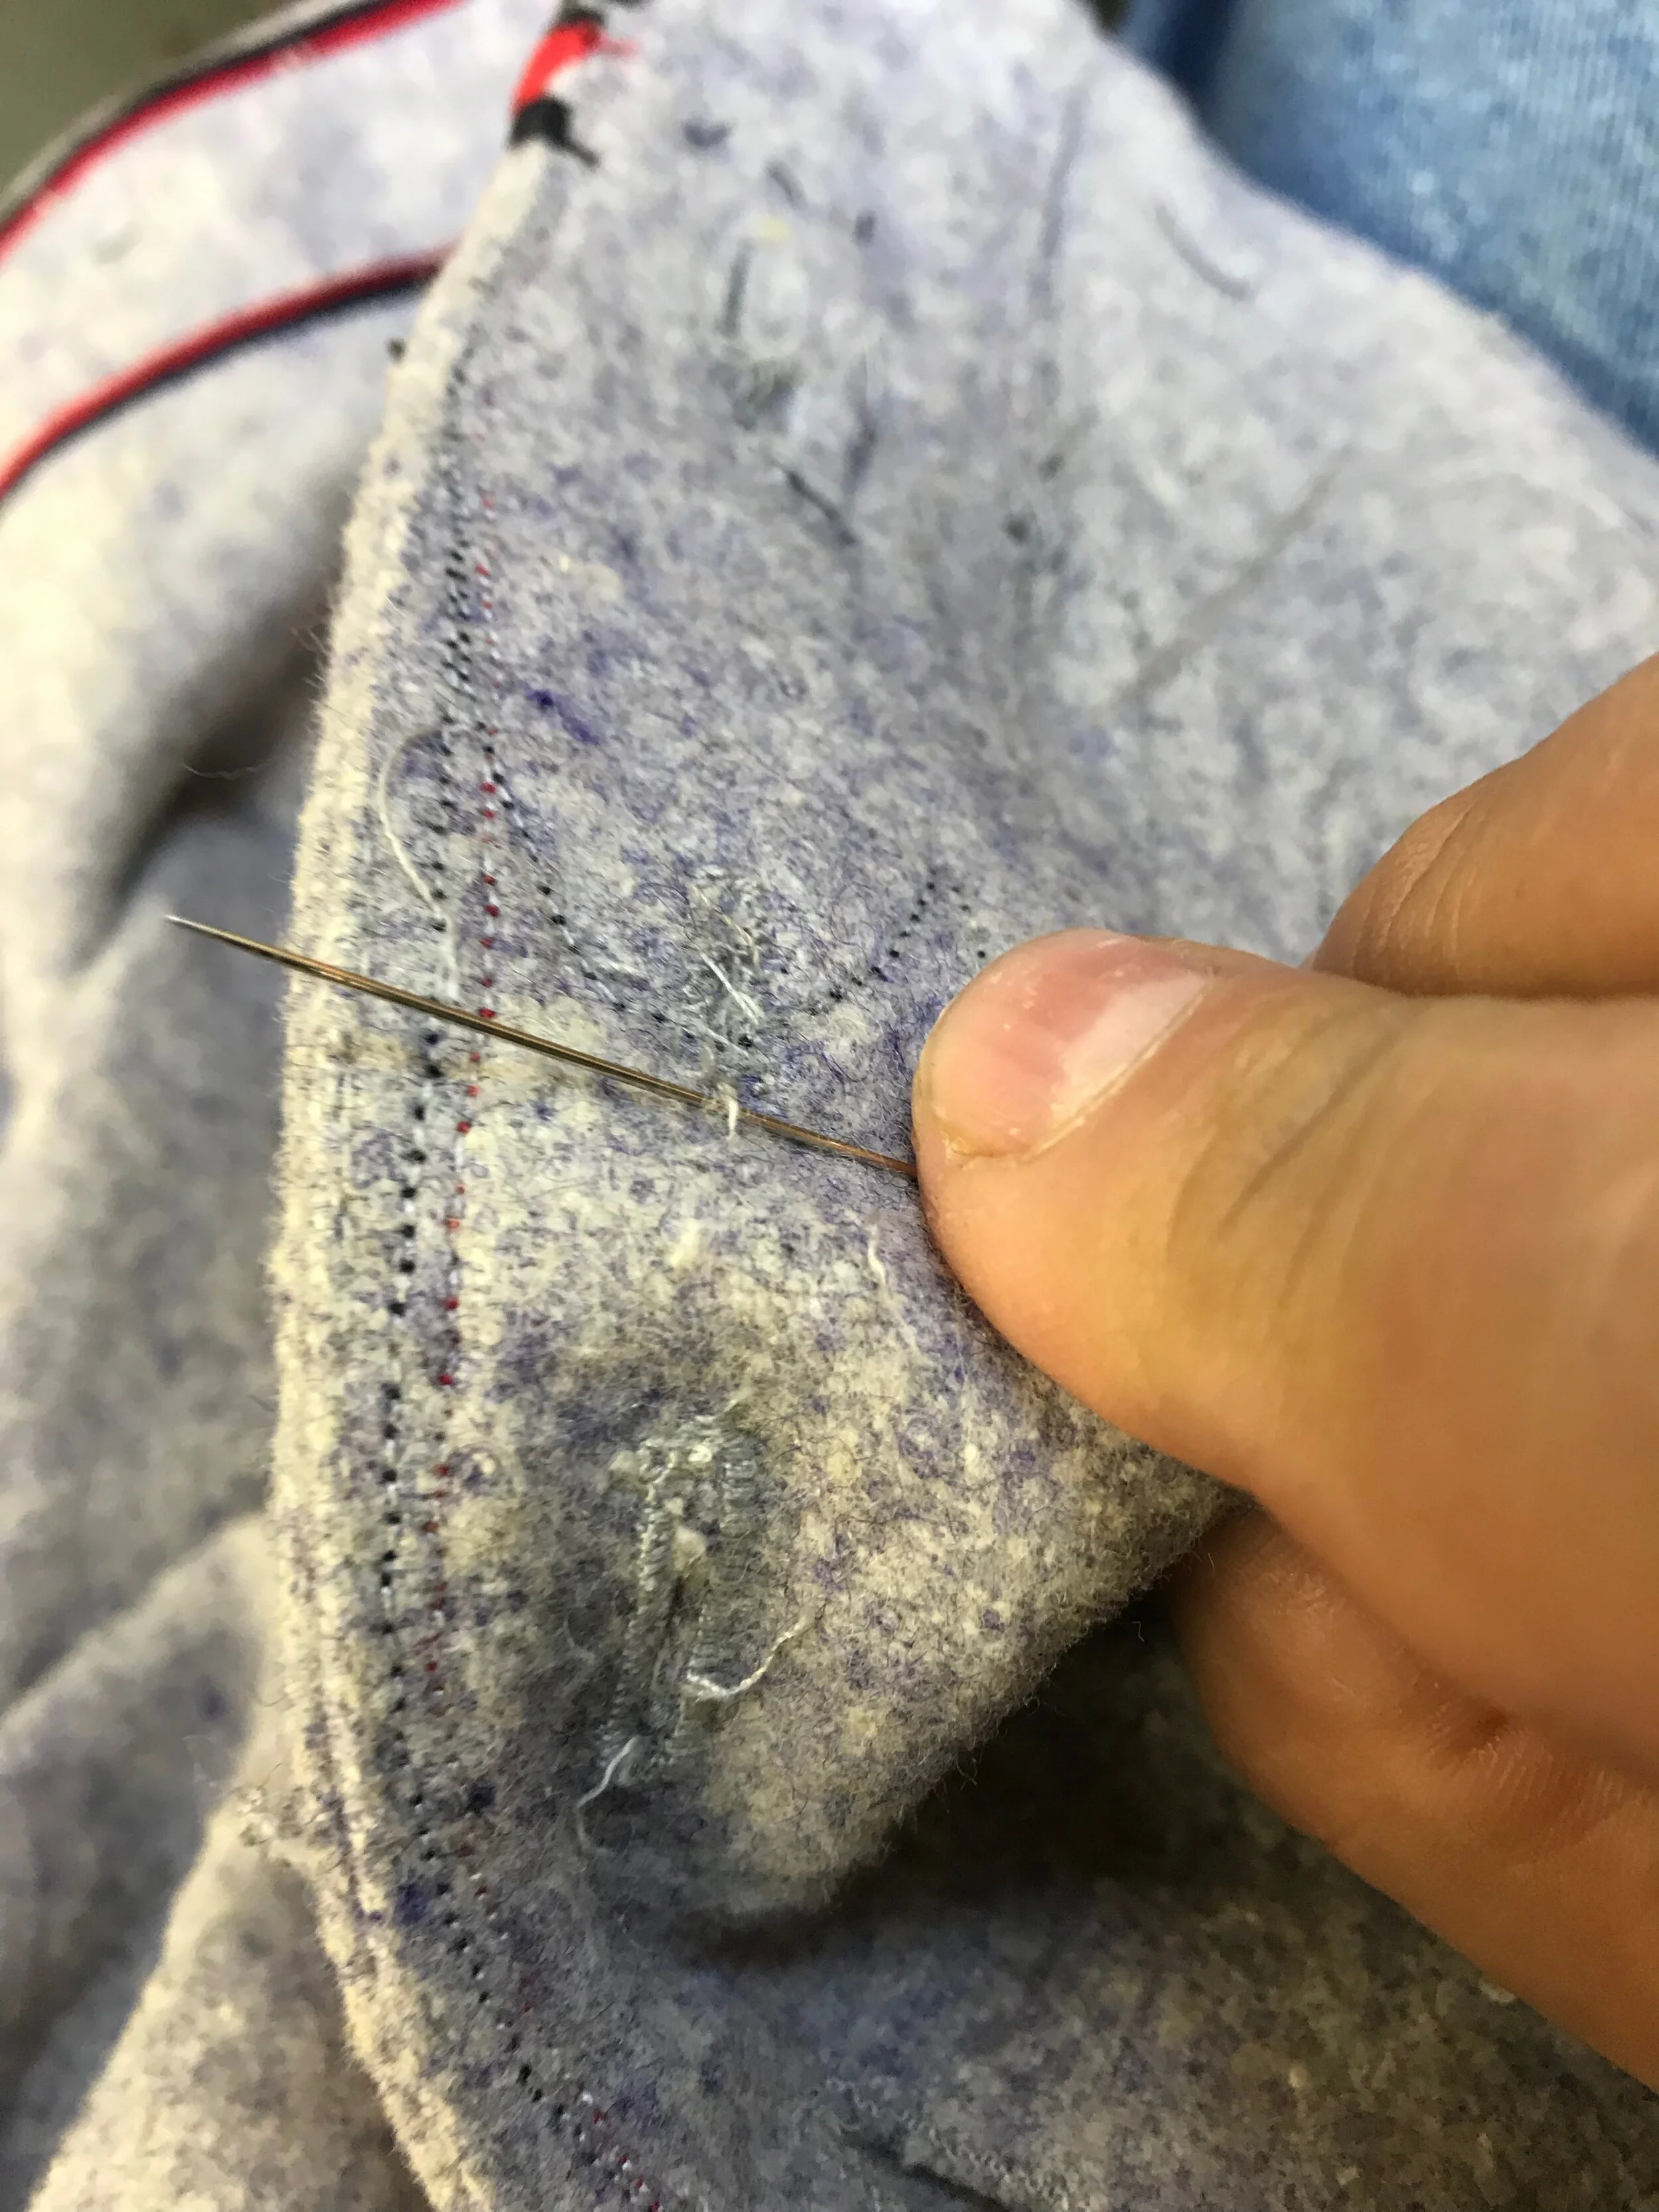
All of the trim had to come off the jersey, a stitch at time. Then, working slowly and carefully, I snipped the woven edge off the ribbon and un-wove it, leaving perfect two-color, navy and crimson trim.
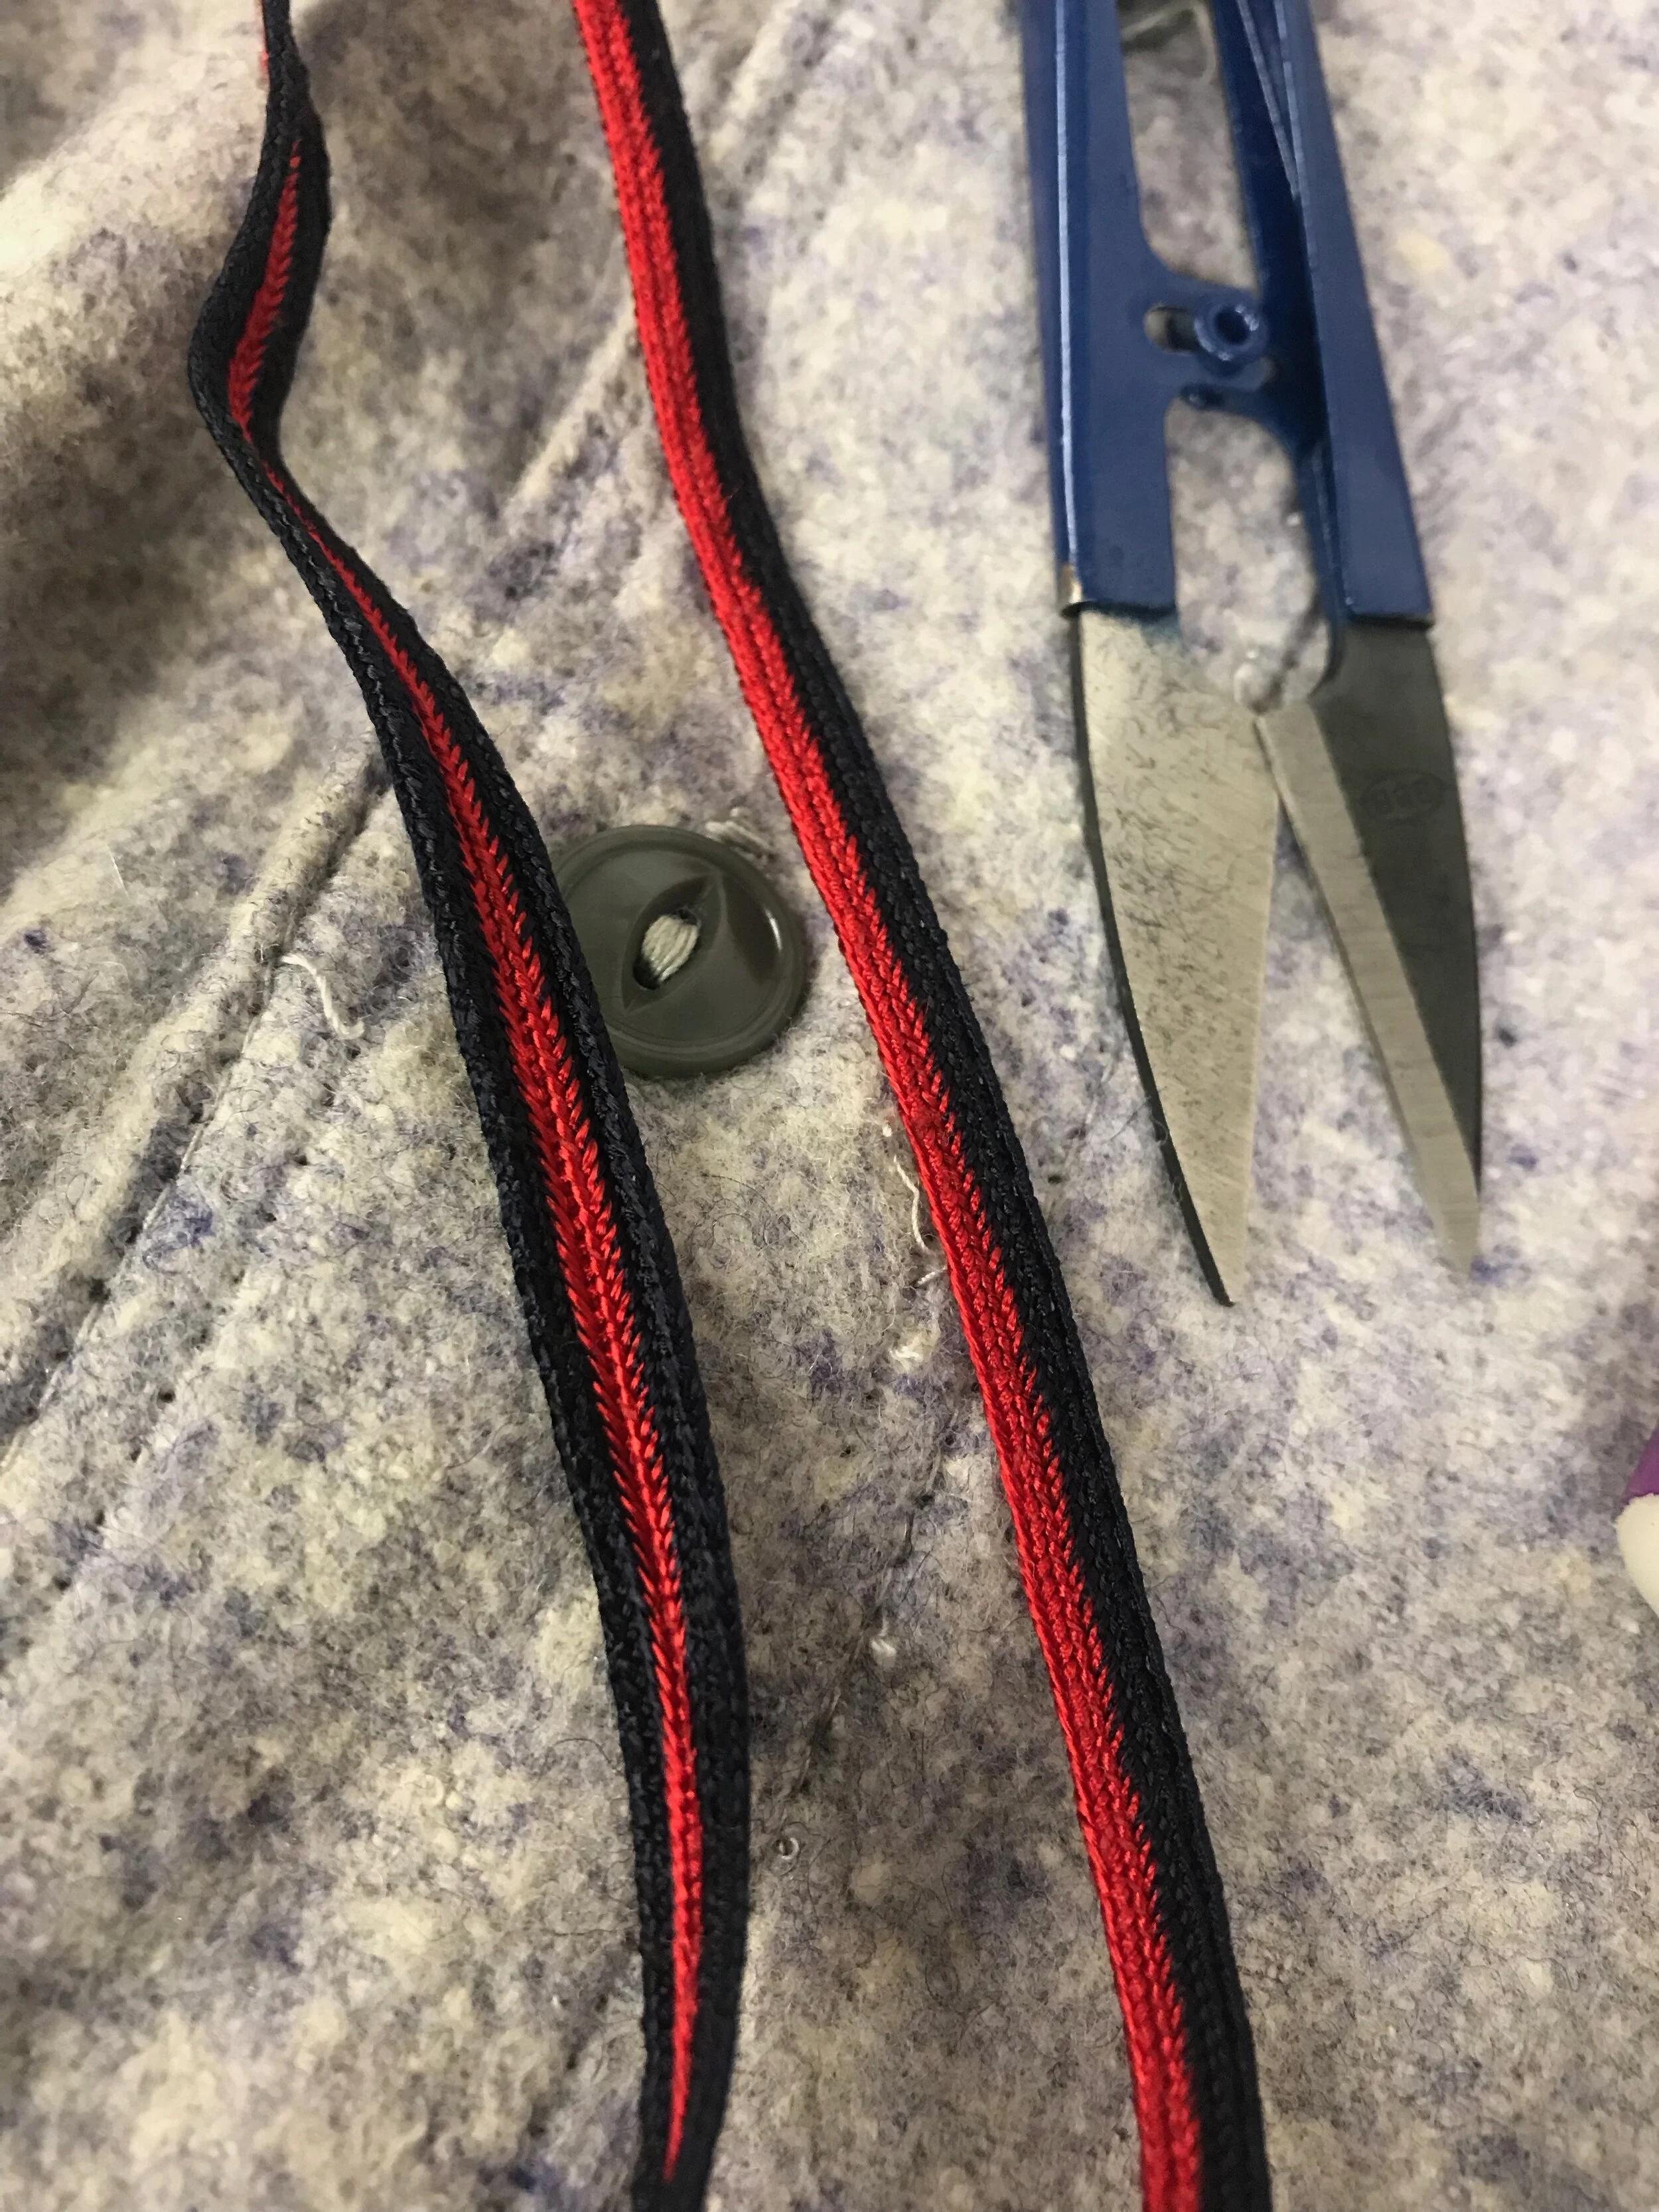
The incorrect trim (left) and the corrected trim (right.)
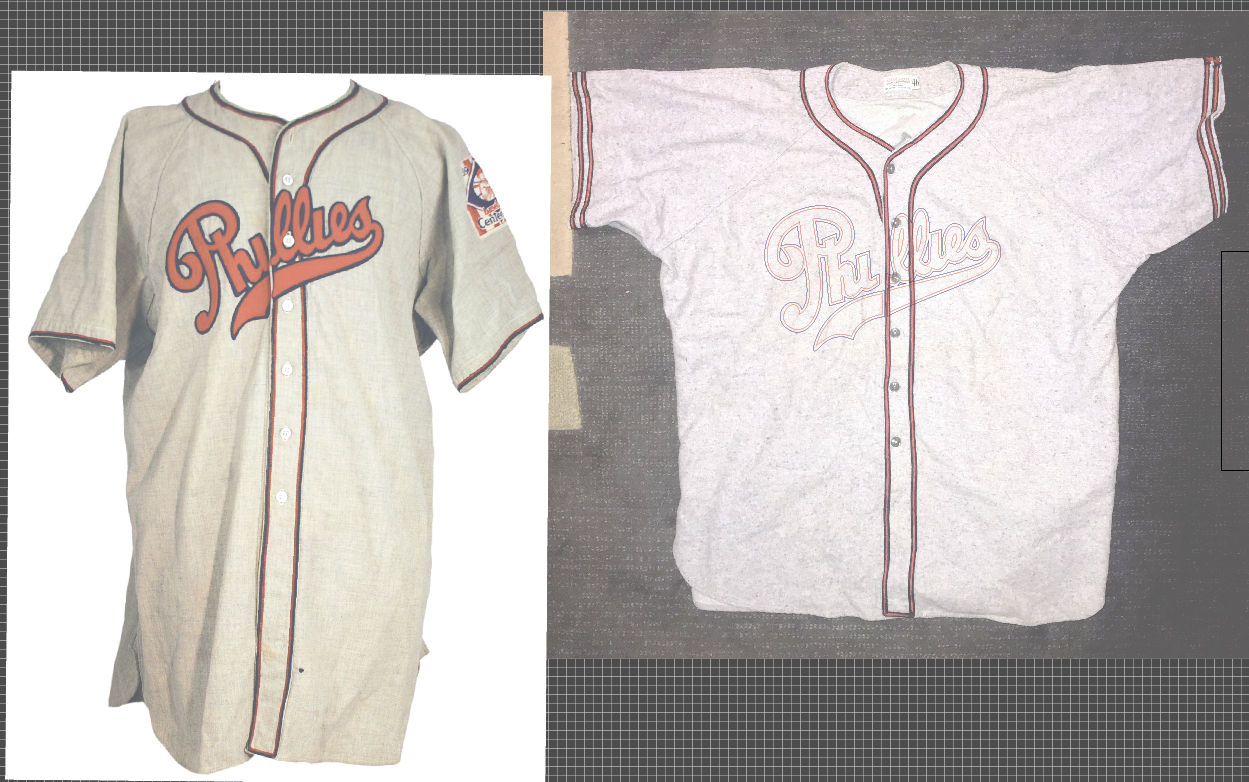
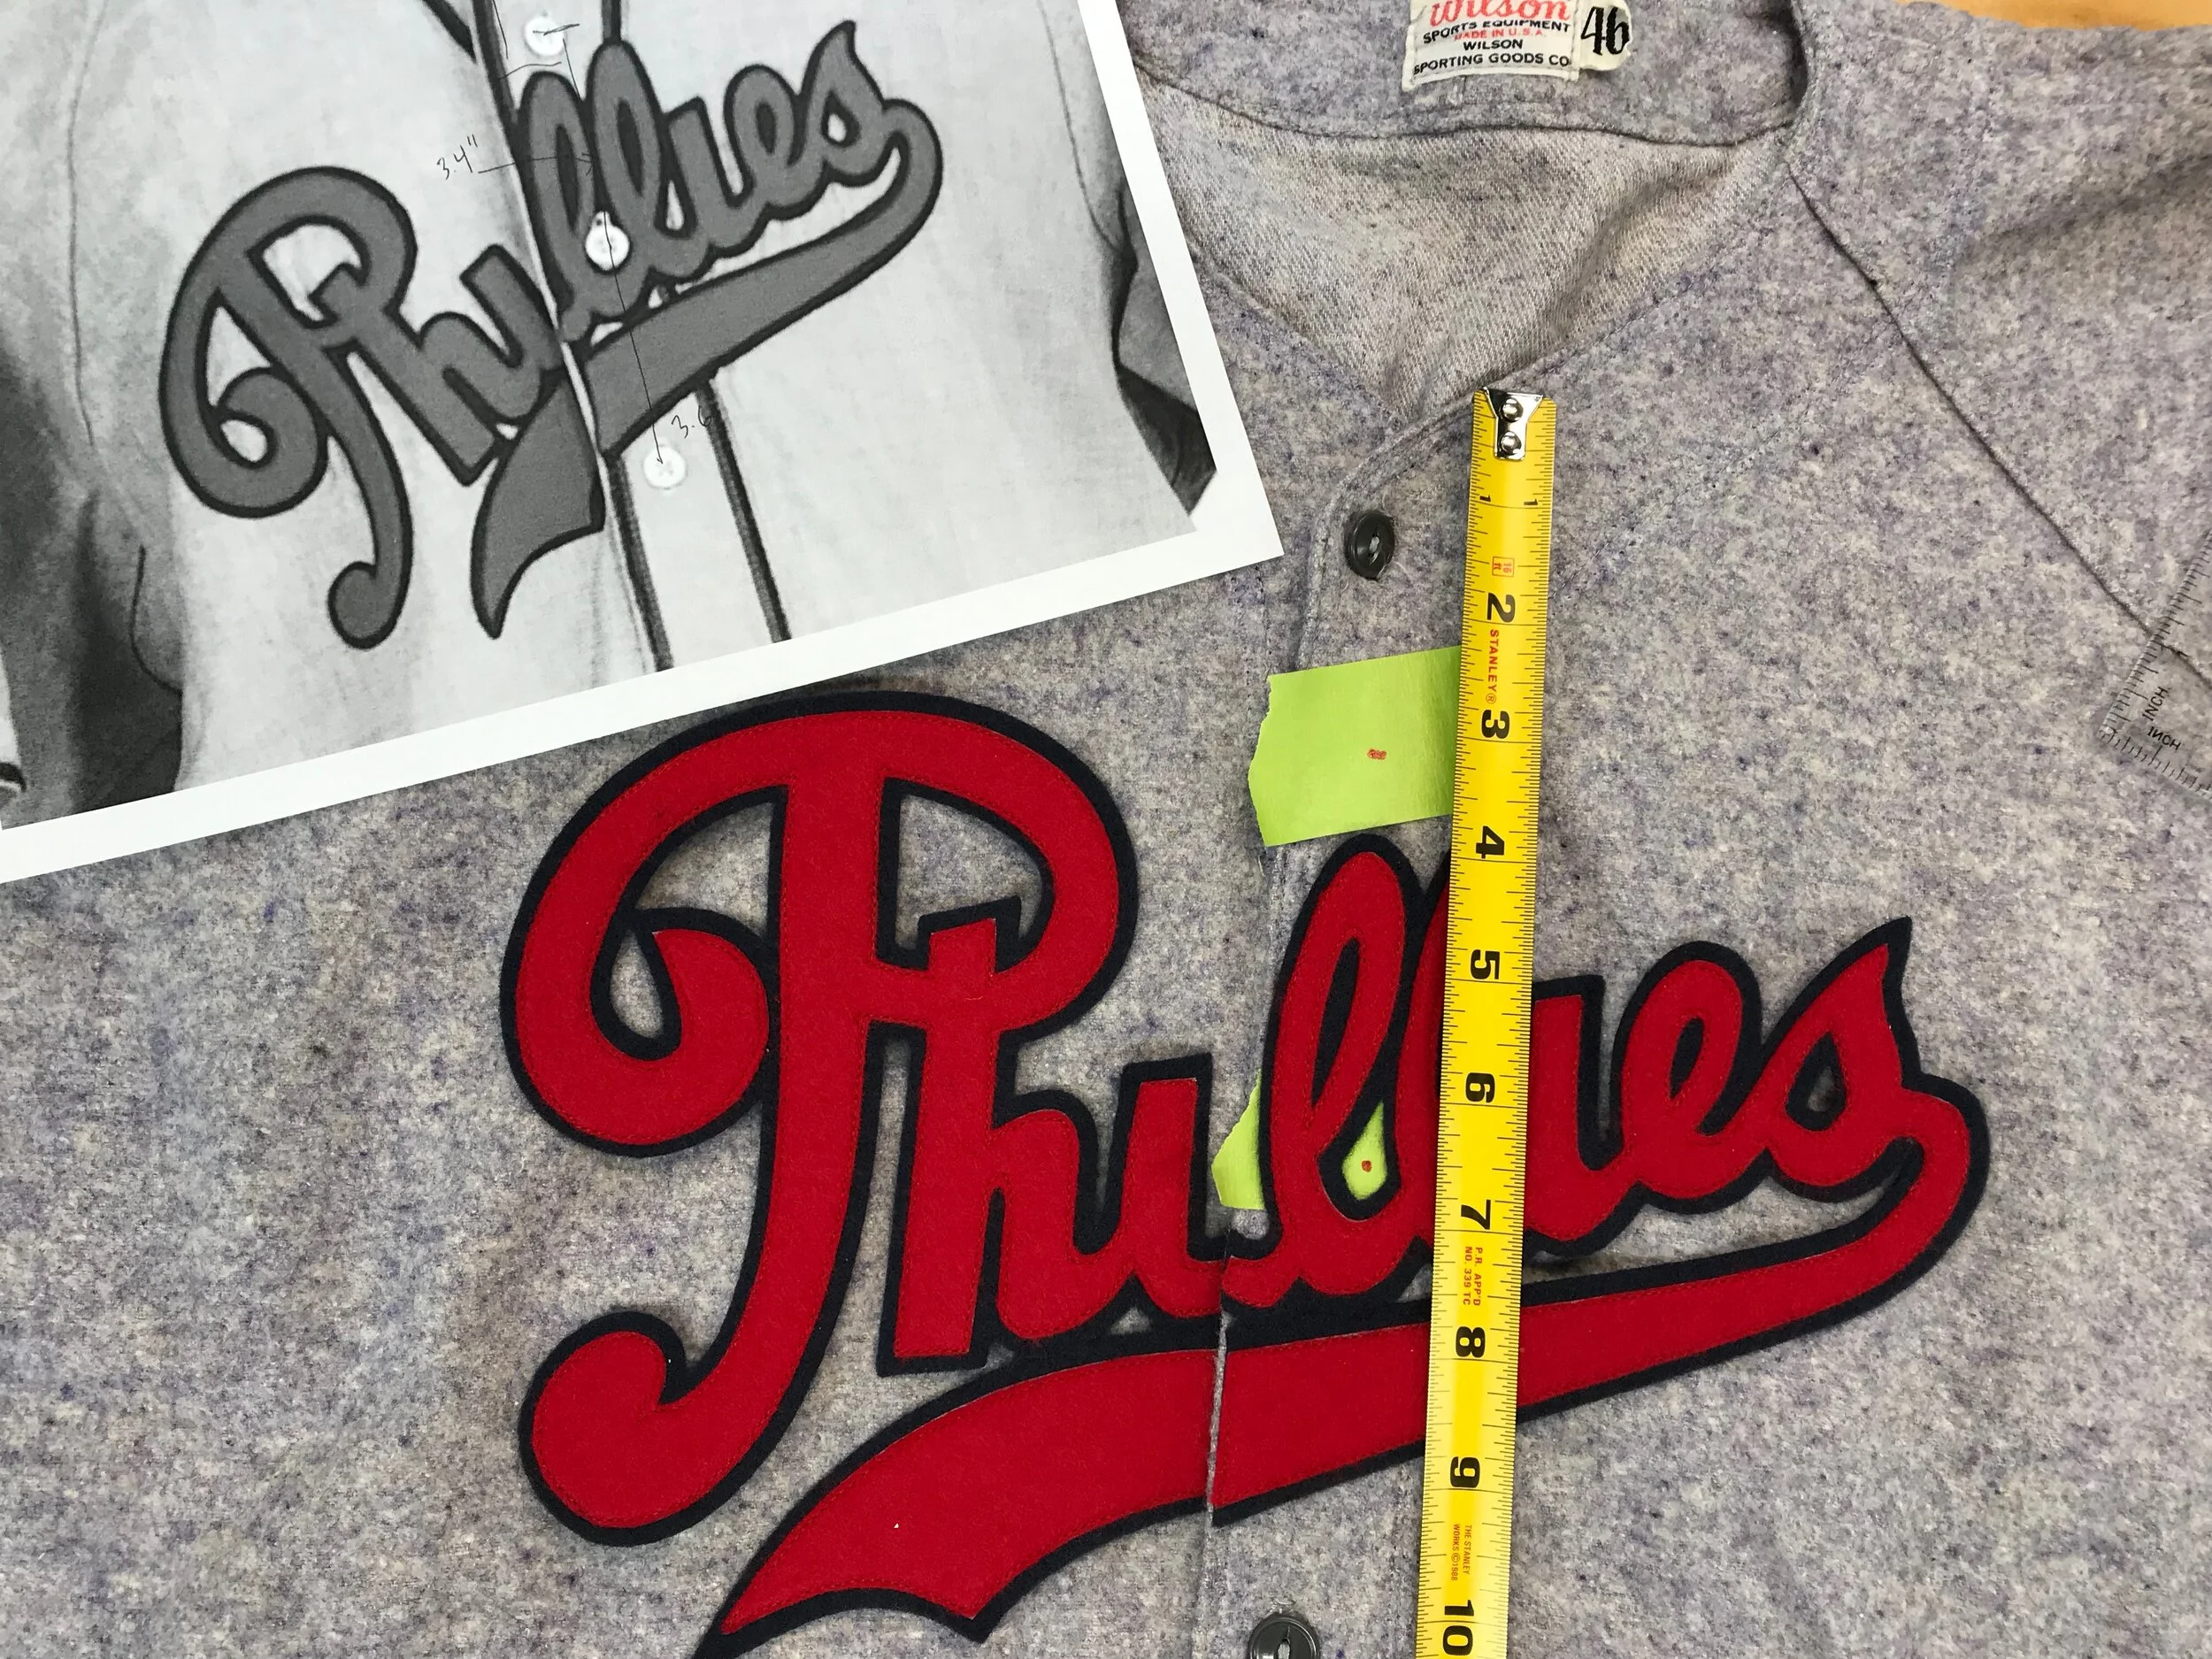
Here is the original Phillies jersey from my archives and the reproduction with the logo superimposed on it. The buttons are not in the correct places. No compromise here! We must relocate two two buttons-- and their buttonholes -- for the reproduction to work.
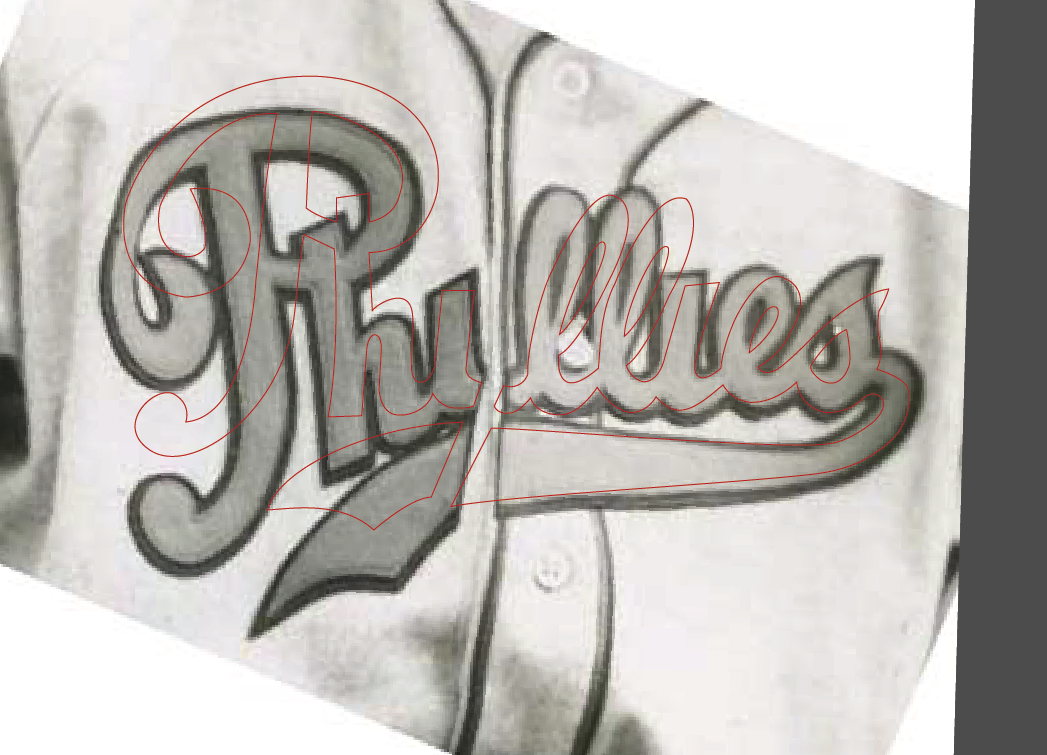
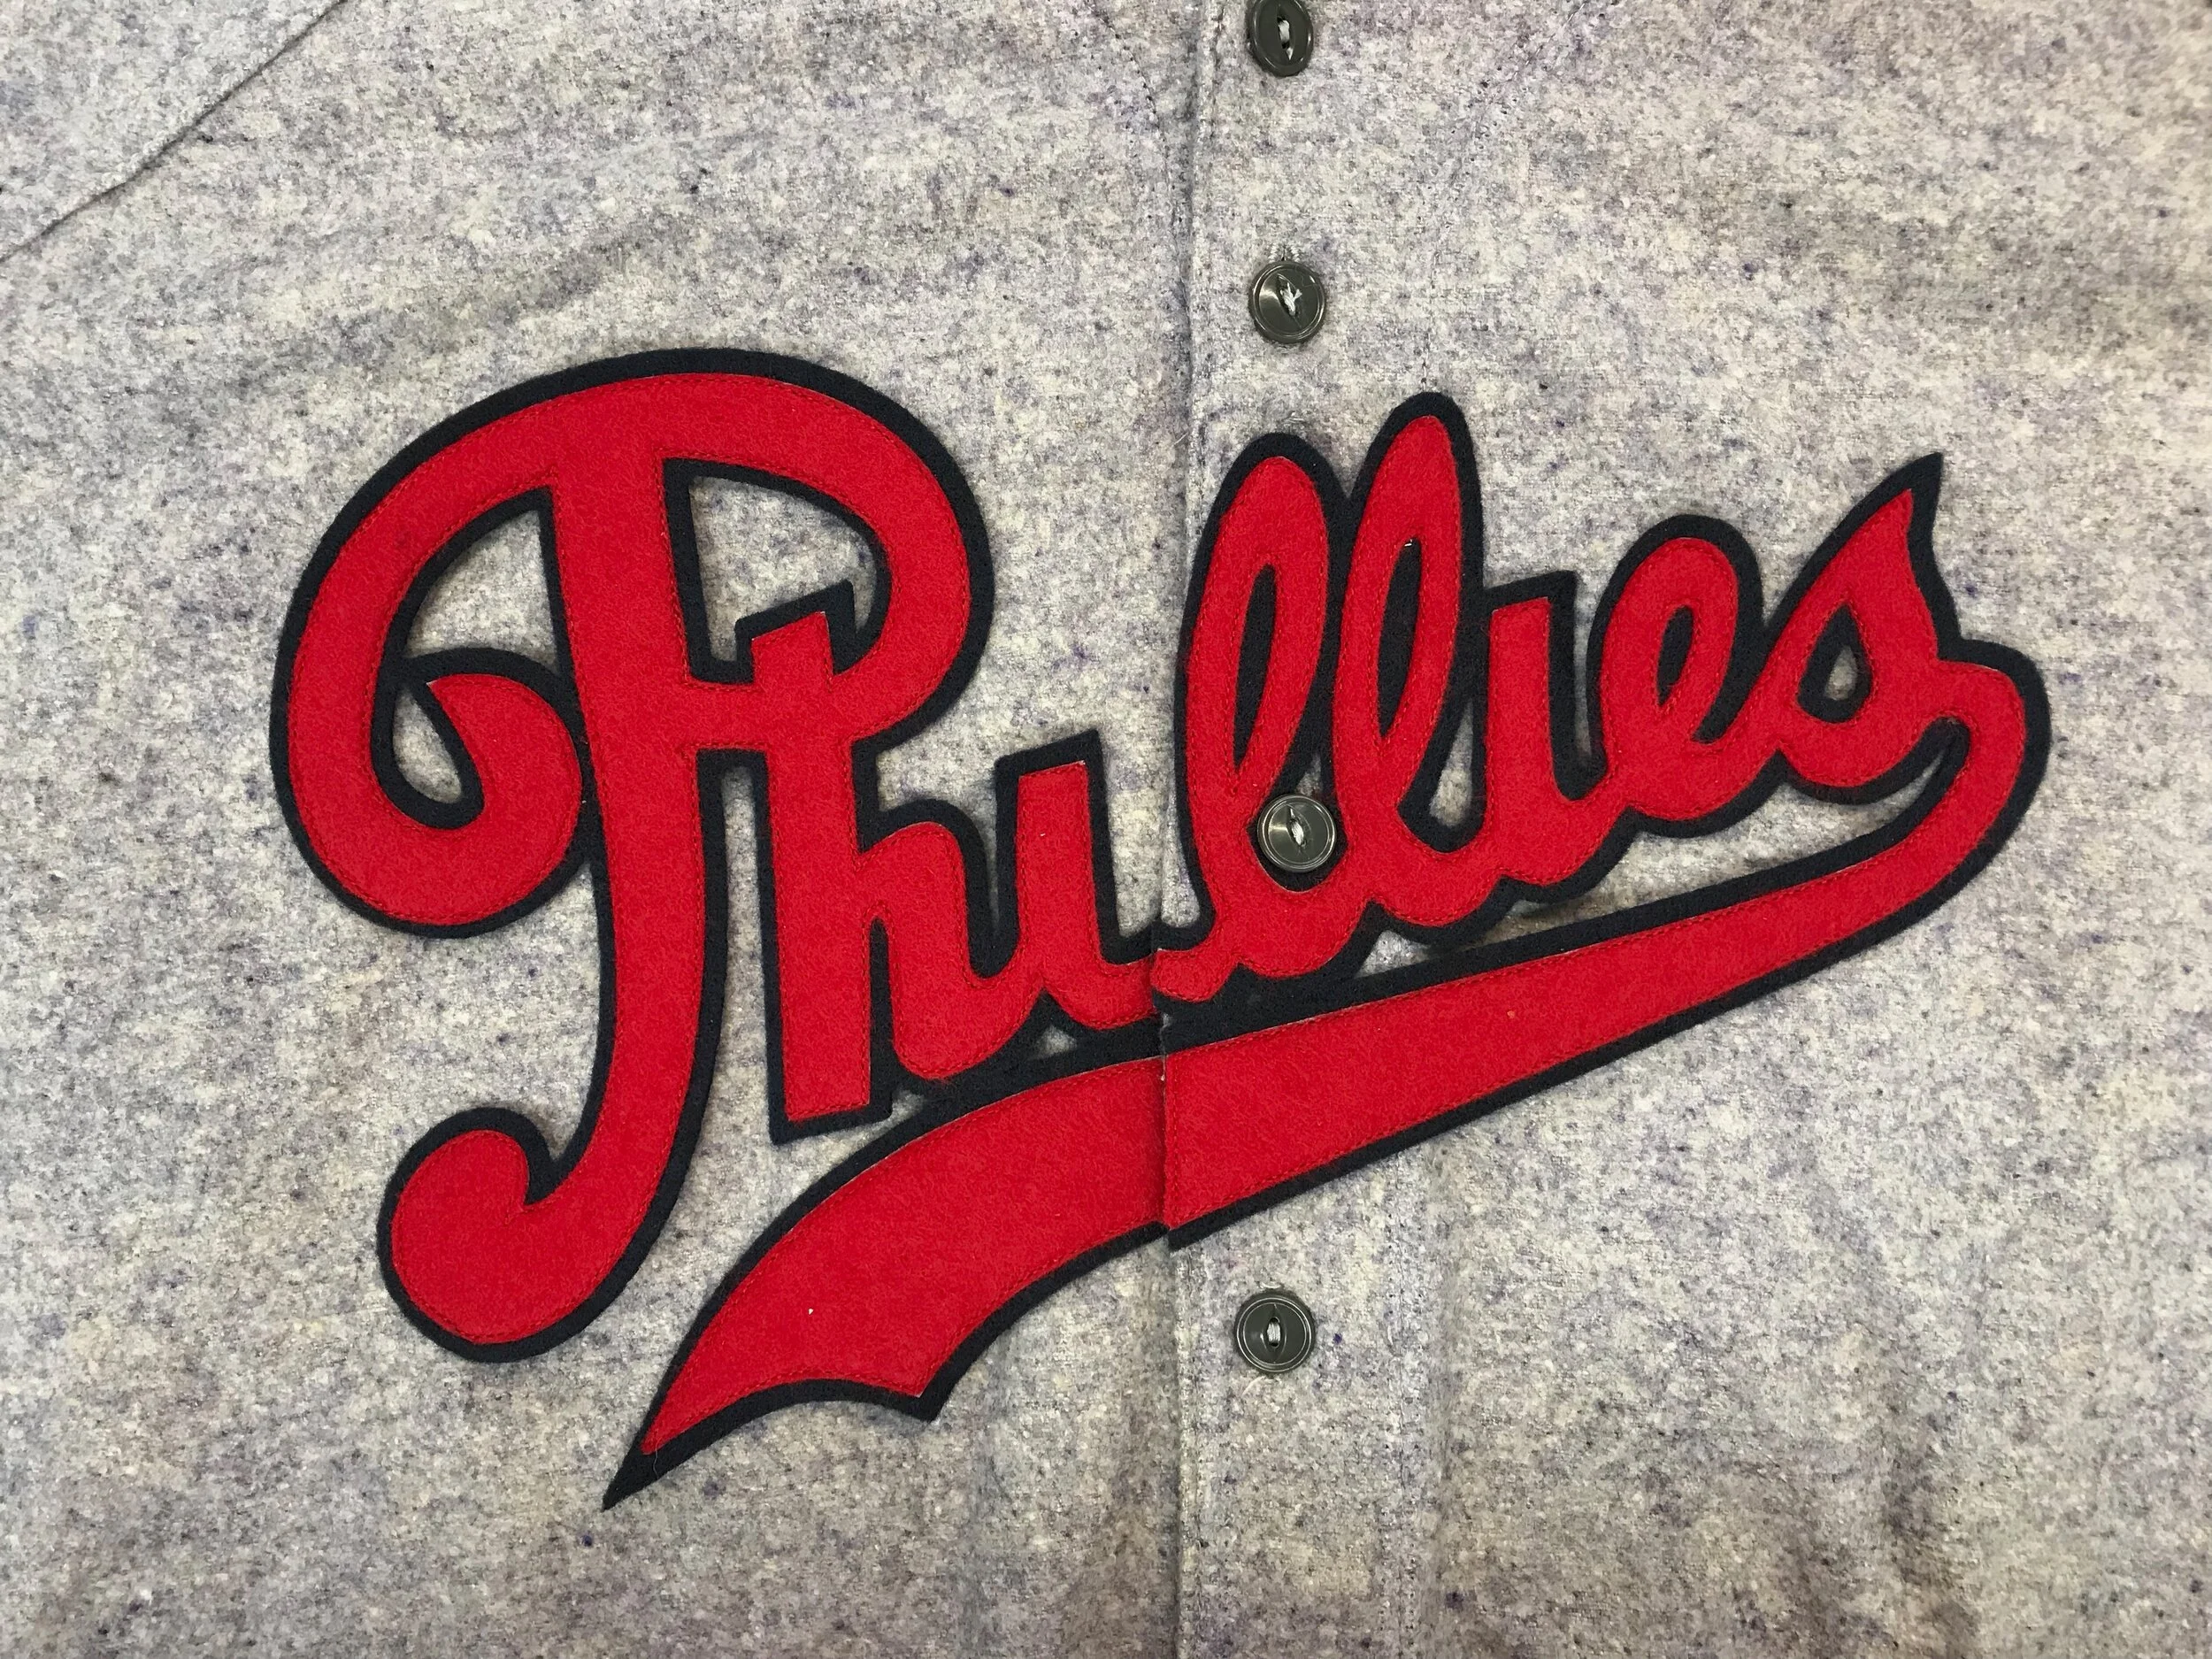
Very few clear photos of these jerseys exist. Here, I have superimposed art I drew from one such jersey on top of another jersey photo. You can see that nothing lines up. This is because old jersey designs had to be hand-cut by tailors The red felt was stitched to a solid piece of navy felt, and by hand, using only his eye, the tailor would cut the outline.
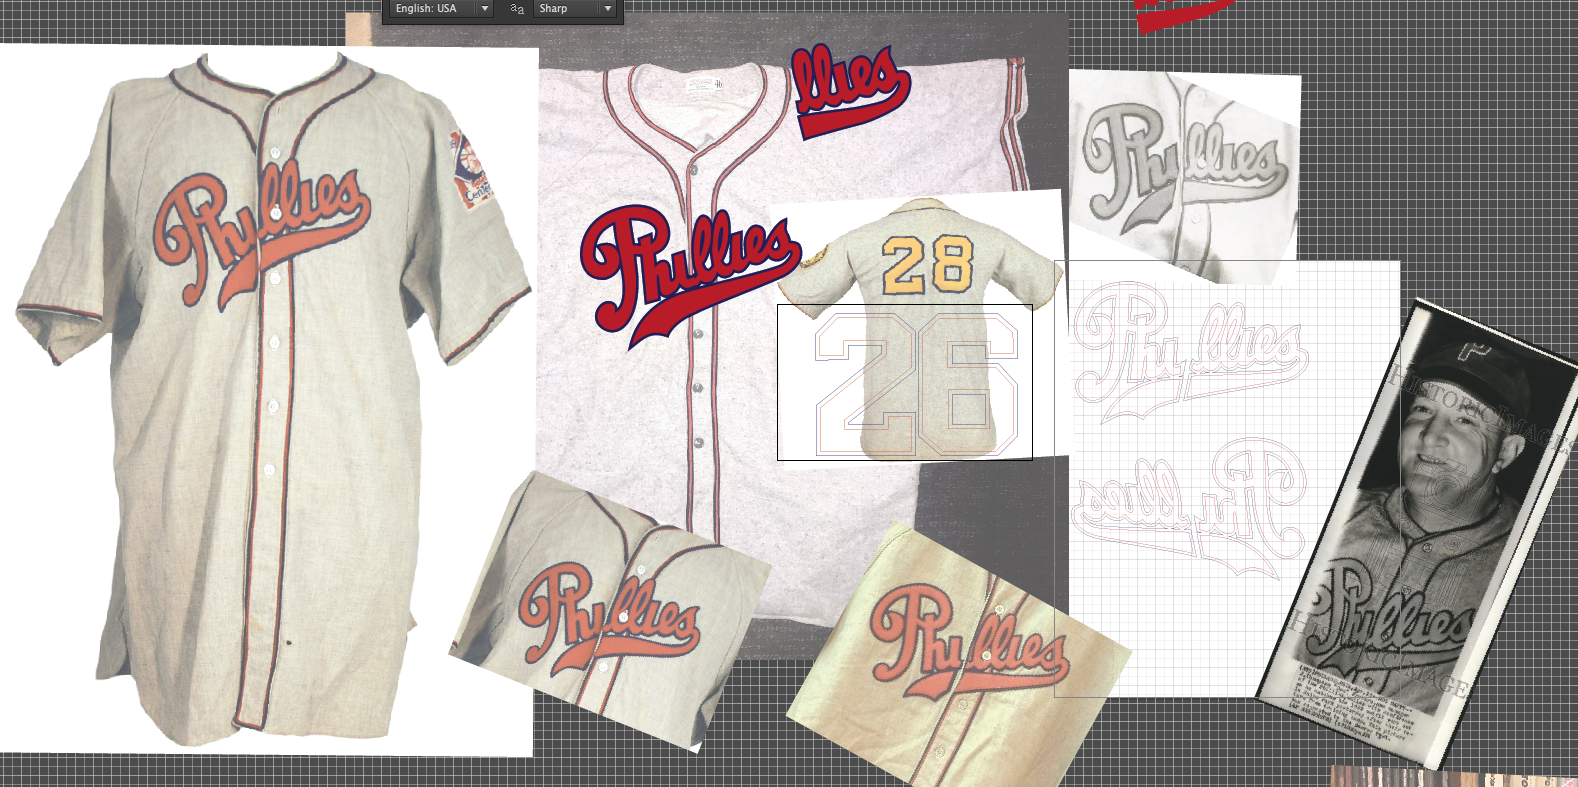
Several superimposed photos I used to ensure the accuracy of the the design.
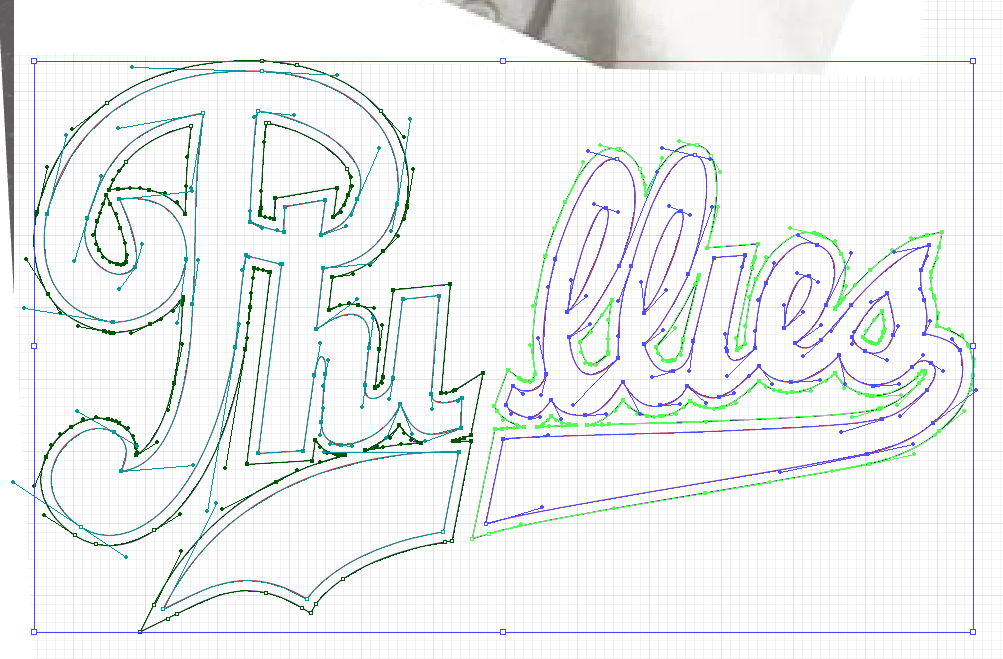
Here is my final cutting pattern, ready to be sent to the computer-driven cutter.
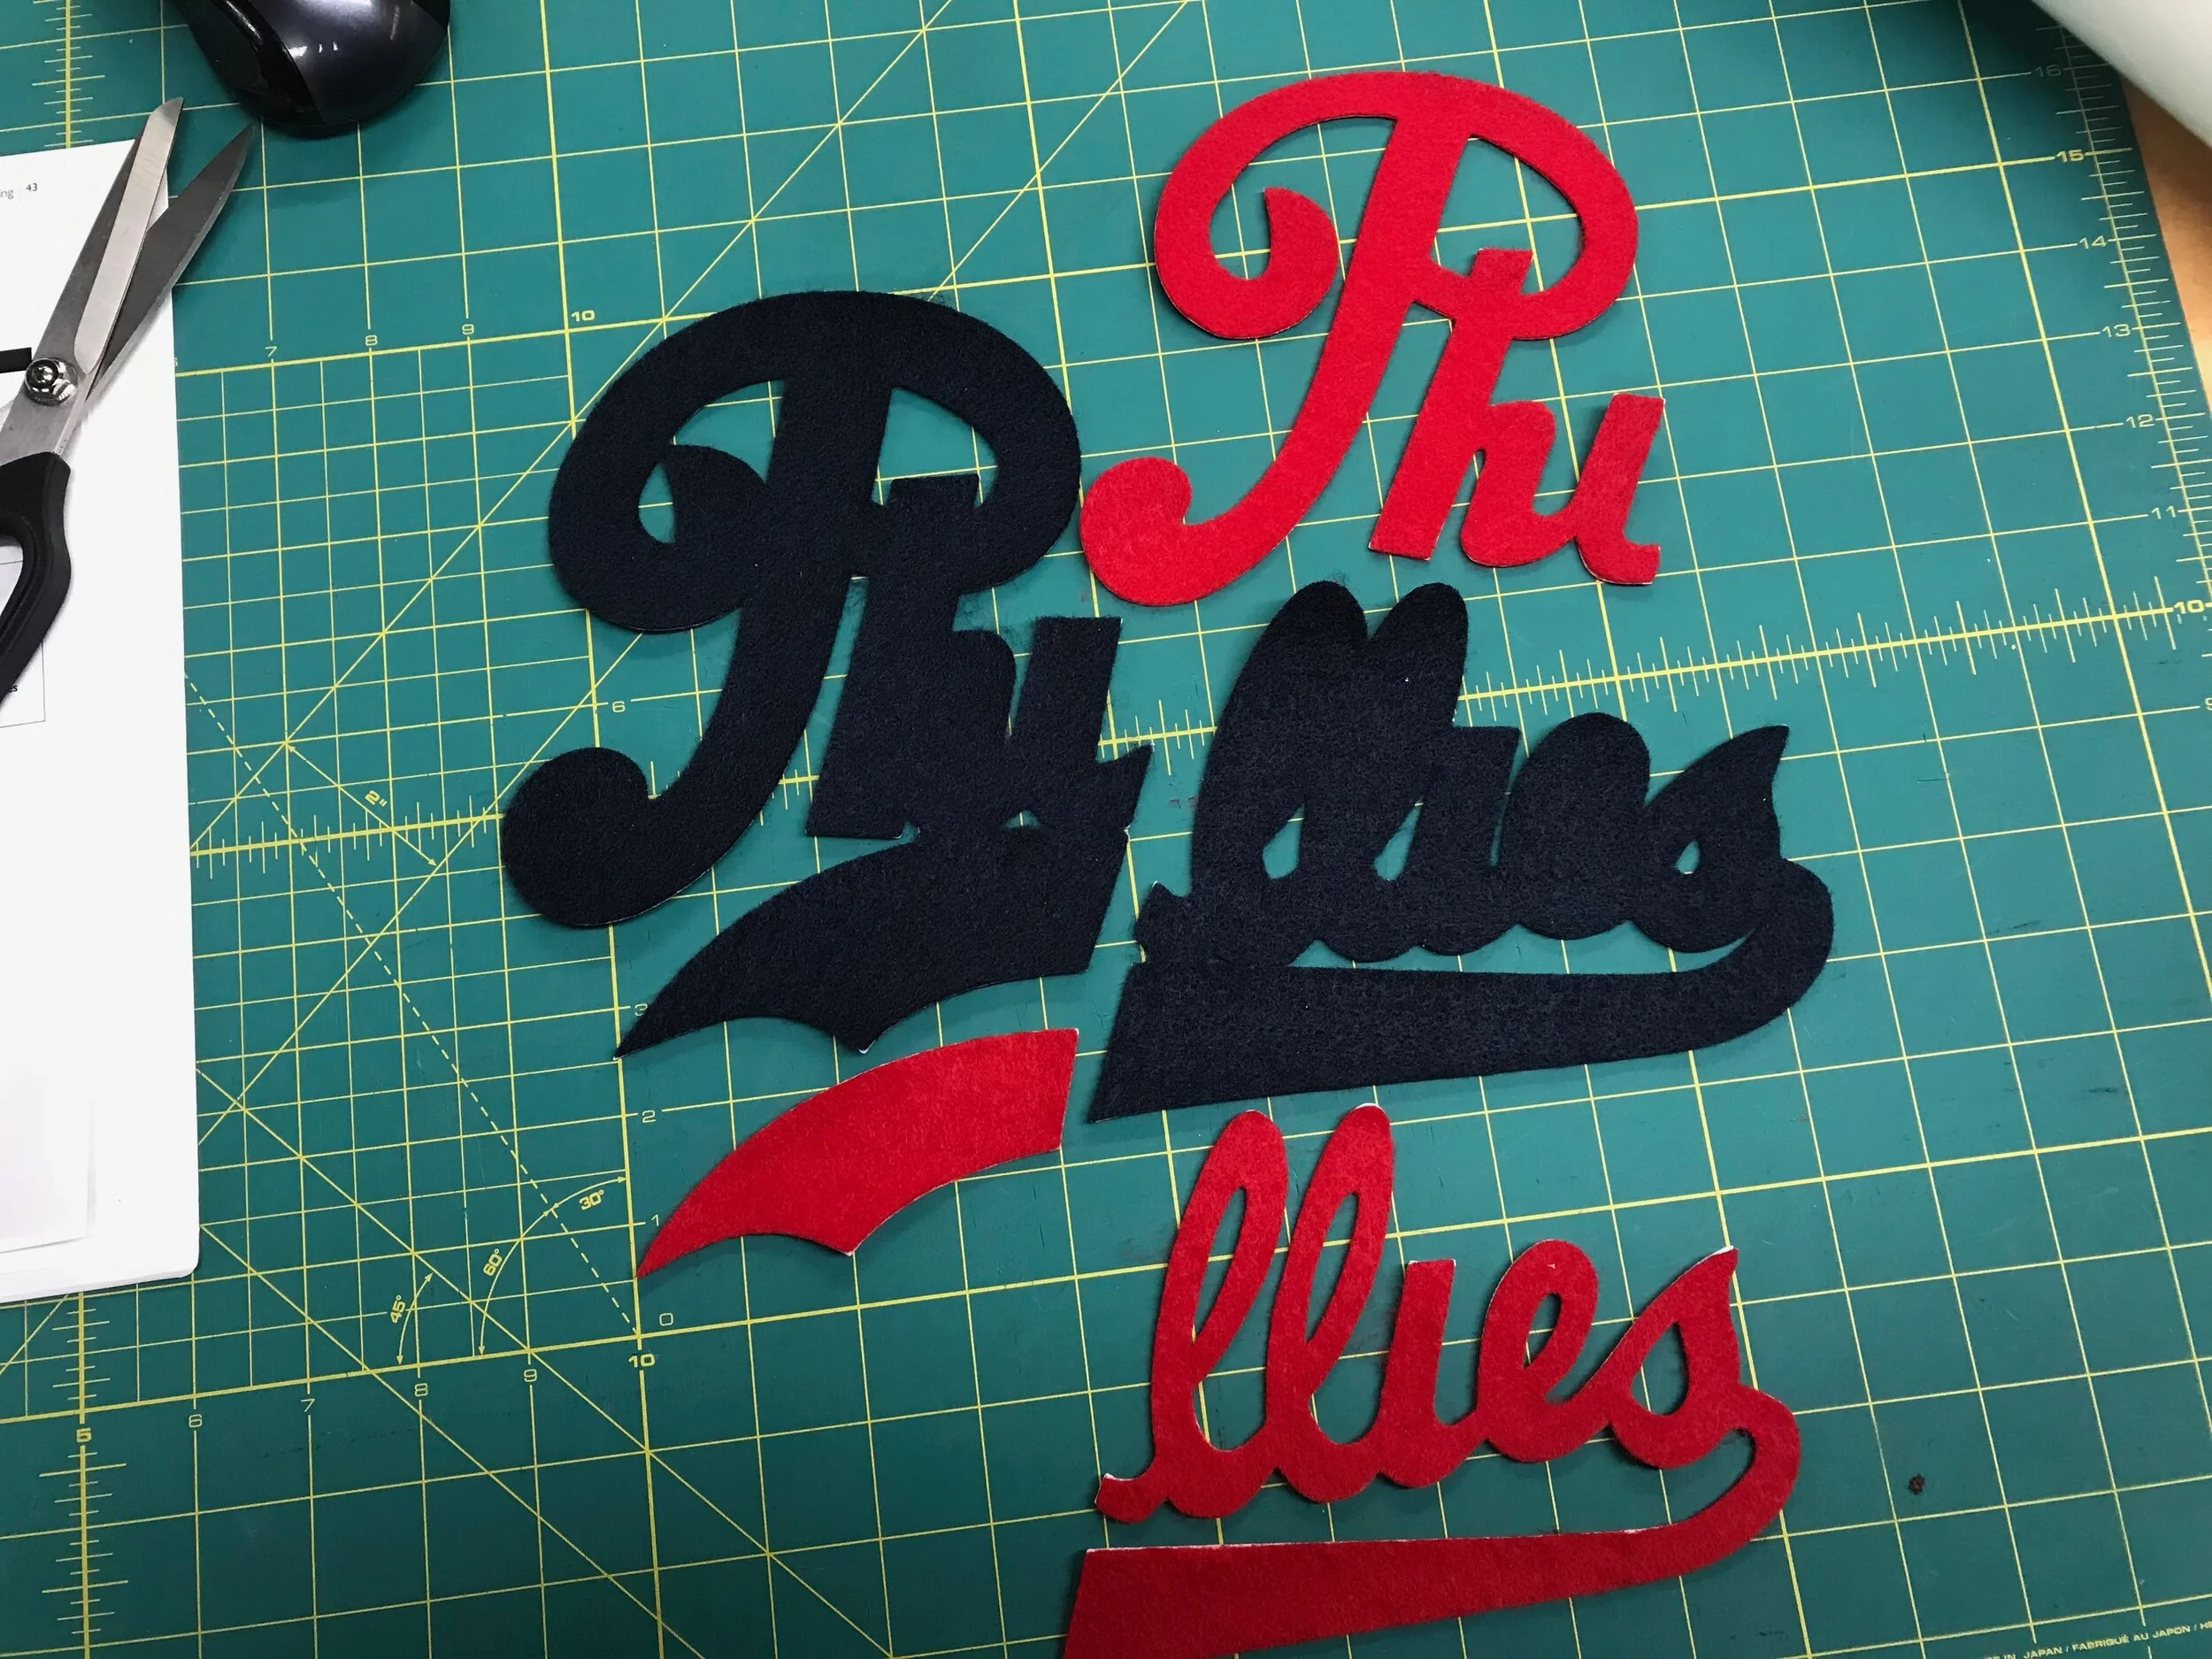
The cutter produces a total of five pieces. Before cutting the felt, I "back" it with a lightweight interfacing that helps stiffen it, and then apply a final layer of plastic film that will "glue" the layers together for the next steps.
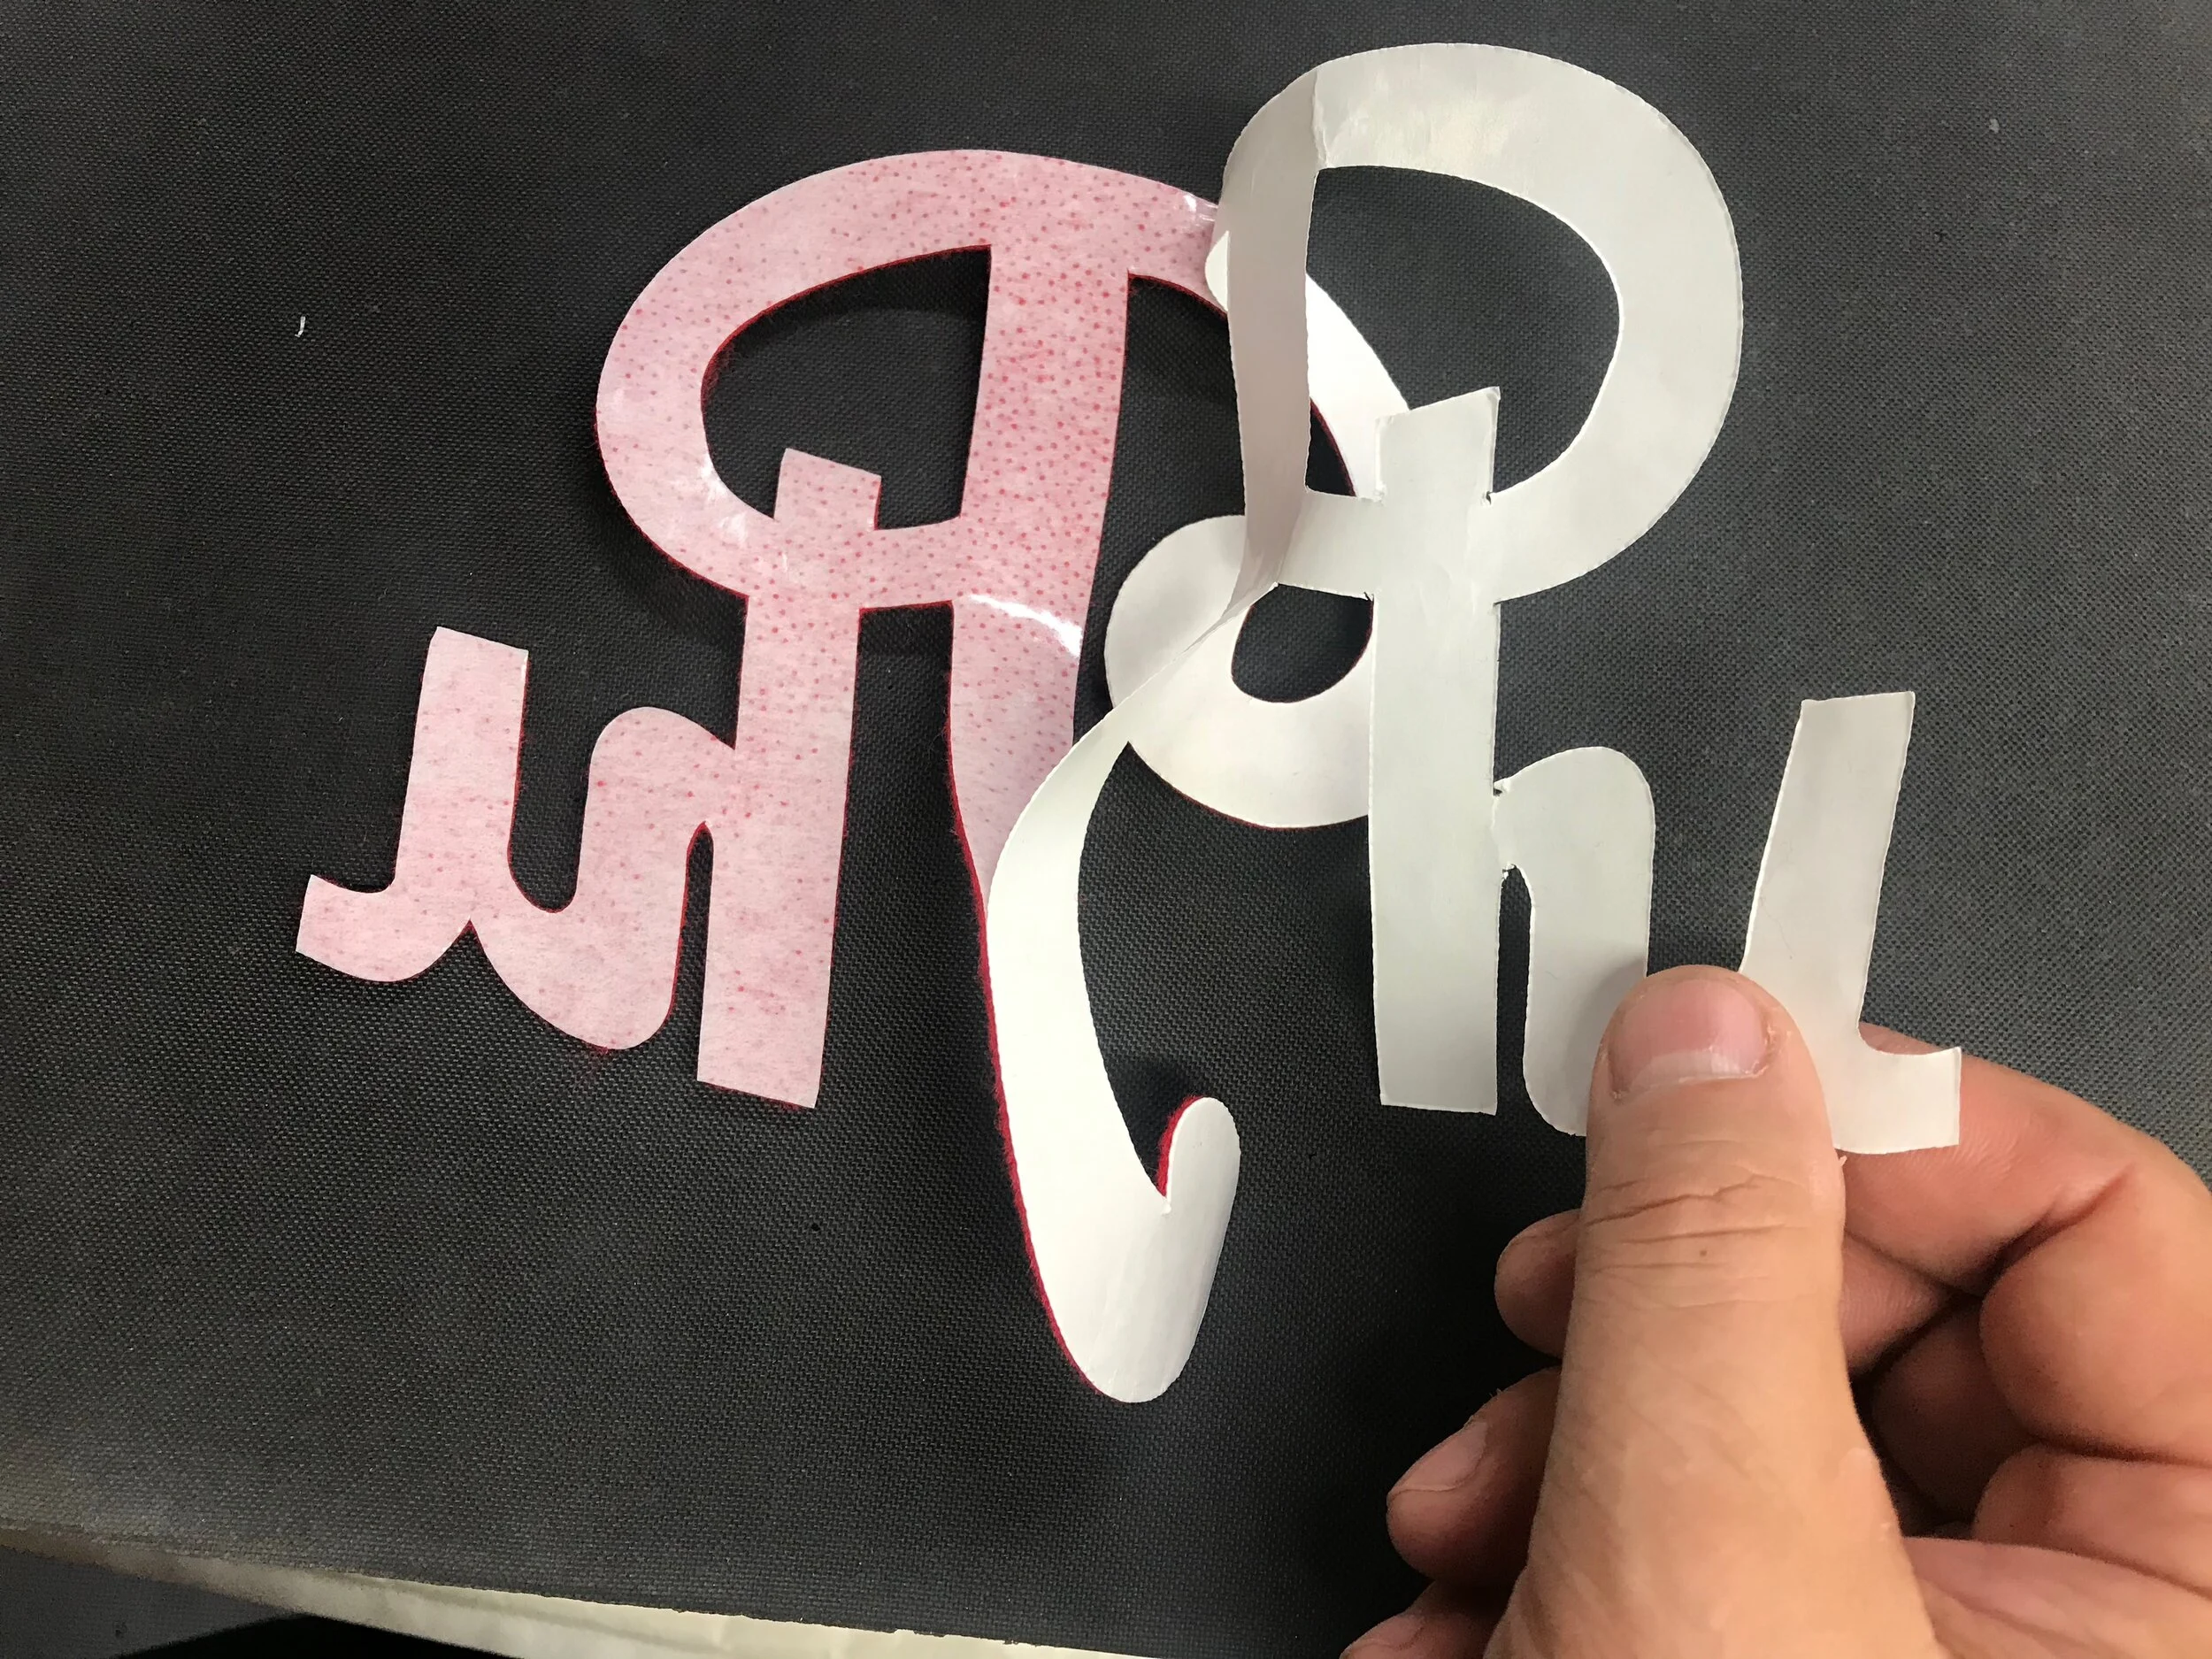
I cut the lettering from the back, right through the paper backing of the film. Once the appliques are cut, I peel off the backing paper exposing the heat-sensitive plastic film below.
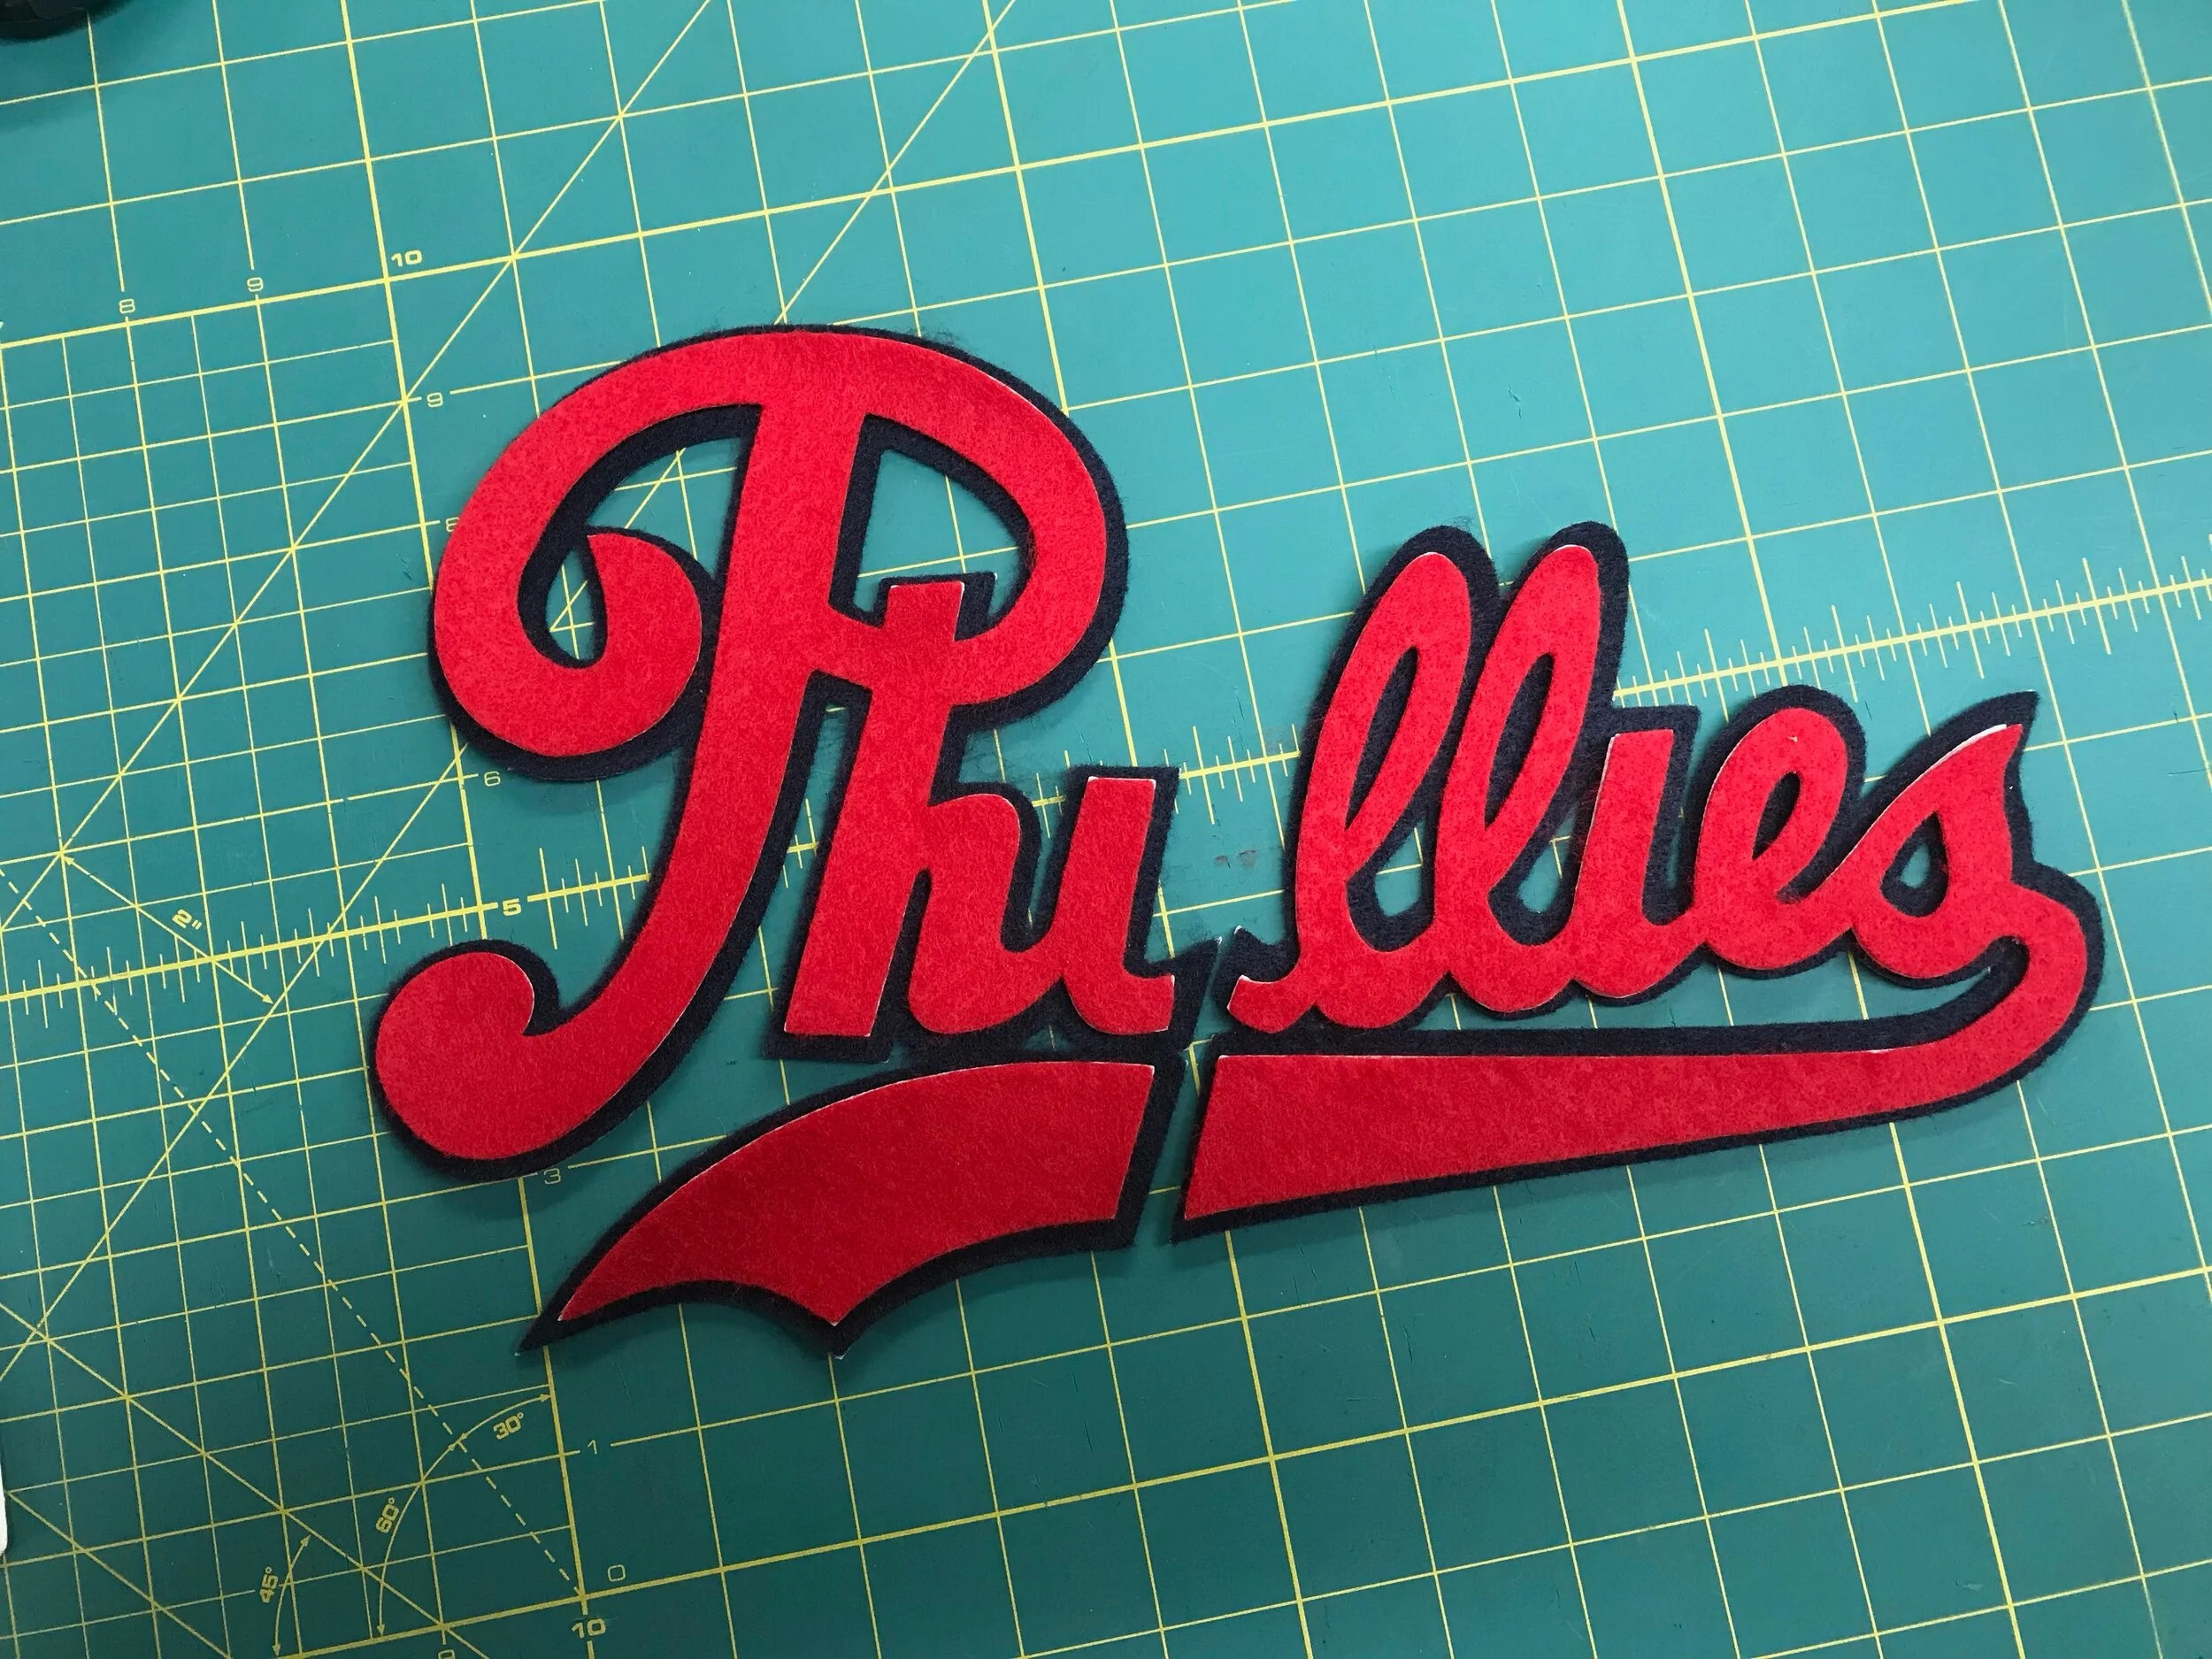
I carefully align the pieces, and will next press them together for eight seconds at 330º F. The backing on the top layer bonds it to the bottom layer to prepare it for stitching.
Next, I edge-sew the layers together. Felt lettering is typically straight stitched, like this. Twill has a woven edge that can unravel, so a zig zag stitch is used with twill.
Now, we'll move the two misplaced buttons and buttonholes. I've clearly noted the proper measurements on my drawing, then temporarily placed the front wordmark where it belongs. I've marked the locations for the repositioned buttons using painters' tape.
I have marked the marked the exact location of the two new buttonholes with soft lead pencil. Compare them to the original buttonhole locations.
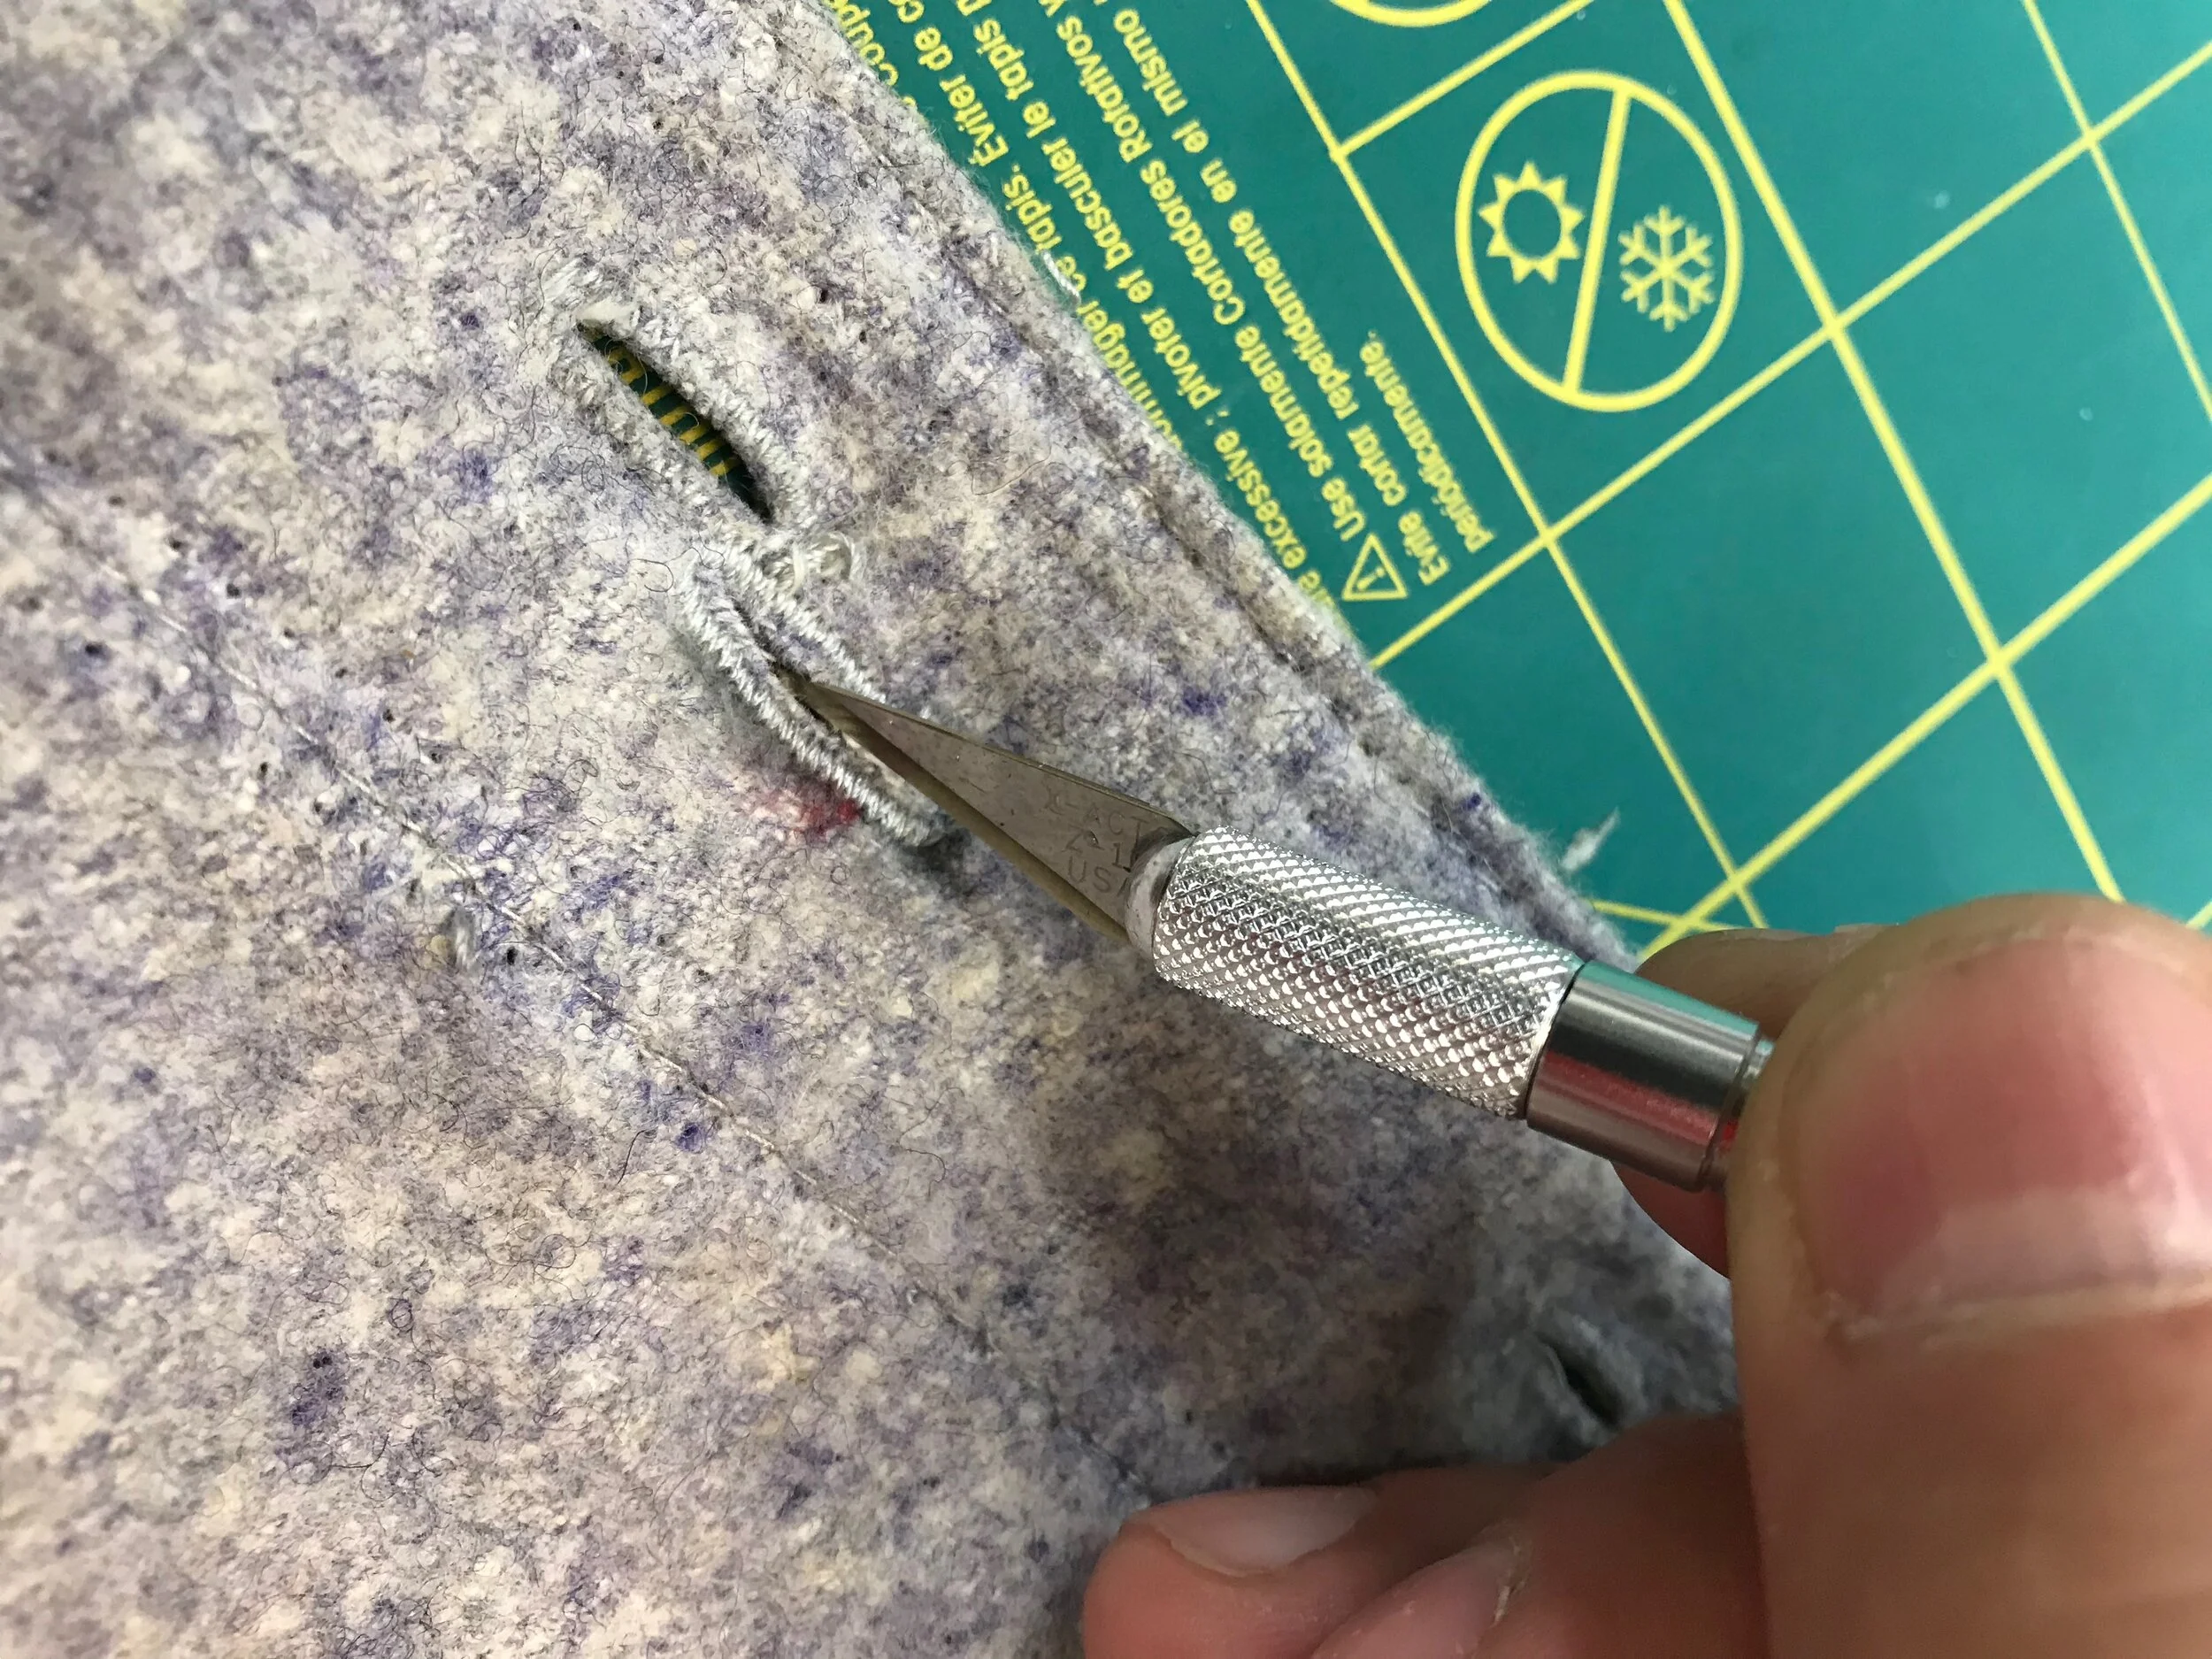
Once the buttonhole outline is sewn, I cut a slot to open it with a small, sharp knife.
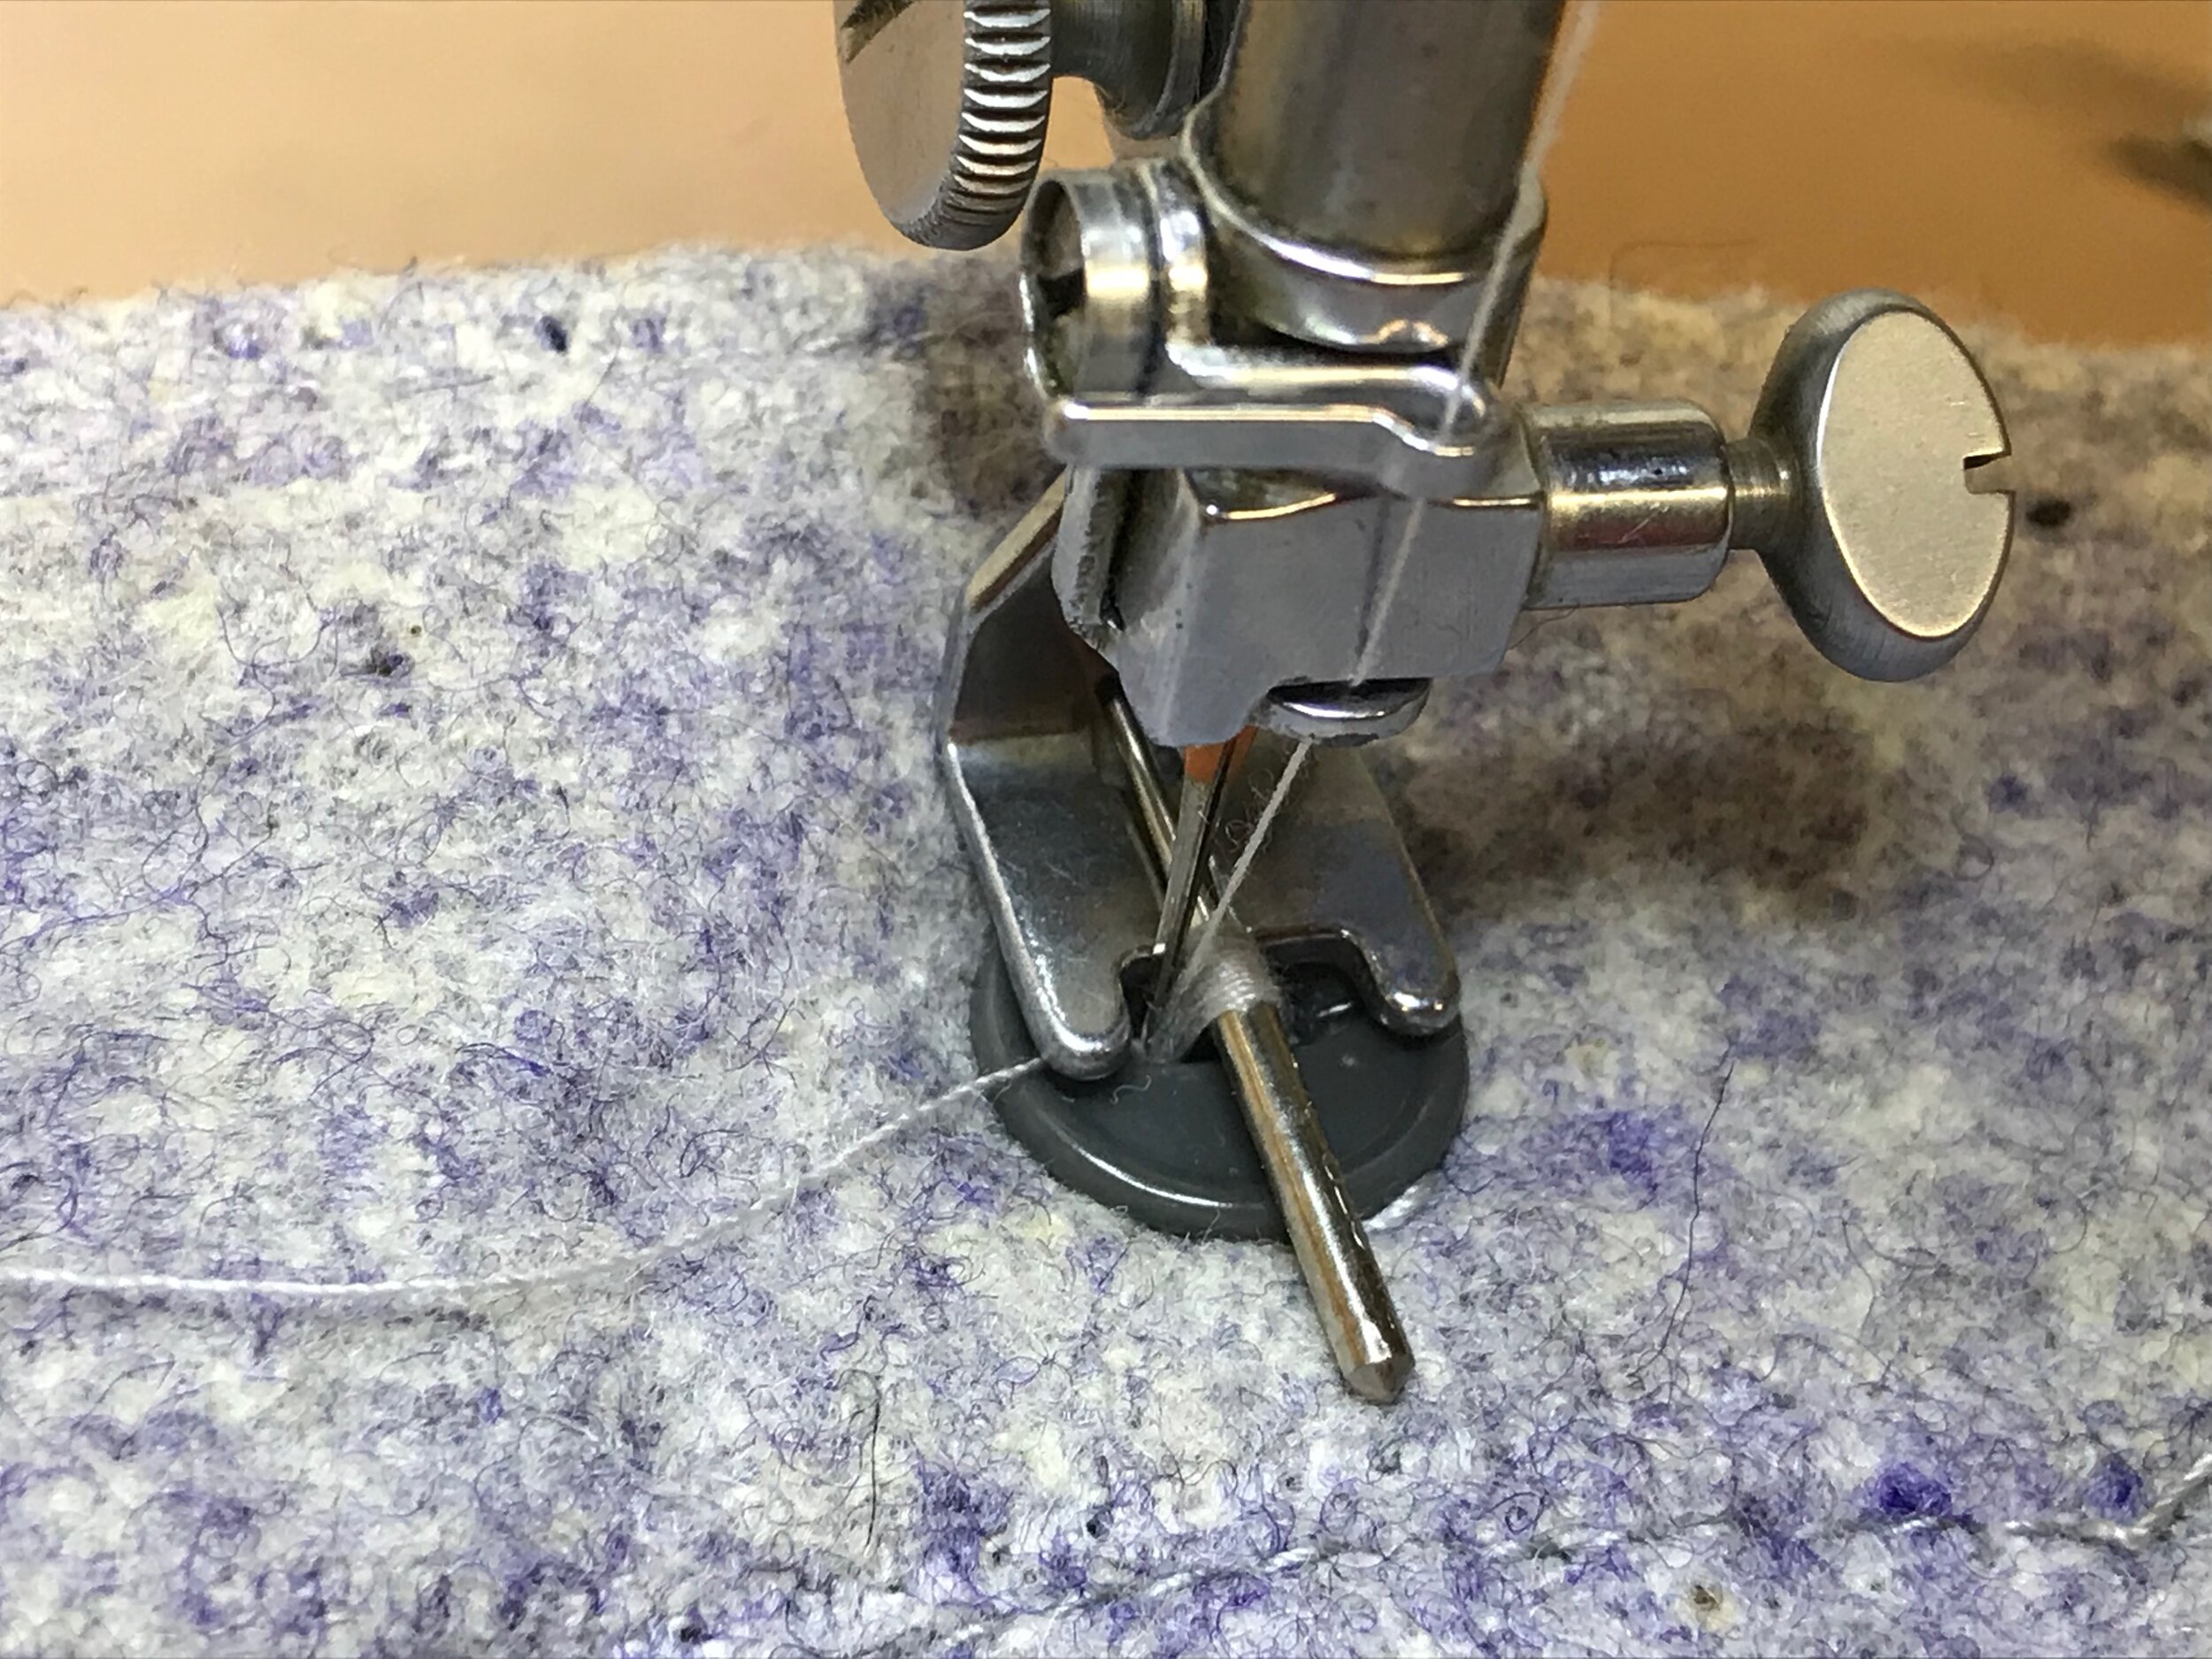
The sewing machine has a special foot to sew buttons. The bar in the center is an extra needle inserted as a spacer. If I omitted the needle/spacer when sewing, the button would be sewn so tightly to the shirt that you'd never be able to get the button through its hole!

The buttons are now secured in their proper places!
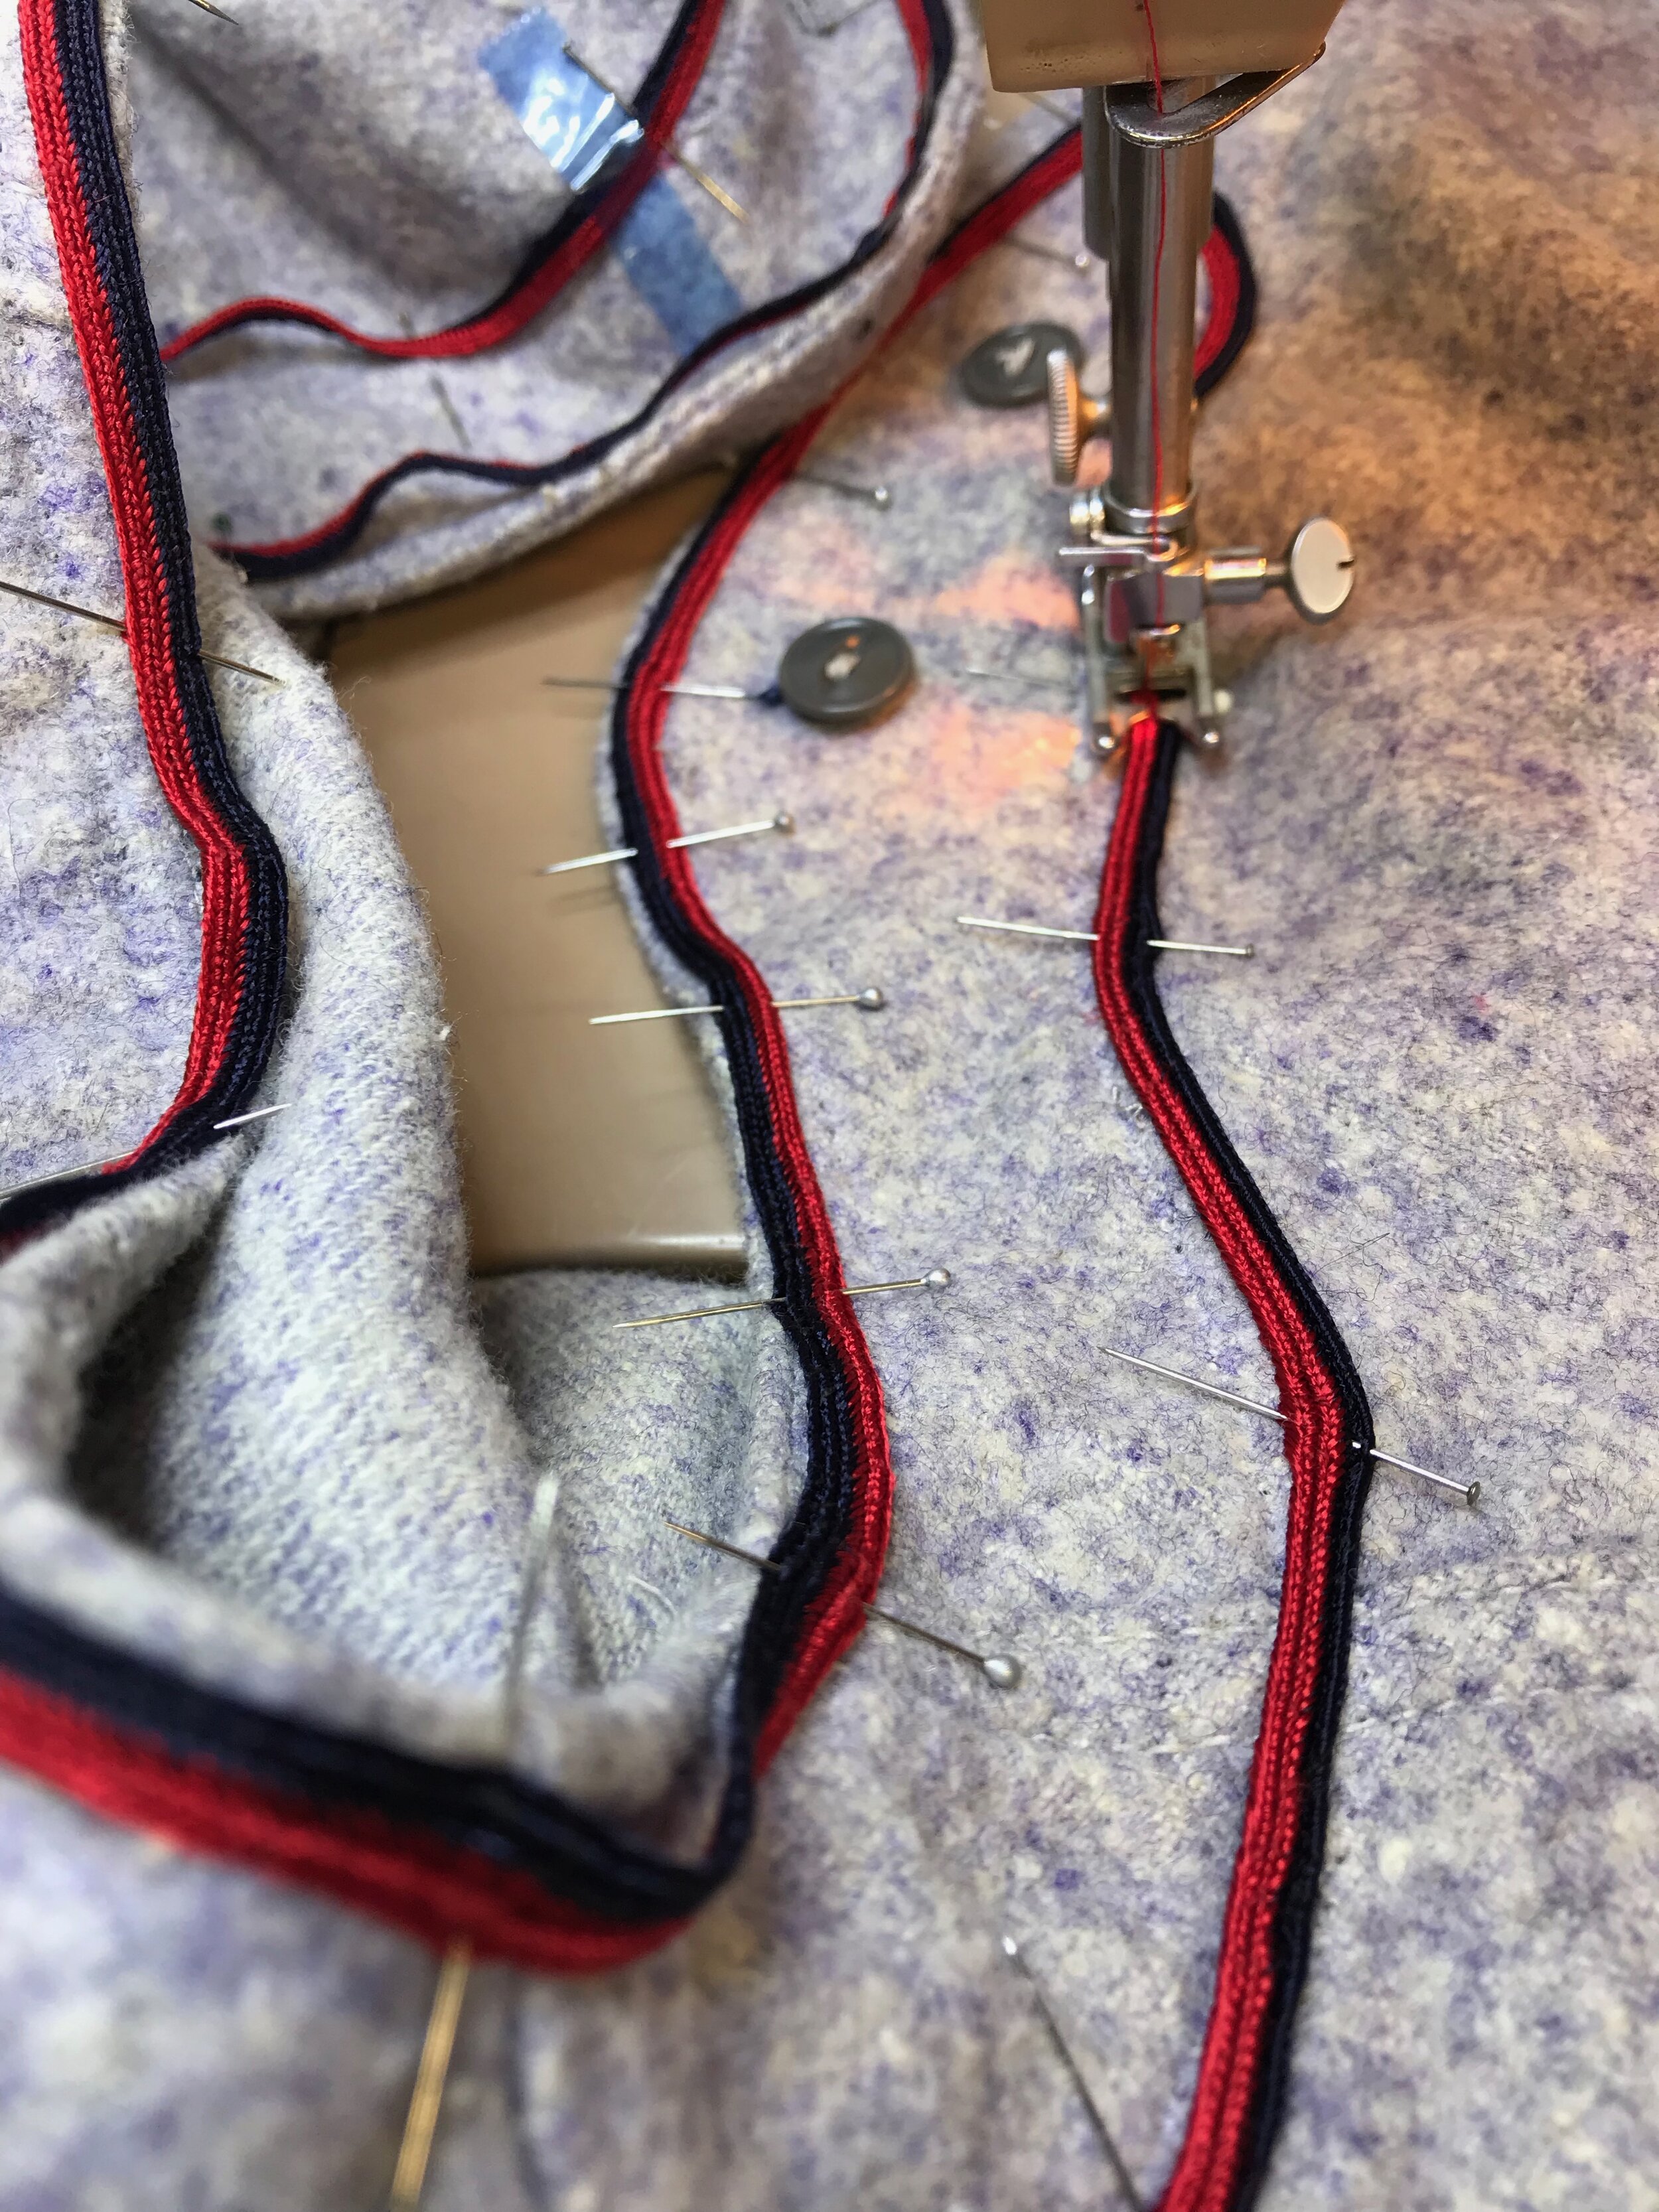
Next, we must resew the revised trim. I used dozens of pins, adjusting them several times before starting to sew.
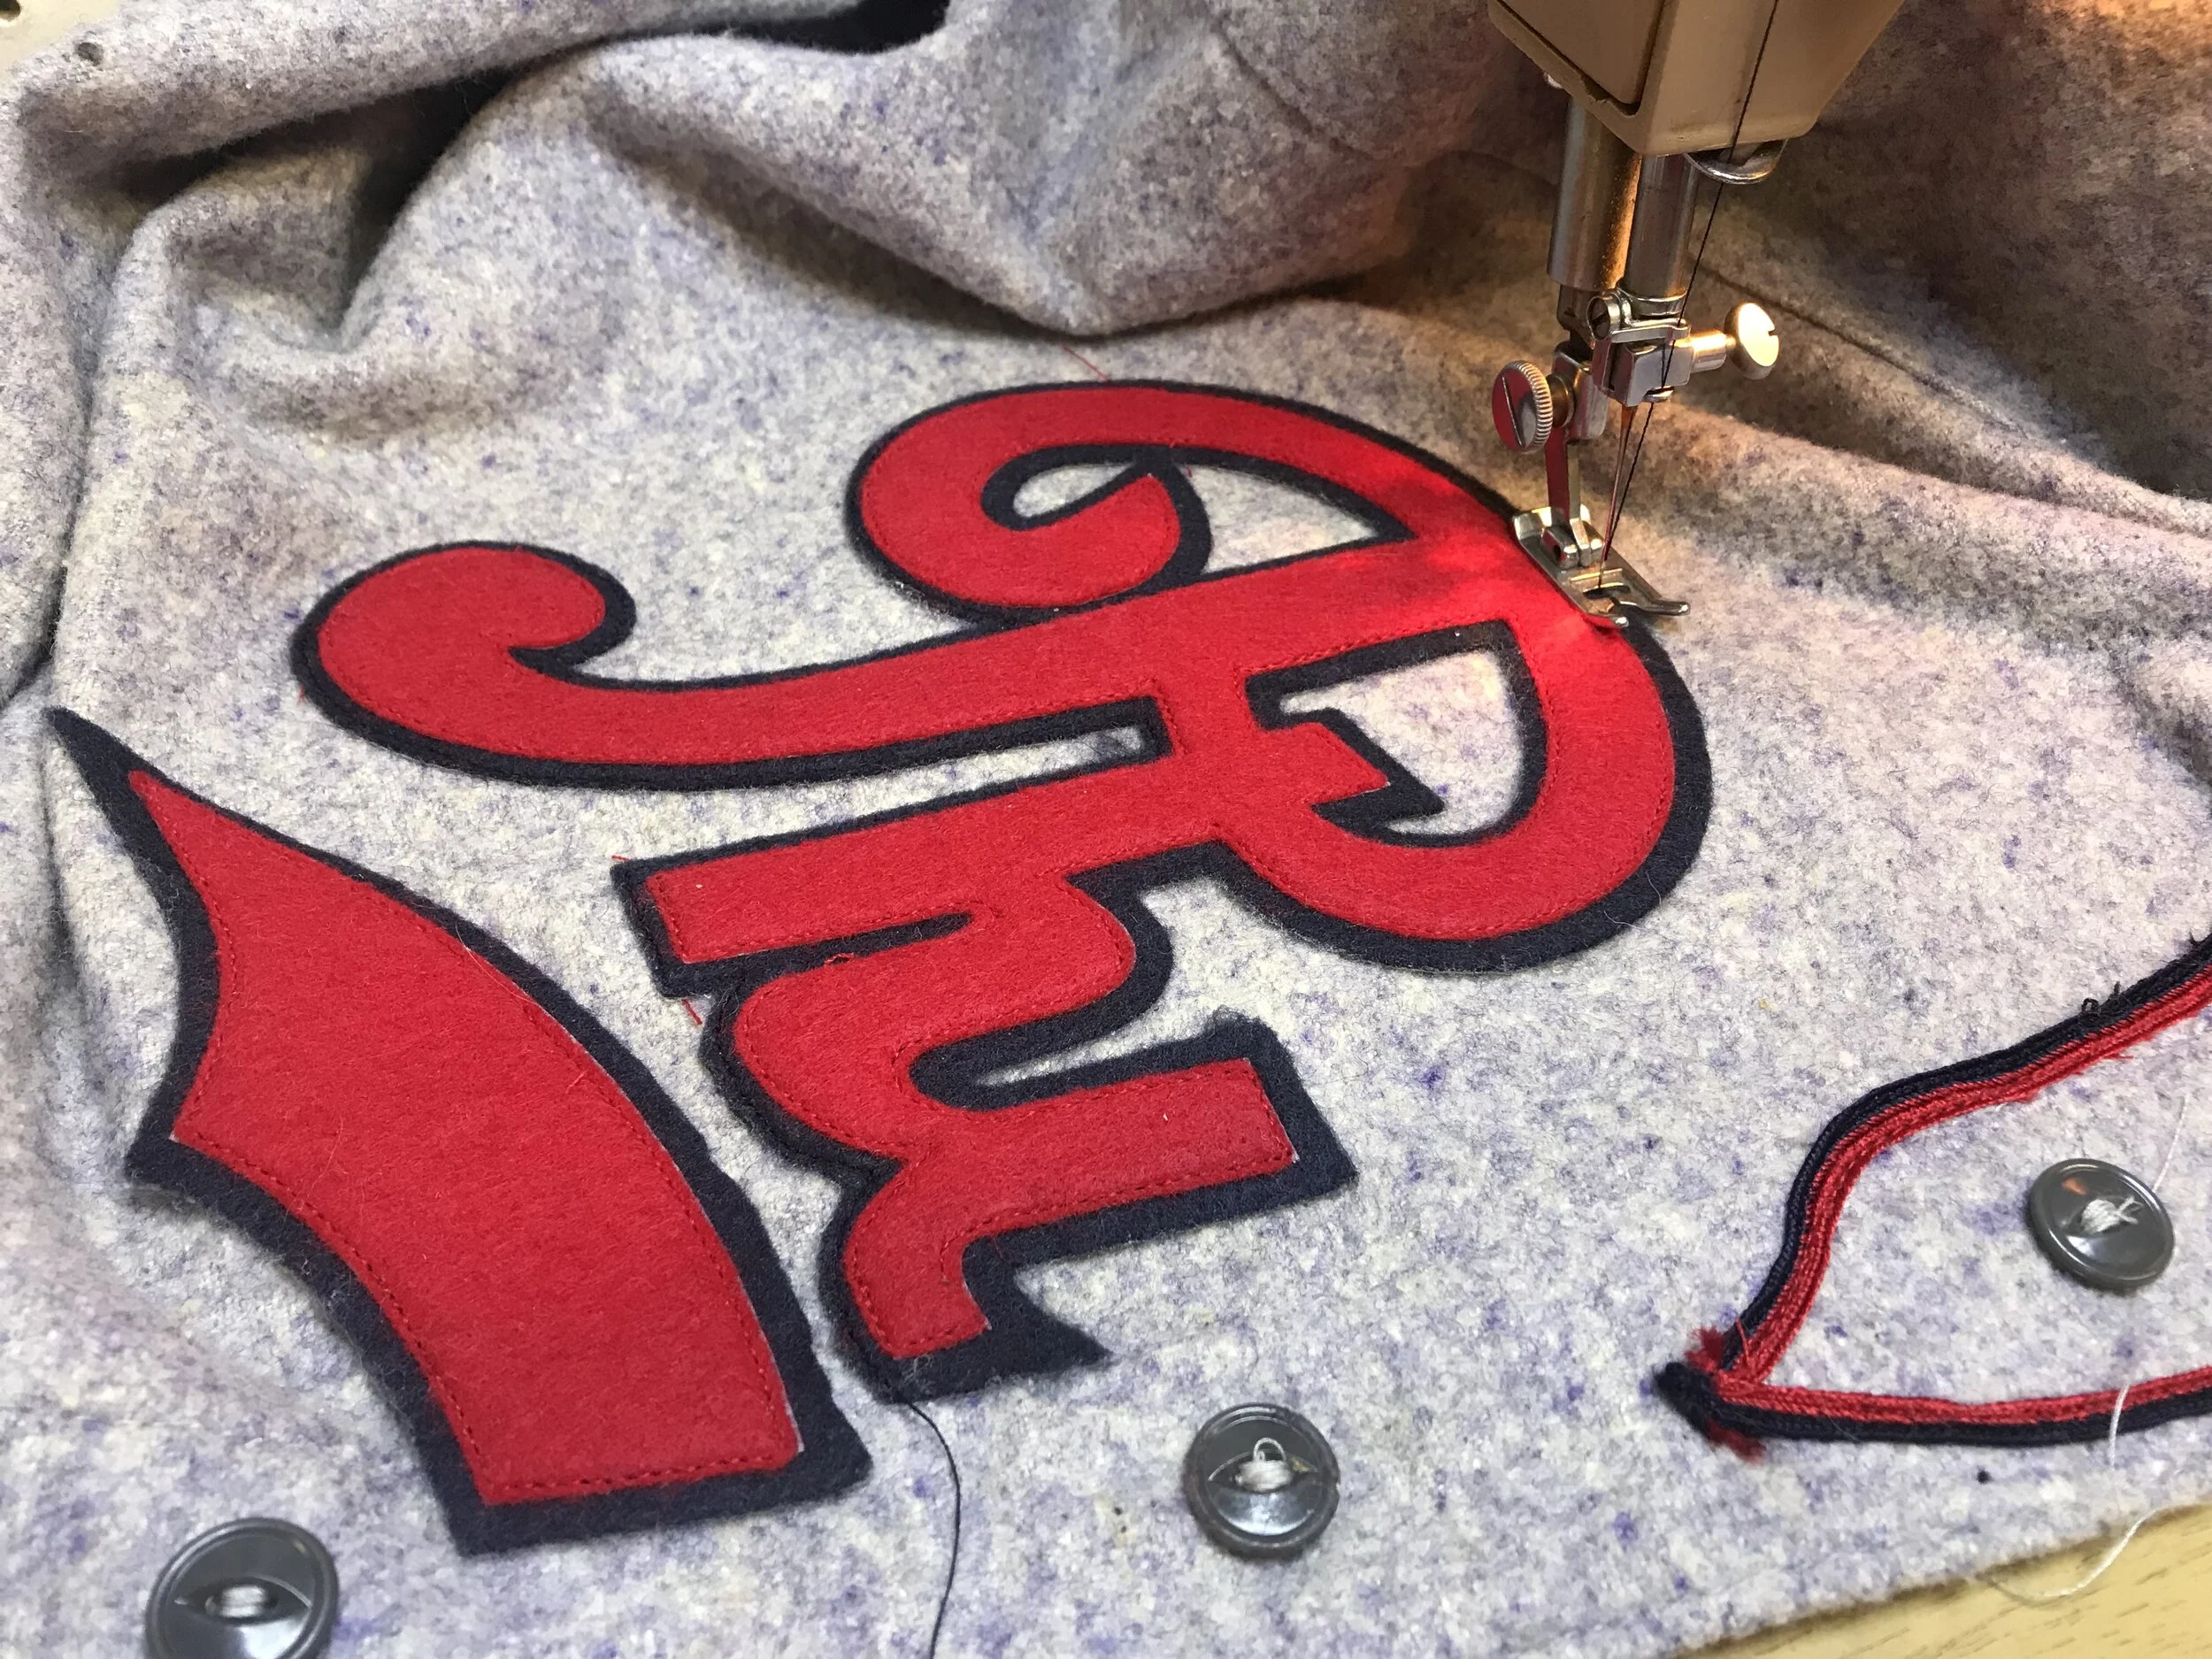
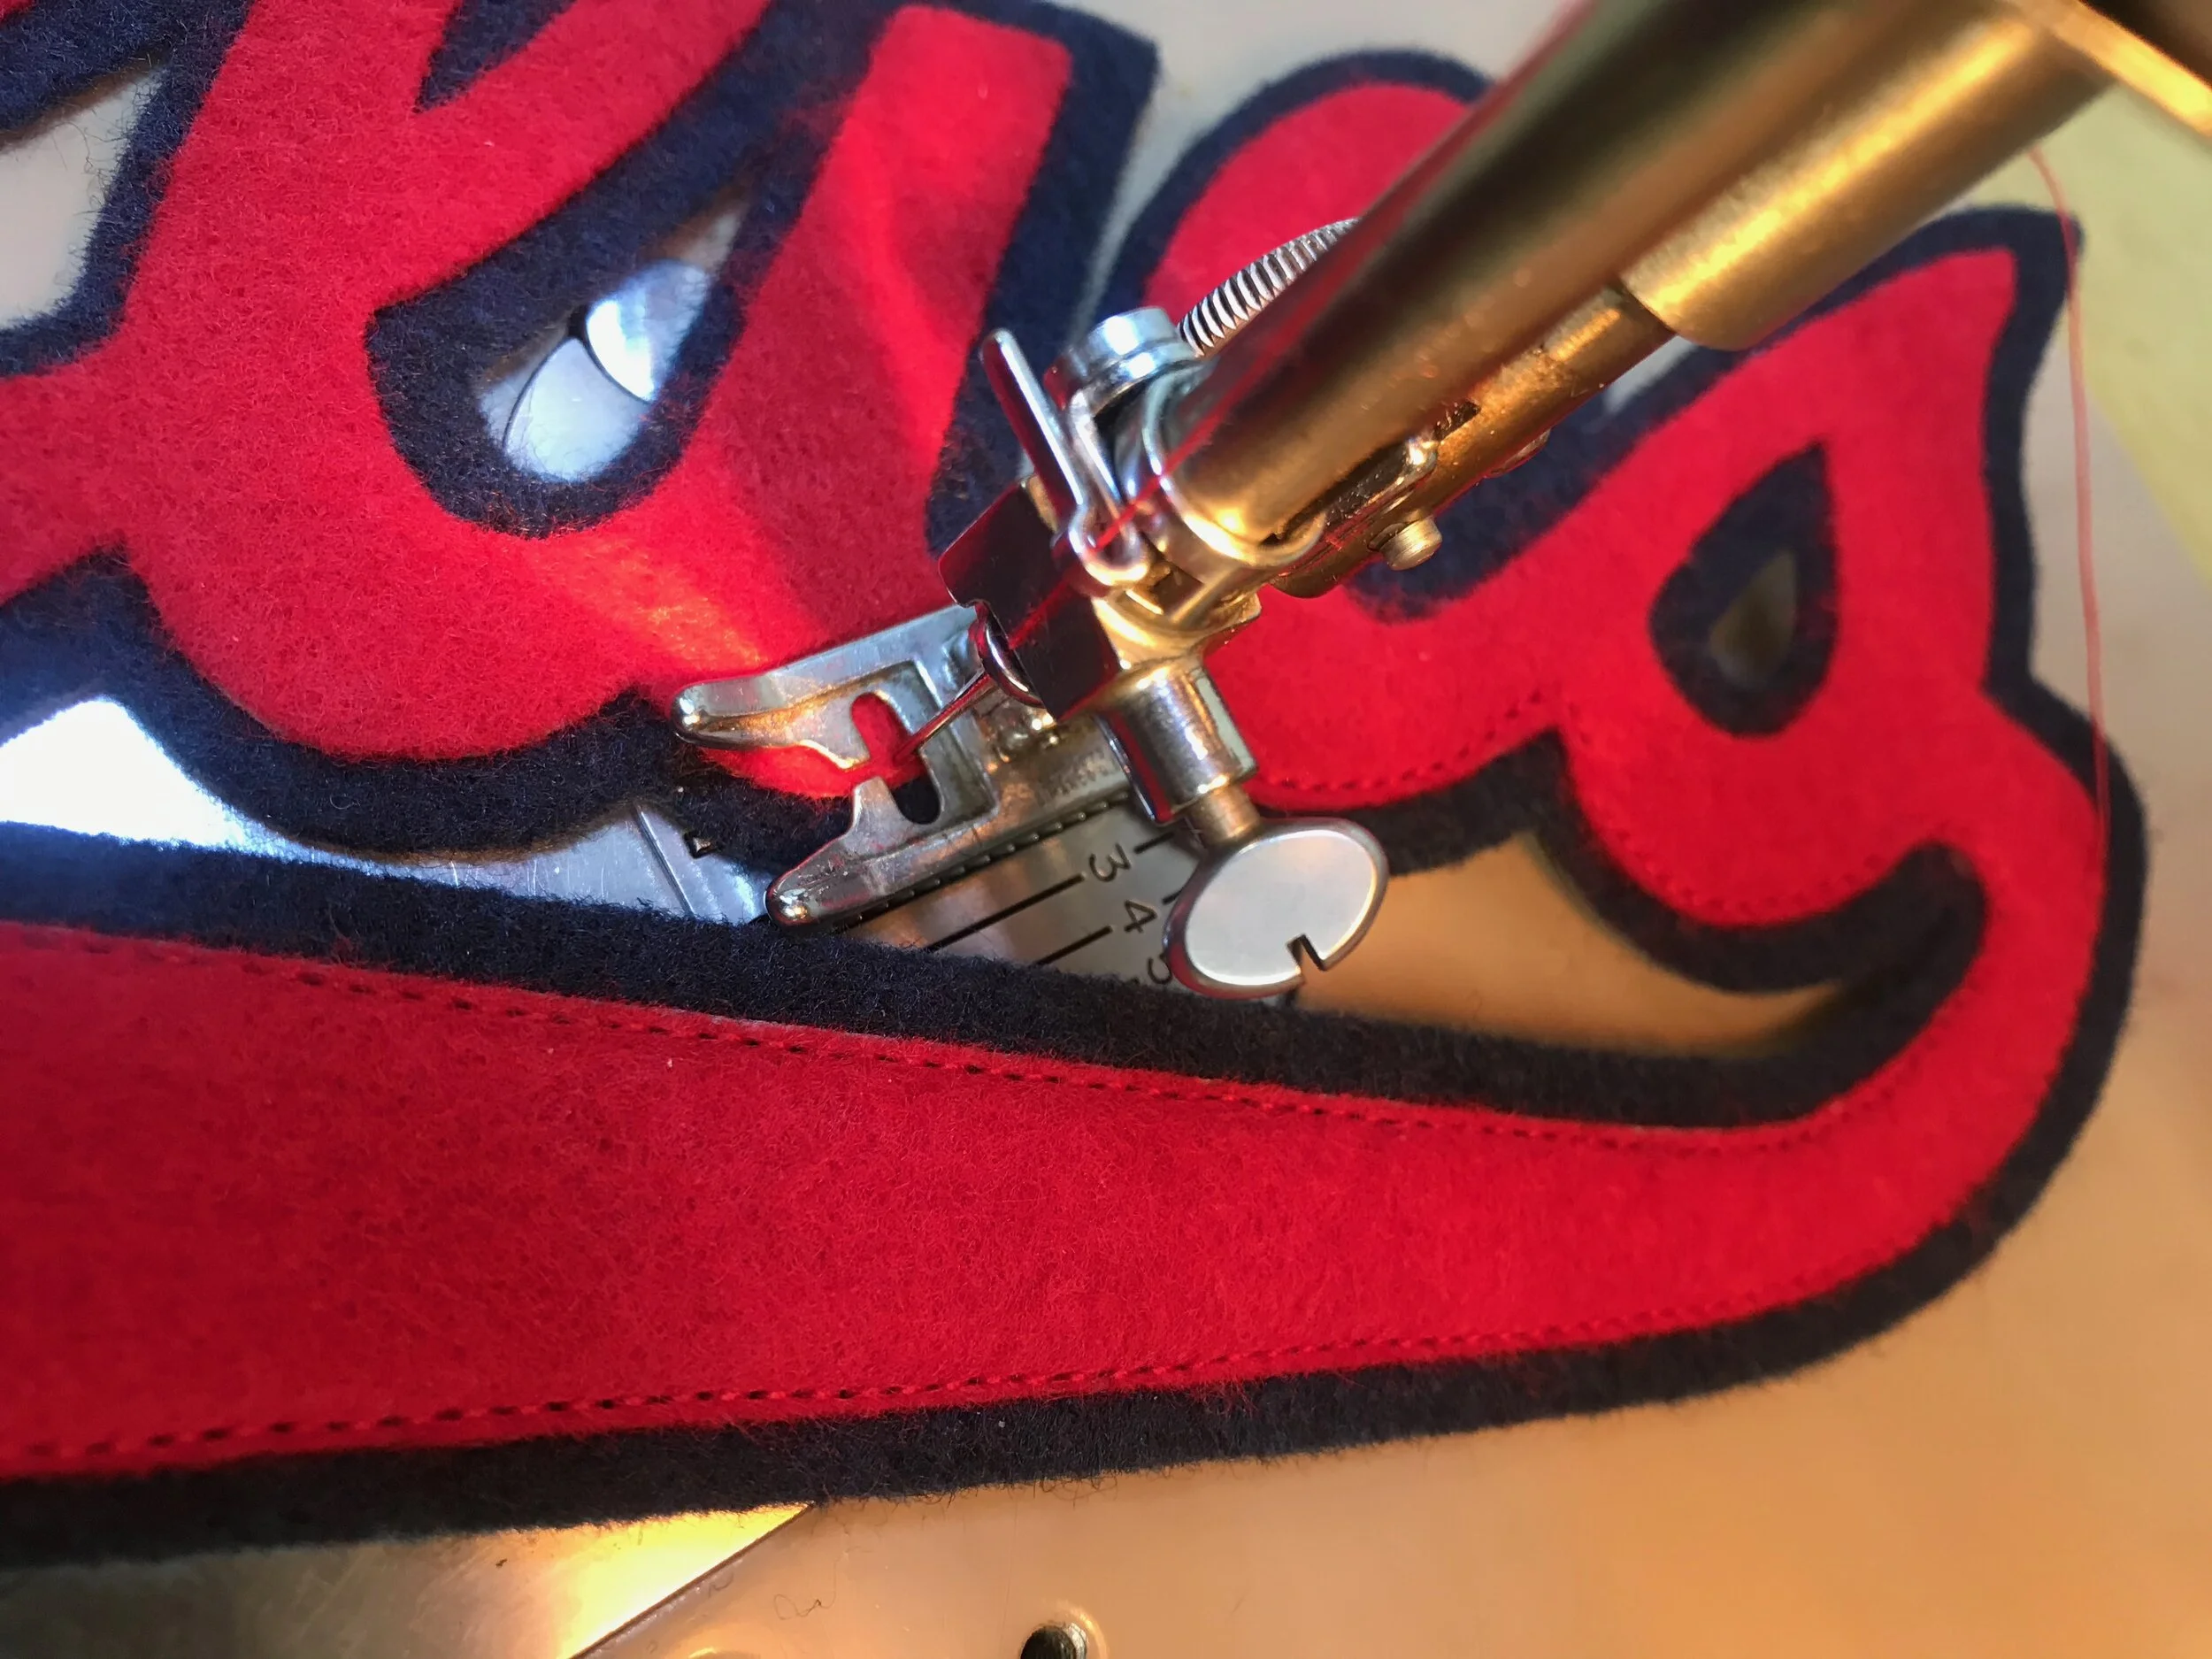
Properly placed and tacked with adhesive, the team logo is edge-sewn to the jersey with a straight stitch.
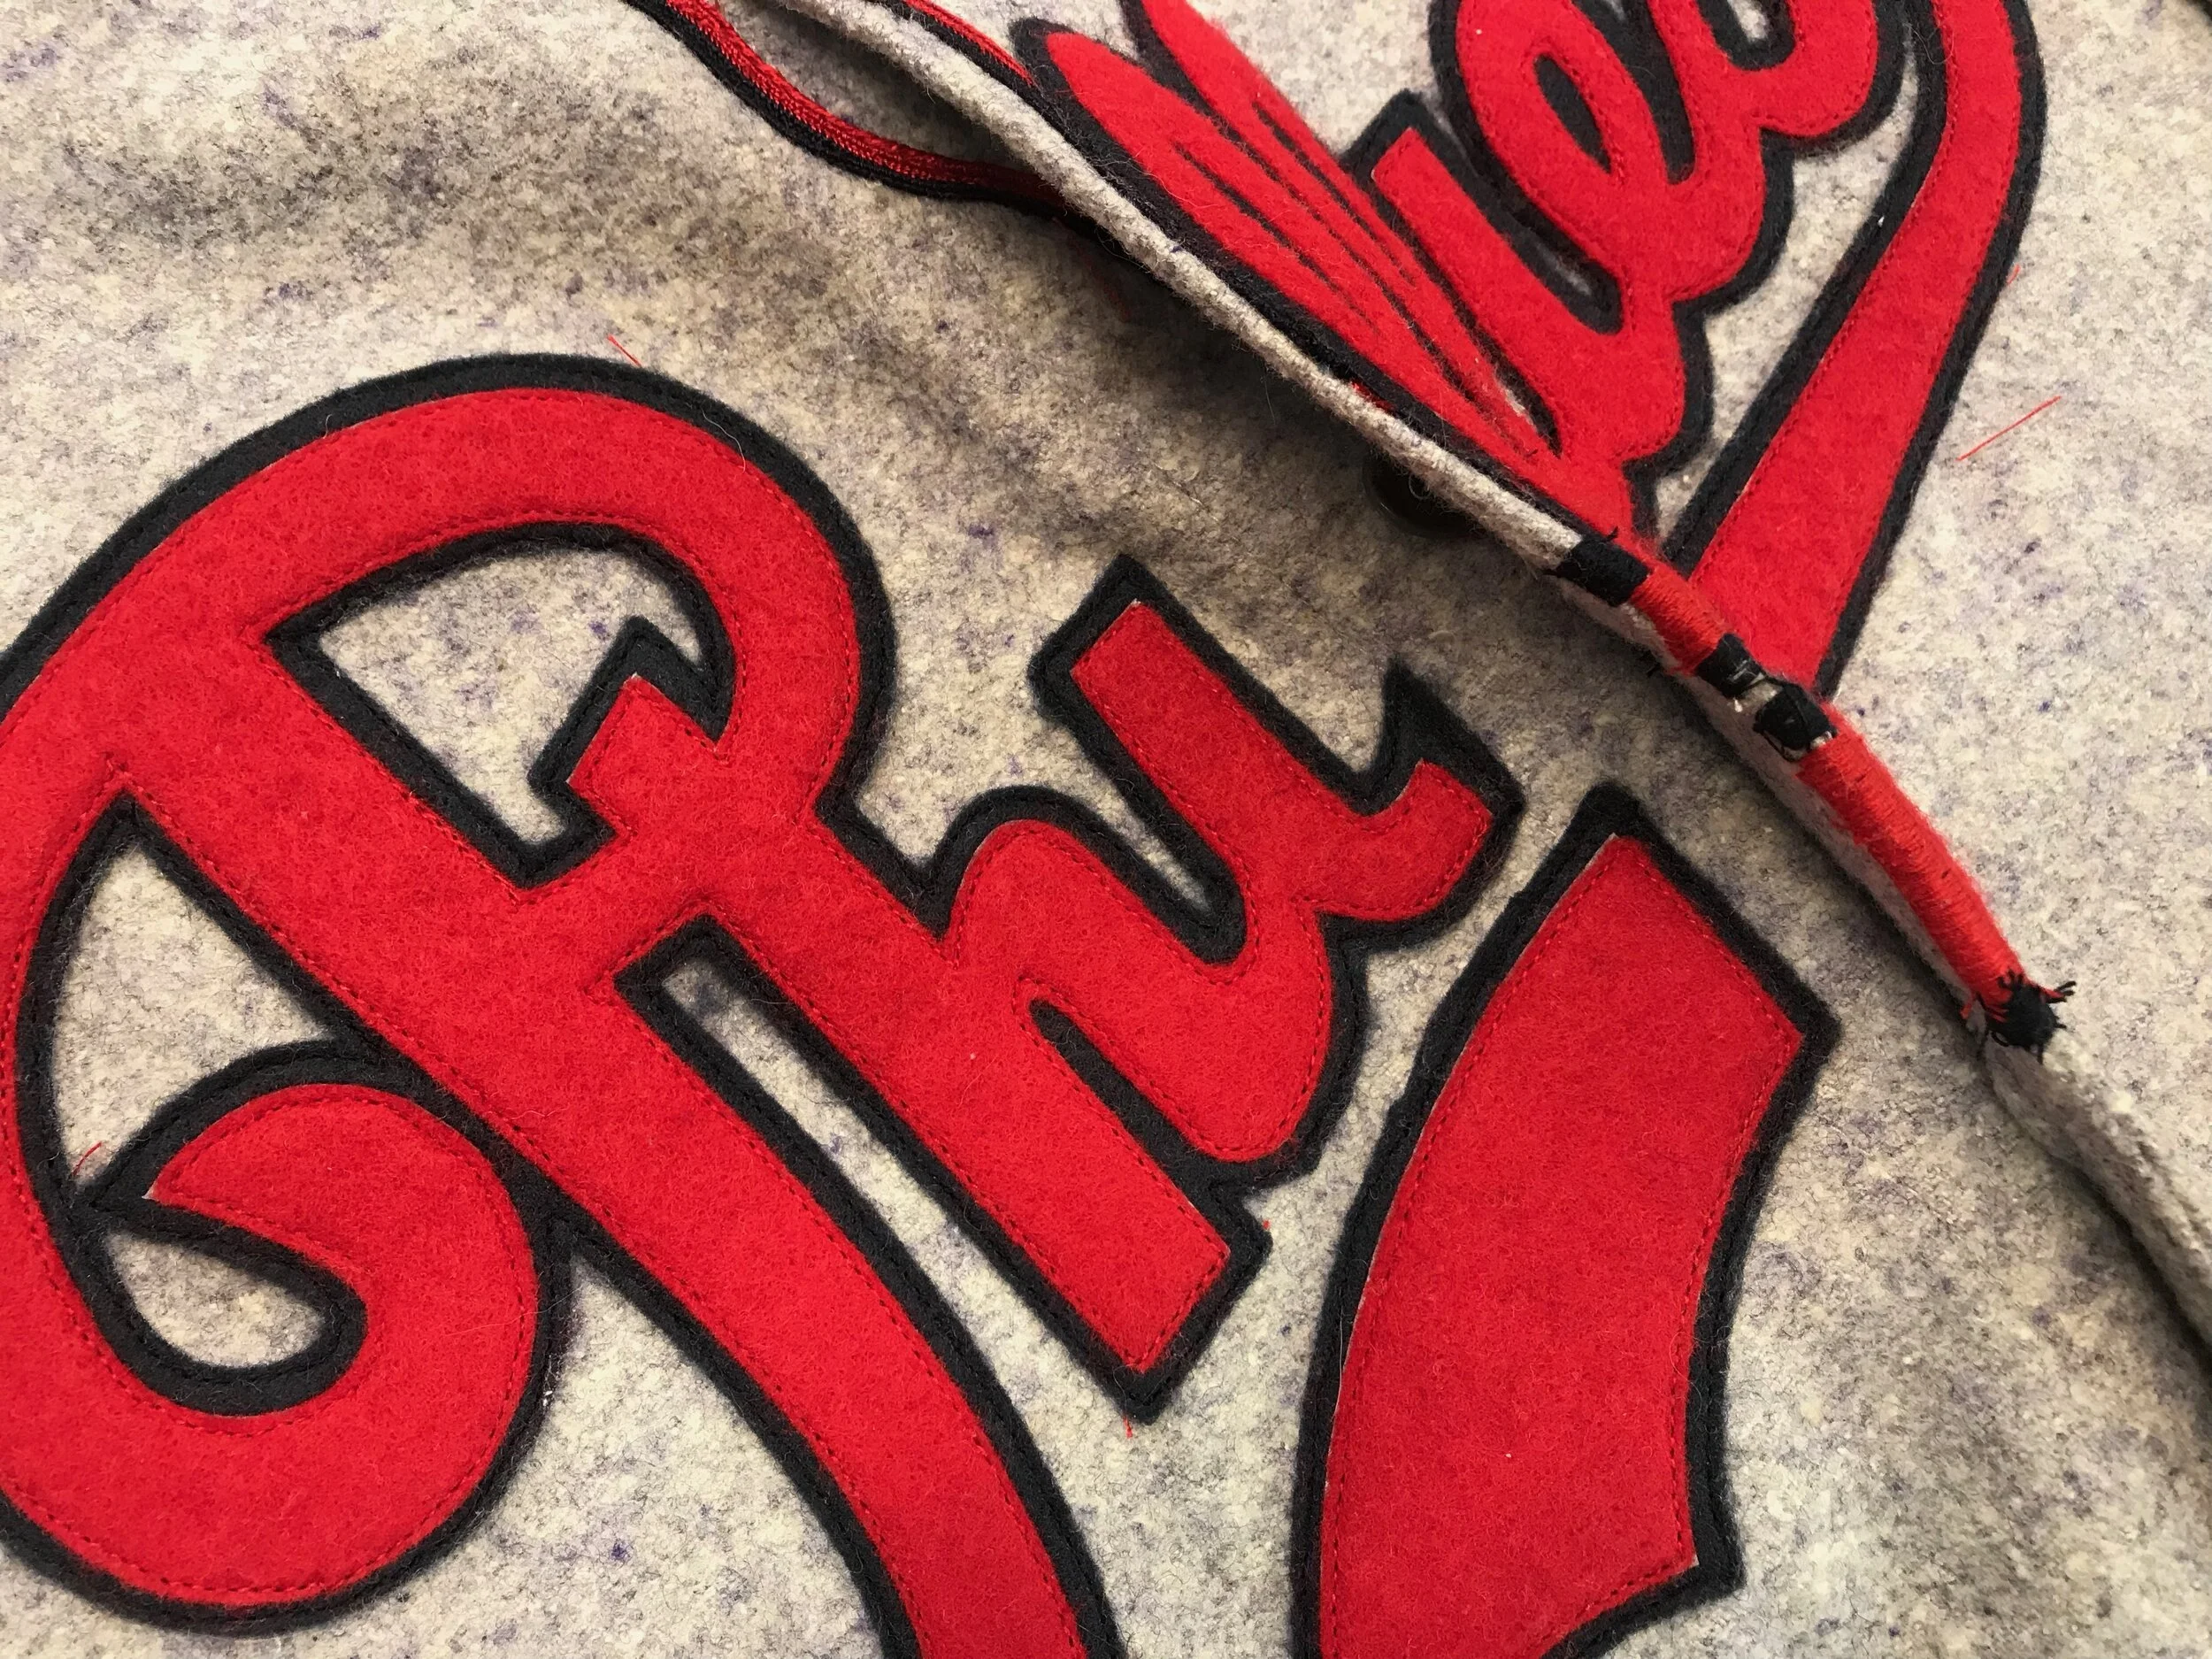
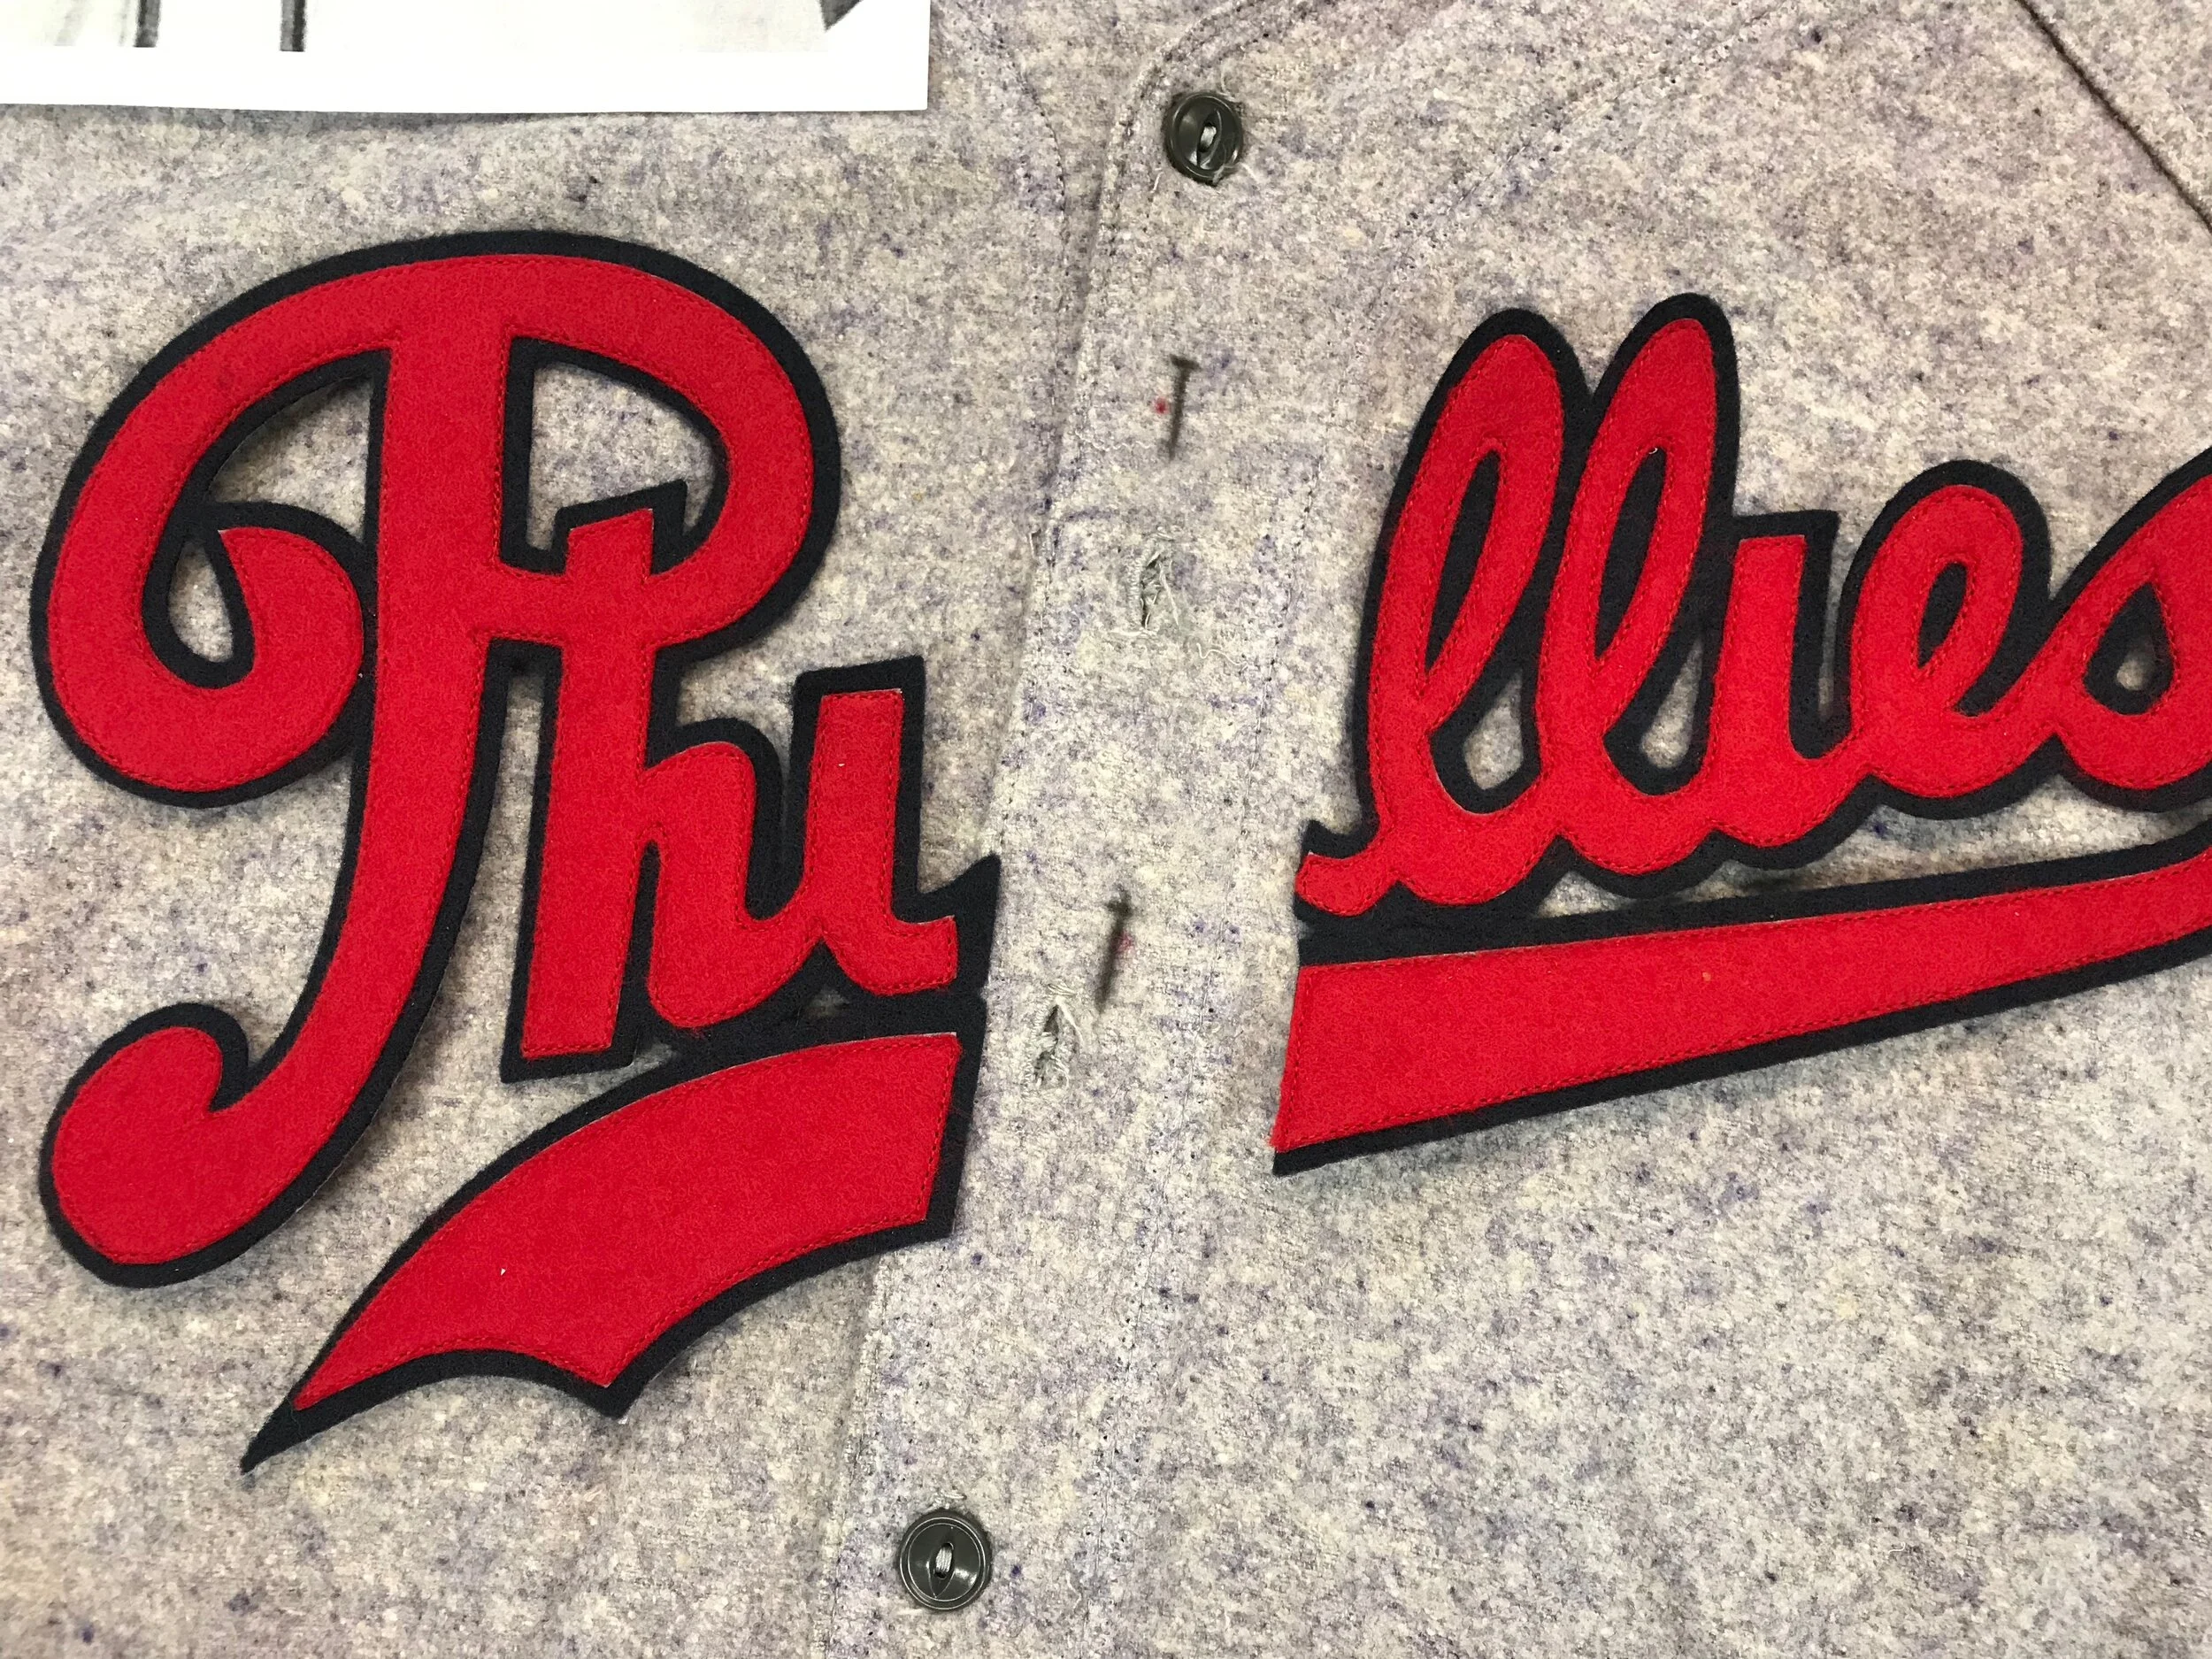
The overlapping edge receives a tight looped embroidery stitch to make it invisible when the jersey is buttoned. This is exactly the way these jerseys were made 80 years ago.
It may seem like a small thing, but I hand-sew the original buttonholes closed from the back. It will take a very sharp eye to see that they were ever there.
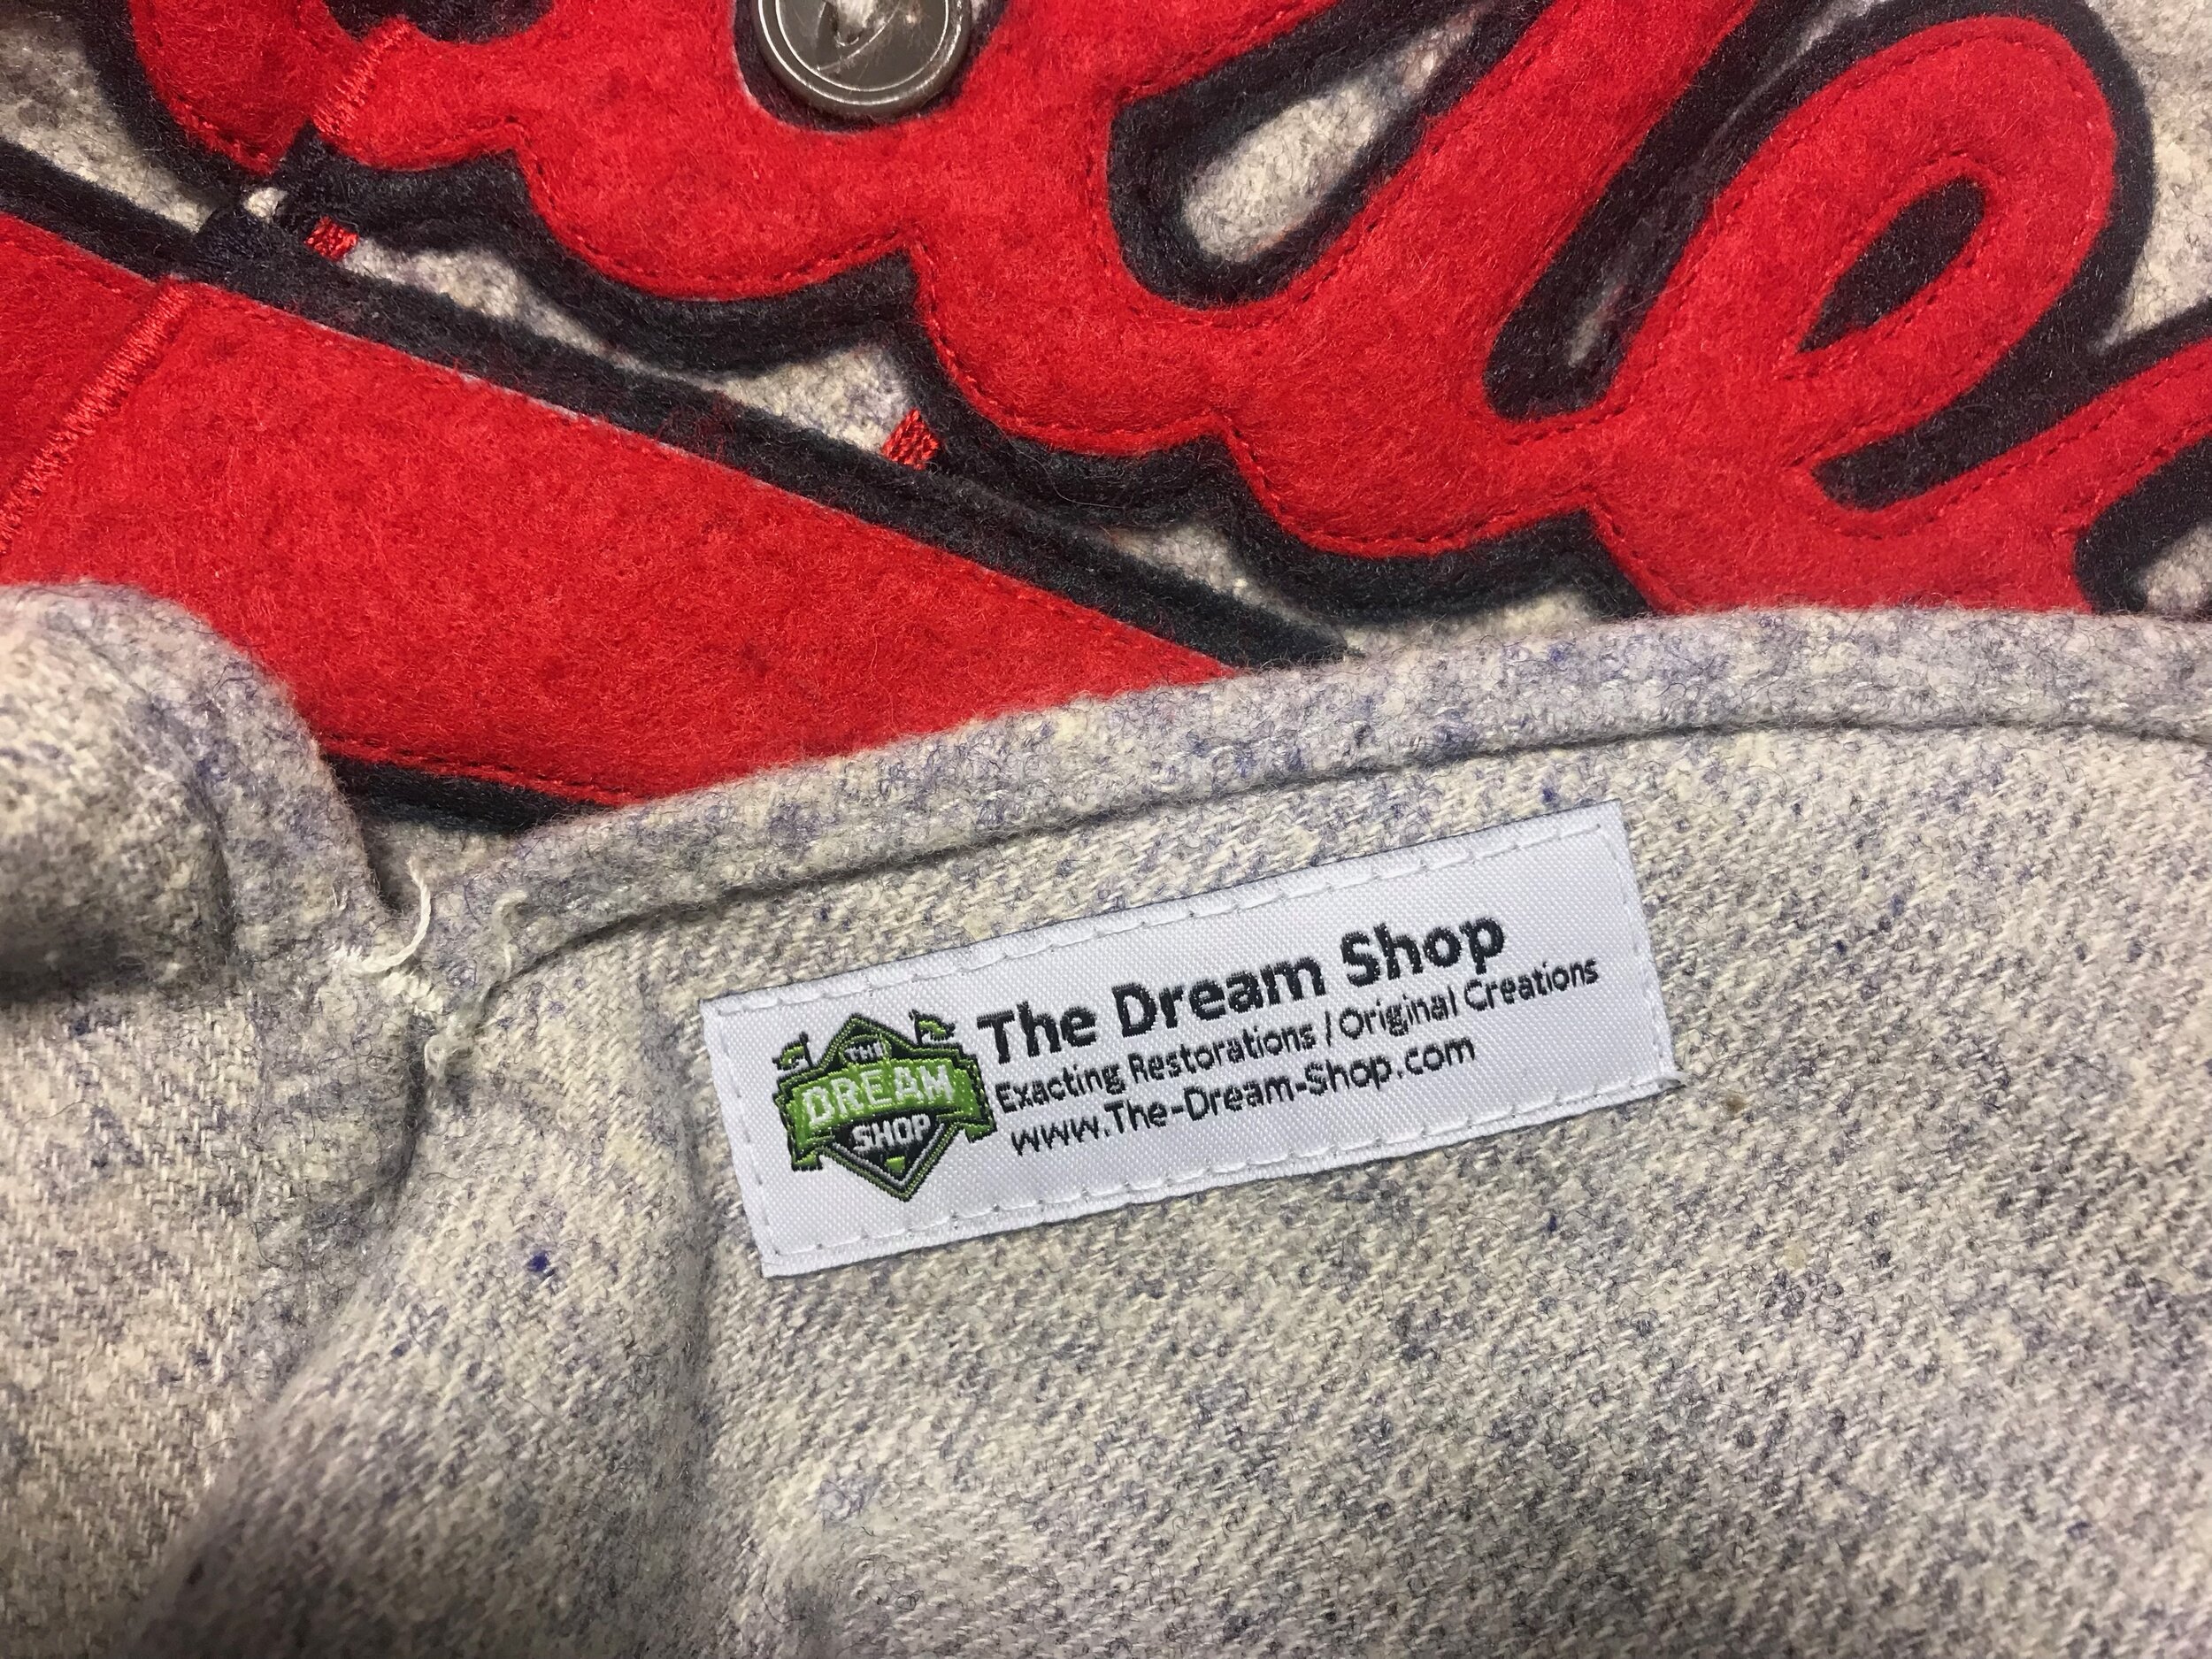
I sew the Shop's tag on all recreations. It would be too tempting for someone to someday try to pass this off as an original, game-worn jersey.
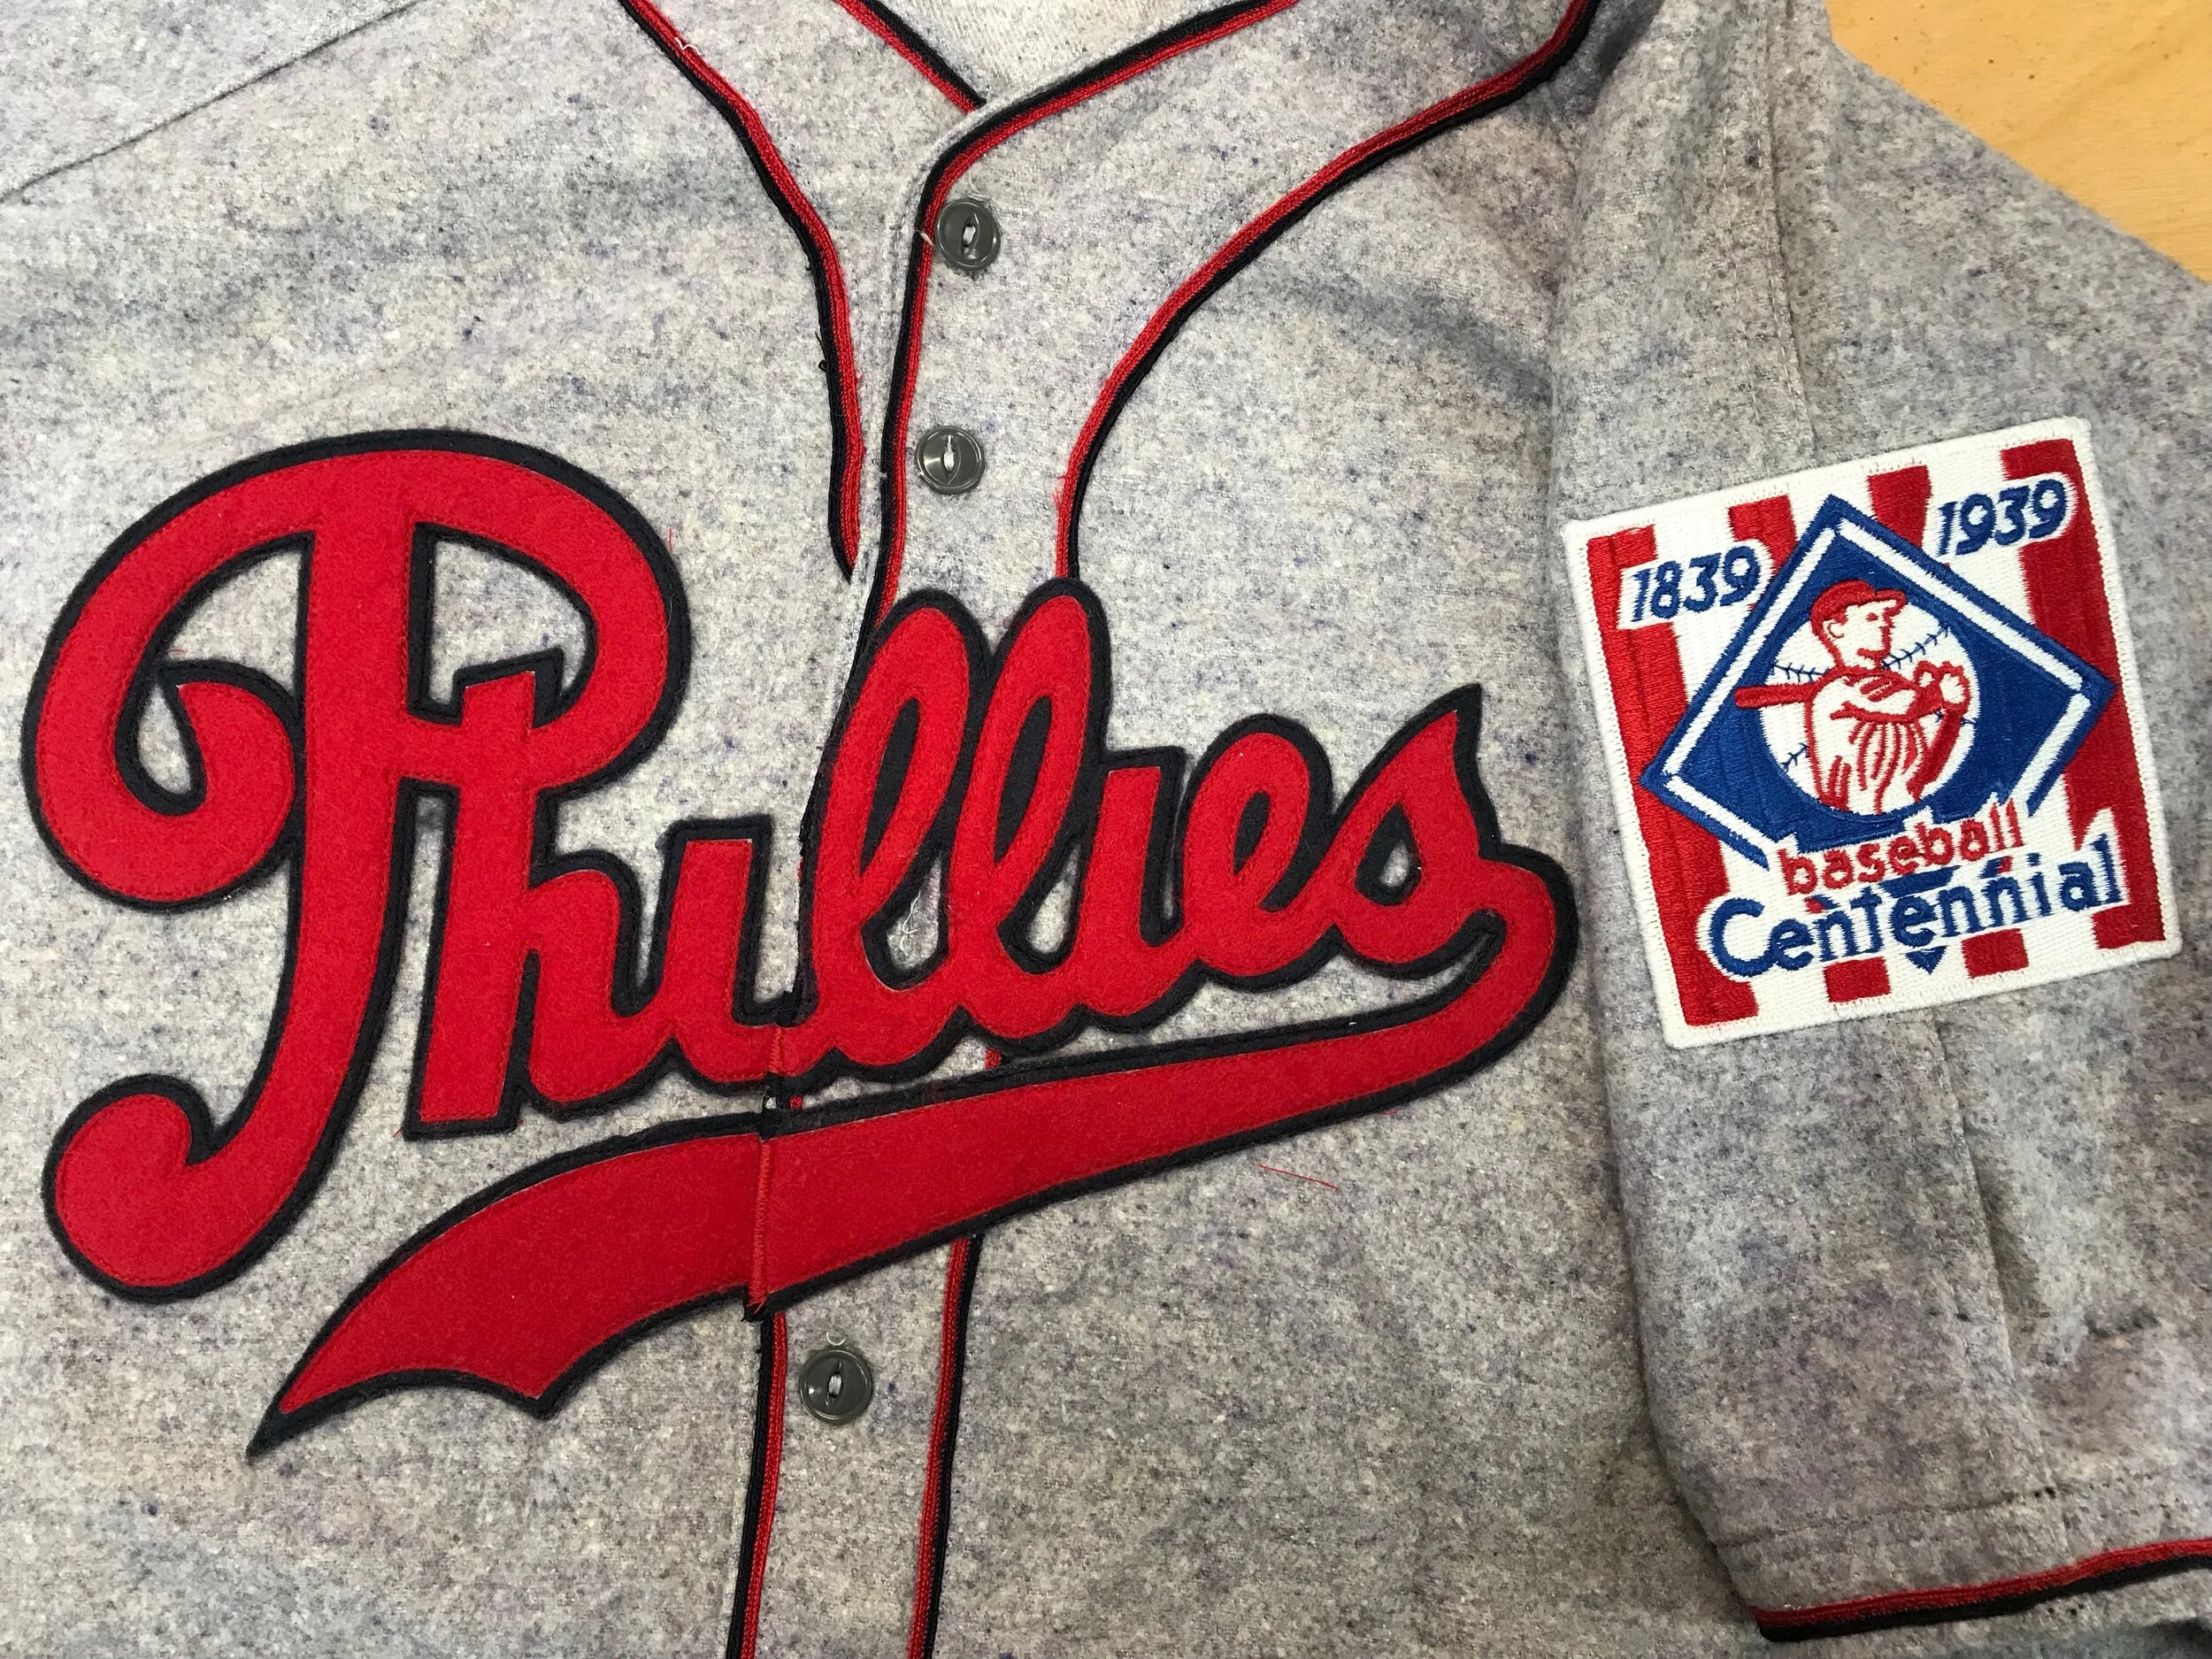
The completed jersey with its corresponding centennial patch.
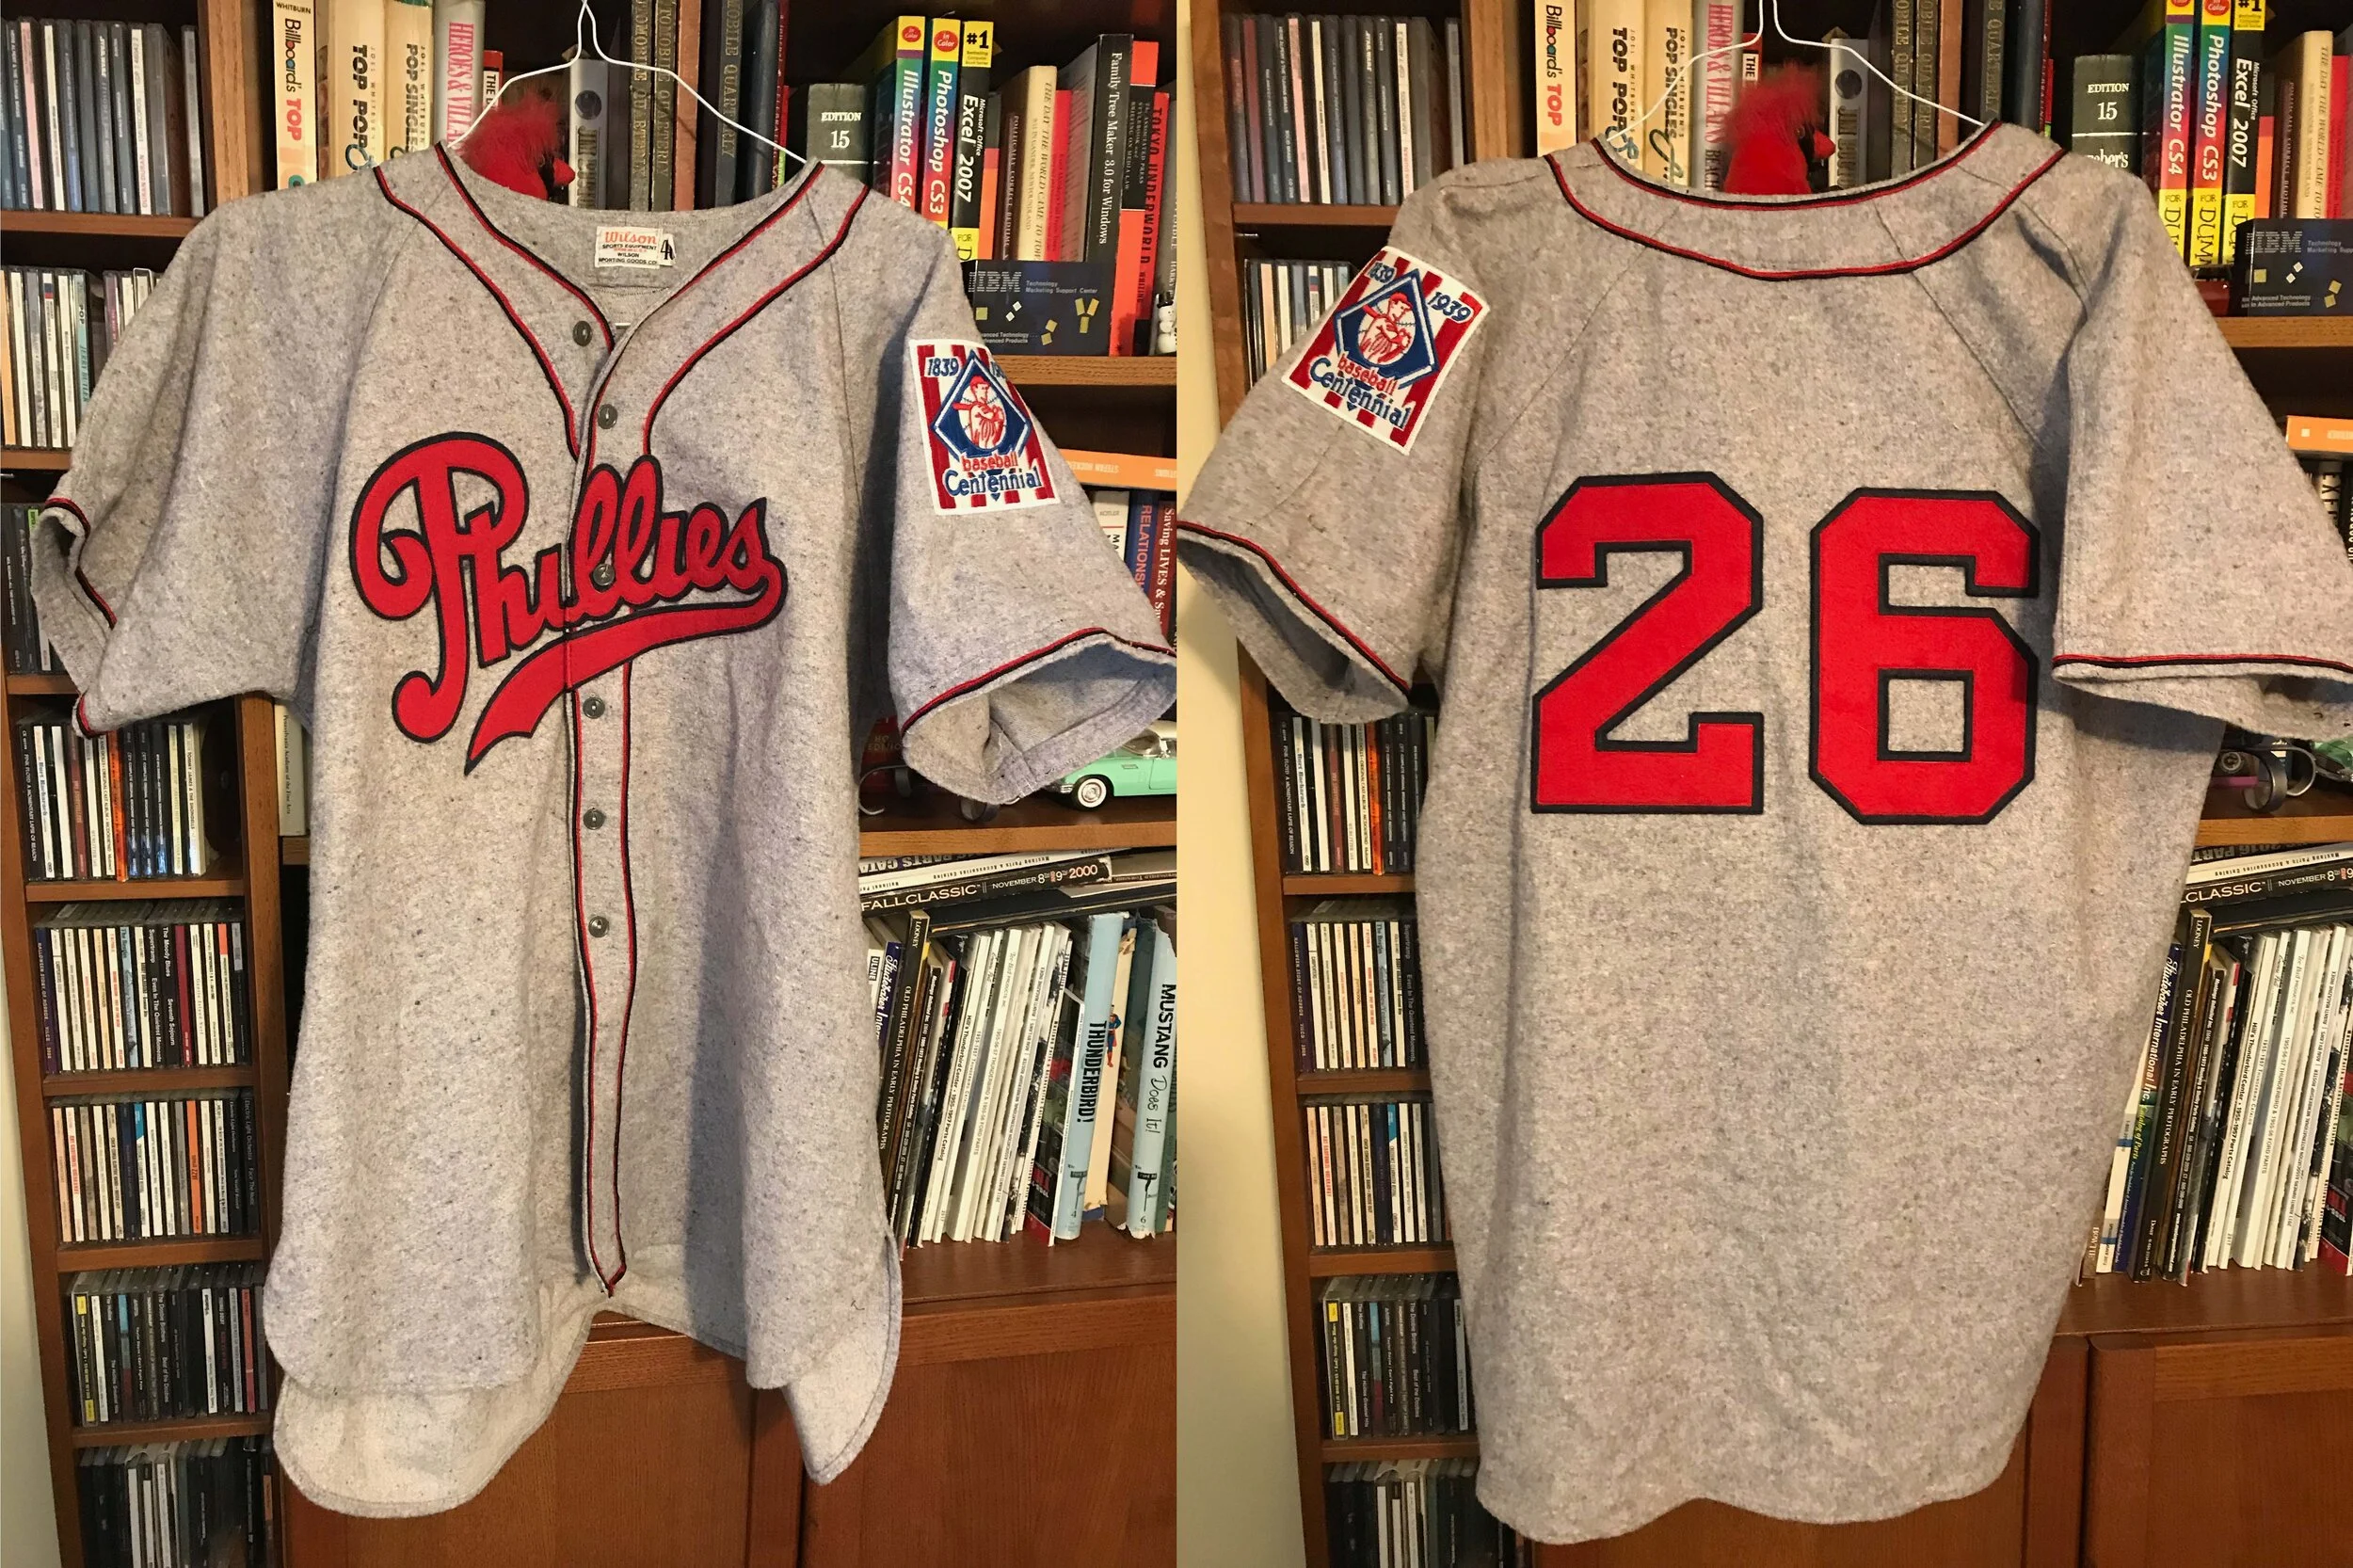
The completed jersey, front and back.